Audio can make or break any production. Here are a few tips on making sure your audio sounds professional.
Whether we like it or not, audio is crucial to filmmaking and vital to making a professional video. Let’s review the key recording gear and techniques, as well as how to approach a filming location like an audio pro.
Essential Gear
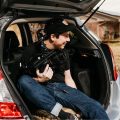
If you’re starting your filmmaking career, you may be used to using the onboard microphone on your camera. Unfortunately, this microphone just won’t cut it in the professional world. This mic picks up whatever is closest to the camera, typically the camera operator and not the talent speaking in front of the lens. This is especially problematic if you have to record someone speaking further away from the lens — they’ll sound very distant and faint.
A great microphone to start with is the lavalier mic (lav for short). This microphone is small and inexpensive, and you can plug it into the camera. You place a lav onto a person’s body to record them. You may have seen lavs used on your favorite late-night talk show, on newscasts, or in live presentations. This is because once they’re attached to whoever they need to record, they don’t need to be adjusted or moved much. They’re a set-it-and-forget-it situation — as long as you get a good sound from them. Unfortunately, this also means if there are any issues with the microphone, you’ll have to stop a recording and adjust the microphone on that person. These microphones are also used in television shows and movies. Due to their size, they can be hidden within clothing or placed nearby and still get a great sound.
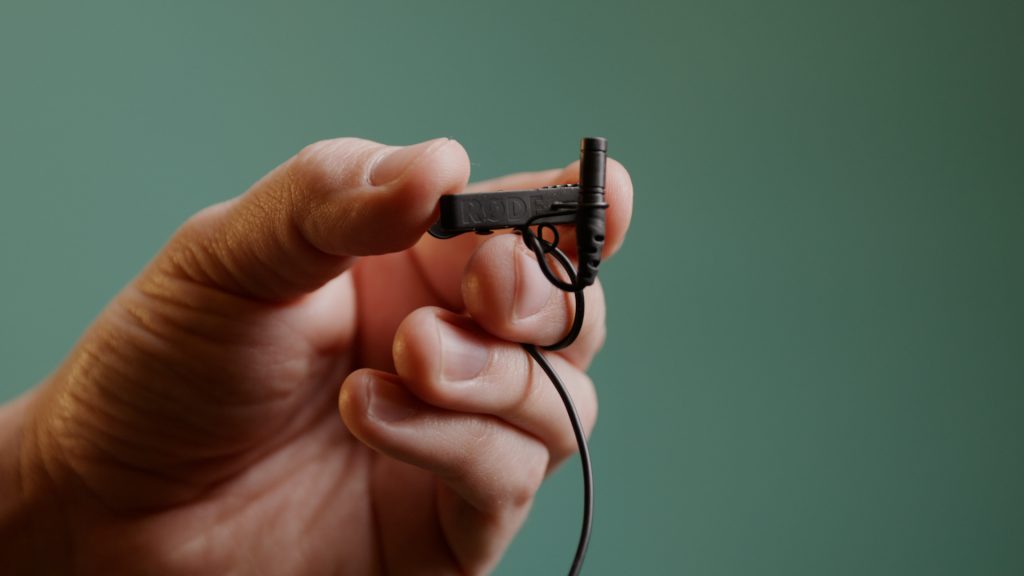
A significant part of any microphone is its pickup pattern. This is the area or proximity to the microphone that will adequately record. A lav mic will have an omni-directional pickup pattern, which means it will record sounds coming from all directions in relation to the mic. This can be beneficial and problematic depending on the situation. Due to the omni-directional pattern, as long as the mic is placed close to the sound source, it should record that sound very well. Conversely, if there are any intrusive noises, humming, buzzing, or even others speaking nearby, the mic will pick that up loud and clear, too.
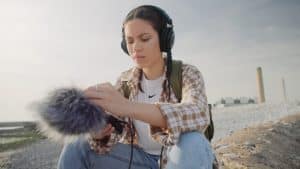
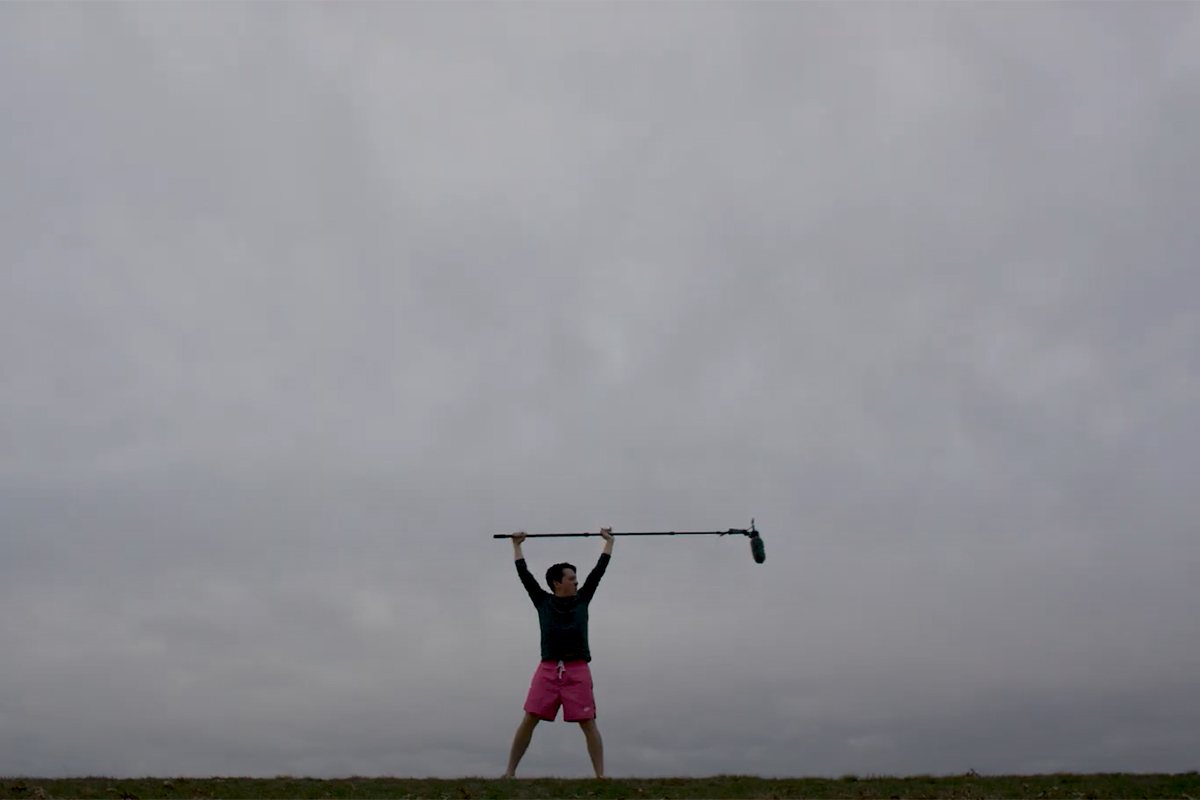
A shotgun or boom mic is another very popular and essential microphone in filmmaking. These are iconic, and you’re probably familiar with the image of a sound guy holding a large pole with a microphone at the end. What makes boom mics so unique is also their very narrow pickup pattern. This can be somewhat directional with a cardioid pattern, more directional with a hyper-cardioid pattern, and extremely directional with a shotgun-style pattern. These narrow pickup patterns mean that the boom mic will record what is directly in front of the capsule more prominently than other areas around it. This is great for isolating a sound or dialogue. The downside to this is that if you’re off-axis to what you want to record, the sound may feel distant and low.
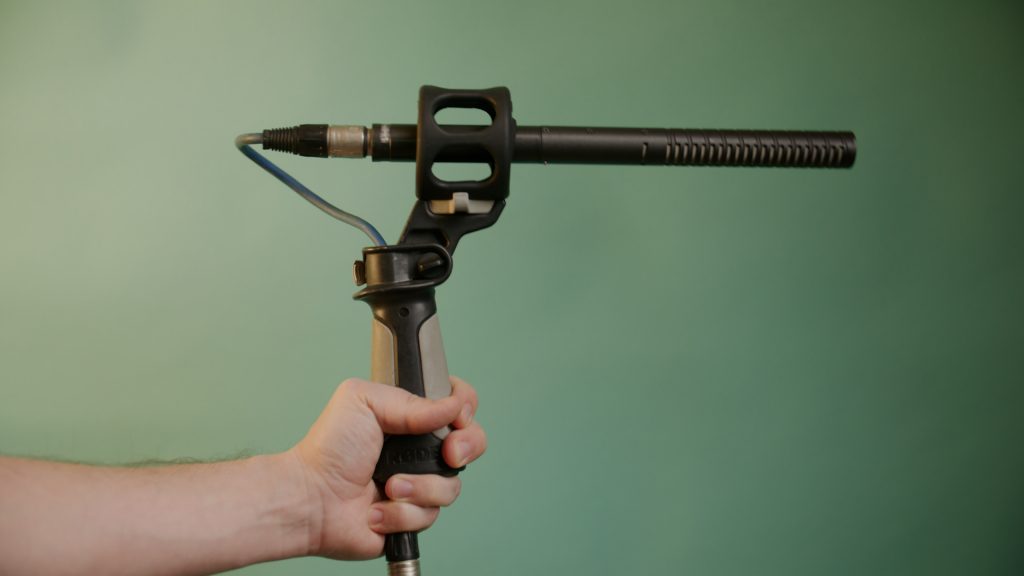
In contrast to a lav mic, boom mics are typically operated by a person while recording and are not just set in place. Due to their use on a large boom pole, a shotgun mic can easily be switched between speaking parts and quickly change location.
To take this one step further into the professional production world, both lavs and boom mics are typically used in tandem on a production. Each speaking part is given a lavalier mic to record their specific parts, and a shotgun mic will float between speakers when it is their turn. This is the standard as it allows for backup recordings and a safety net in case anything goes wrong with a single mic.

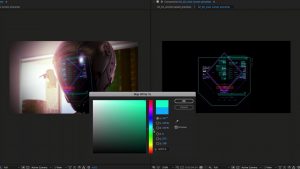
Using a dedicated audio recorder is the next step in stepping up your audio game. An audio recorder does what it says — it only records audio. Lucky for us, it does it so well that it warrants its place in our kit. An audio recorder will usually have multiple inputs to record multiple microphones simultaneously. Additionally, each input will have its controls and settings, meaning you can adjust them individually. If two people are speaking within a scene, one is loud, and one is quiet, we can adjust each microphone accordingly and still have great levels on their recording.
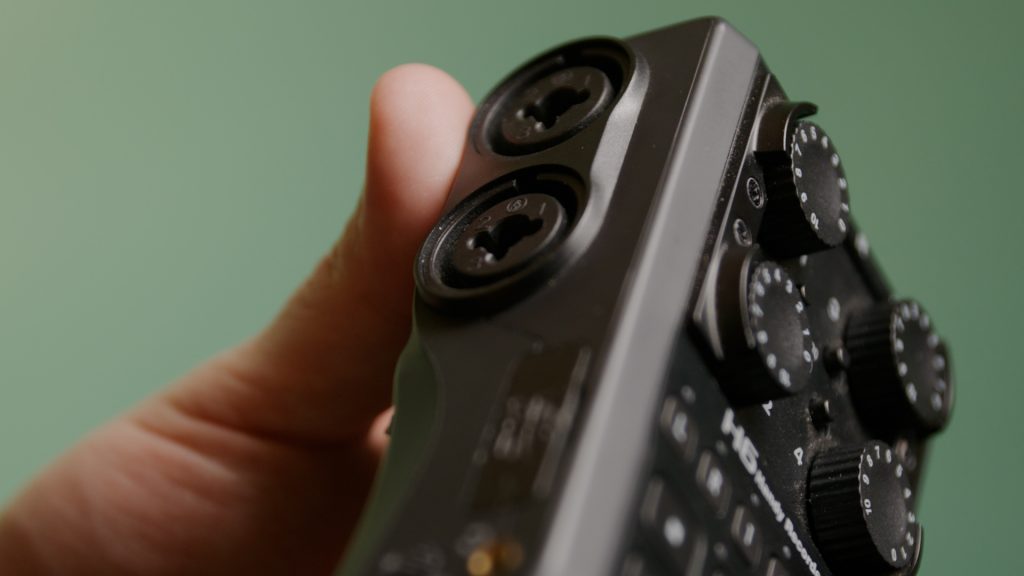
An audio recorder will also have phantom power. Don’t worry; it’s nothing spooky, but it may be required to use some microphones. Essentially, phantom power pushes a current through an XLR cable and can power a microphone without batteries. Without phantom power, many professional-level microphones wouldn’t be usable. Phantom power is not typically a feature found on a camera and may require a dedicated audio recorder.
Lastly, many other features on an audio recorder may not be present in a camera’s audio settings. An audio recorder can record many different flavors of sound files, bit rates, and quality. They may also have settings to save your audio files from clipping in case of loud sounds so the audio doesn’t distort, and they have built-in equalizer settings.
Location, Location, Location
The next step in your audio journey has nothing to do with gear or technique but with the location where you’re recording the sound. The location and surroundings can play a major role in how your audio sounds, its quality, and if it sounds professional. When finding a film location, it’s a great idea to take a second and listen to what the room sounds like in silence. Be conscious of things like an air conditioning unit, running computers, road noise, or a loud refrigerator. A location may look wonderful on camera, but if there’s a loud generator you won’t turn off nearby, the location is unusable. Finding a great-sounding location is half the battle.
You still have some options if you don’t have a choice in the location. An AC unit or fridge can be turned off momentarily while filming. It may not be fun to turn off the cold air during a hot summer month, so a pro tip is to crank that AC on high during the setup process, and hopefully, that cold air will hold long enough to get your shots. If you need to turn off a fridge, it’s really easy to forget to turn it back on. Another pro tip is to leave a set of keys inside the refrigerator while it’s off. You’ll remember to get the keys back from the refrigerator and turn it back on before you leave.
Combatting Reverb
Reverb is another problem you’ll want to mitigate in the recording process. Reverb is sound waves bouncing off reflective or hard surfaces and returning to the microphone. A good recording will have as little reverb as possible. (You may want to add reverb later in post-production, but that would be a creative choice you can always make later.) There are a few ways to combat reverb. Large, soft surfaces like rugs, carpets, curtains, or soft furniture will reduce reverb significantly. Unfortunately, sometimes this isn’t enough.
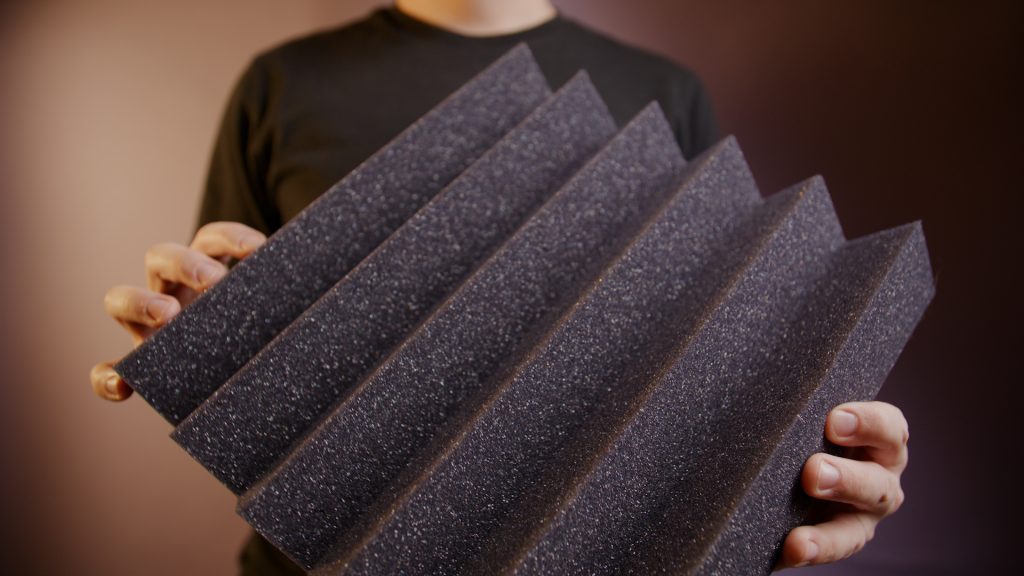
A popular way to combat reverb is using large foam pads of varying shapes. These pads can easily be found on amazon and are reasonably affordable. They come in various sizes, with shapes built into the foam to trap sound. You’ll adhere these to the walls of your recording space, allowing the foam to soak up the sound waves before they can reflect.
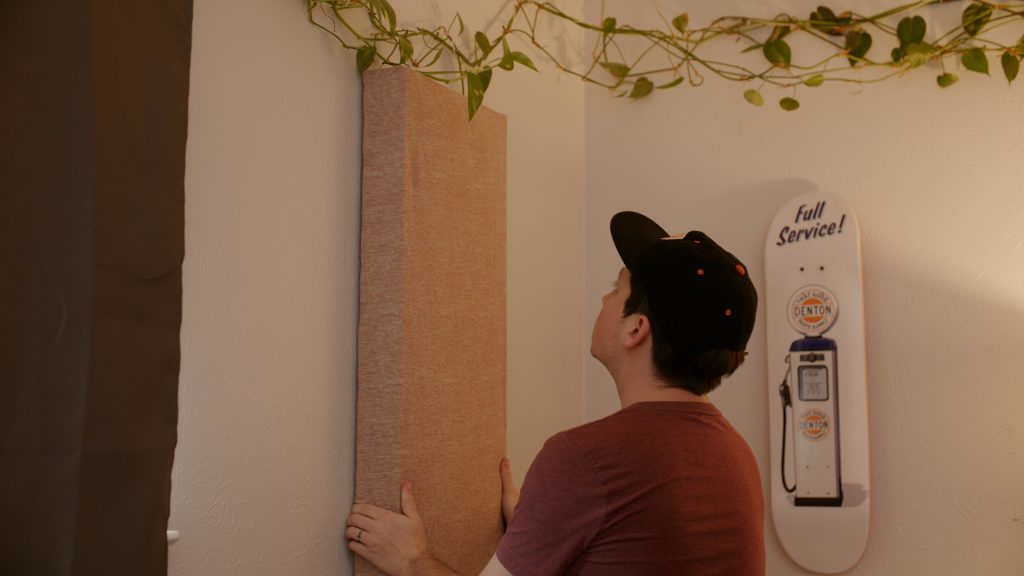
Taking this one step further would be using acoustic sound panels. Acoustic sound panels are essentially a large frame of 2x4s filled with high-density insulation. This insulation has a much higher density than the foam mentioned above, which drastically reduces reverb. Where the foam is about 2 inches at its thickest part, the insulation is a solid 3 inches through the entire piece. Unfortunately, because it functions so well, they’re not that cheap. Professional sound panels online can run a few hundred dollars. You can build similar panels at home if you have the right tools and a DIY attitude. I’ve created a few to hang up in my office. One set of materials set me back between $150-200, but I made 8 individual panels. Acoustic sound panels are the best way to reduce that pesky reverb.
All in all, stepping up your audio game comes down to choosing the right equipment for the job, how you use this equipment, selecting the right location, and controlling that location’s sound as much as possible. Getting good audio will take you one step closer to creating great, professional-looking video content.
Looking for filmmaking tips and tricks? Check out our YouTube channel for tutorials like this . . .
Looking for more tips and tricks? Check out these articles . . .