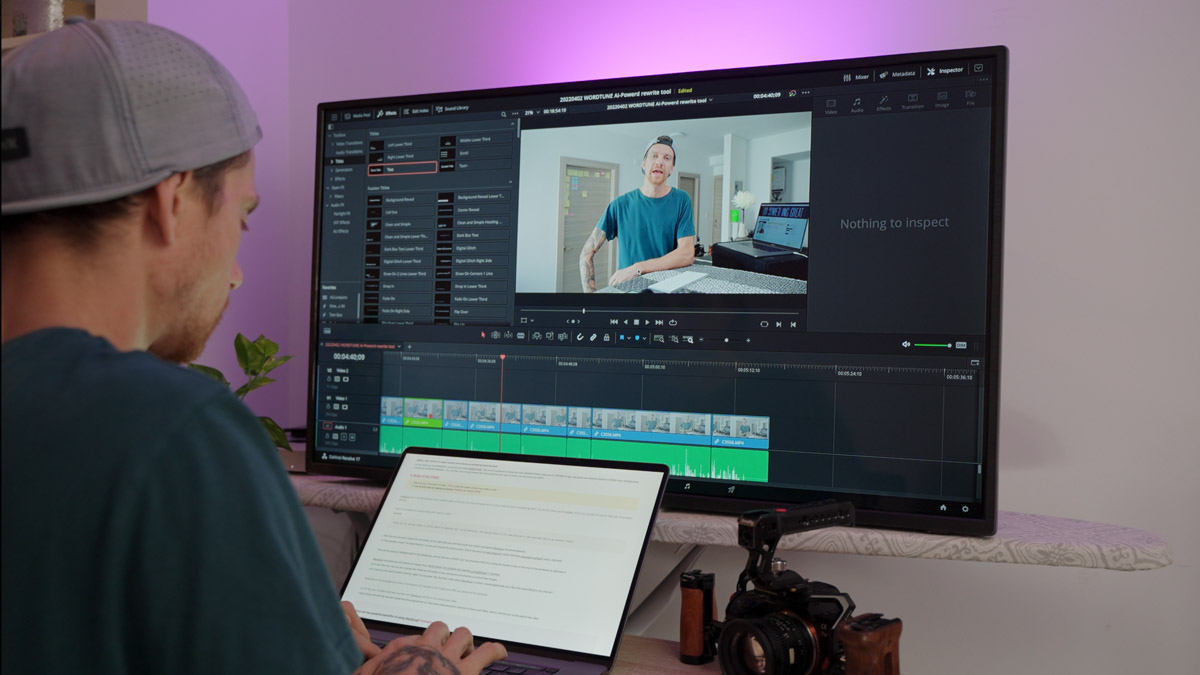
In this tutorial, we cover how to work with proxy files and optimized media in DaVinci Resolve.
No matter how quickly you upgrade to the latest GPU on the market, it’s only a matter of time before a camera manufacturer produces a camera with extremely high data rates that can make even the most powerful computer feel sluggish and outdated.
I was fortunate enough to snag the powerful Nvidia GTX 3080 on its release day, which has been excellent for editing all sorts of HQ footage over the past few years, especially for my trusty C300 Mk III. However, as new cameras are released with higher-quality files, my three-year-old GPU is starting to show its age.
When I try to edit data-rich files such as 8k footage from the Canon R5 or R3D files from the RED KOMODO in DaVinci Resolve, I struggle to play them in real time, making editing nearly impossible. While it’s impractical to upgrade graphics cards every year, it’s equally unreasonable not to be able to edit in real-time.
Fortunately, DaVinci Resolve has many methods to simplify this process. Today, we’ll focus on the techniques suitable for beginners or newcomers to the software.
Timeline Proxy Resolution
Okay, so first, if your machine isn’t too powerful, you don’t want to be editing on a 4k timeline. Ensure your timeline is 1080p so the processing power is manageable for the computer.
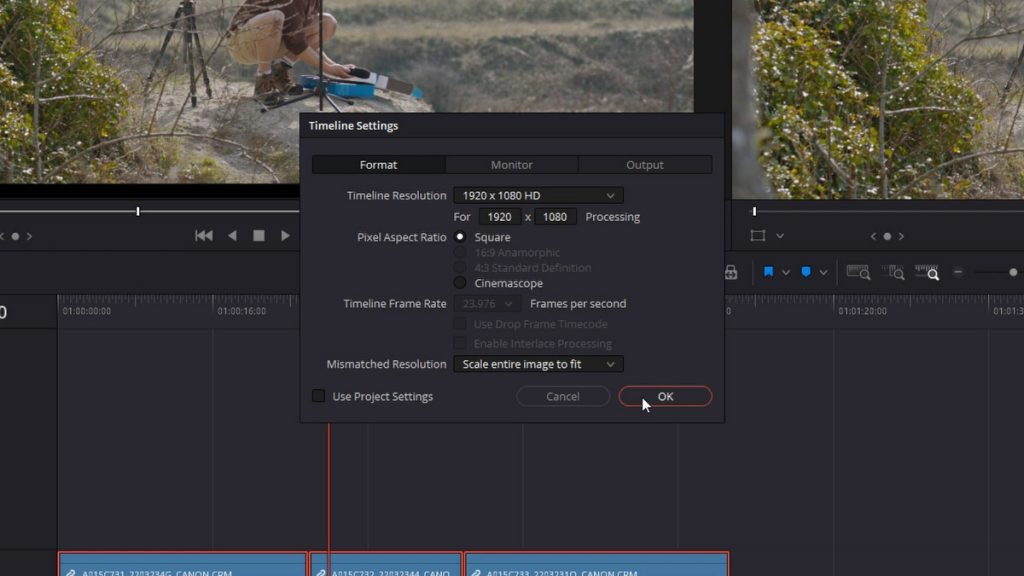
You can then switch back to the correct timeline resolution when the edit is complete. But if you’re still experiencing dropped frames or slower-than-real-time playback, we’ll need to take some additional steps; you can first look to improve the performance of DaVinci Resolve by selecting a lower Timeline Proxy Resolution.
This feature takes advantage of the resolution independence of DaVinci Resolve to lower the resolution of your clips on the fly, reducing processing demands and increasing real-time playback performance without the need to cache the timeline or create optimized media.
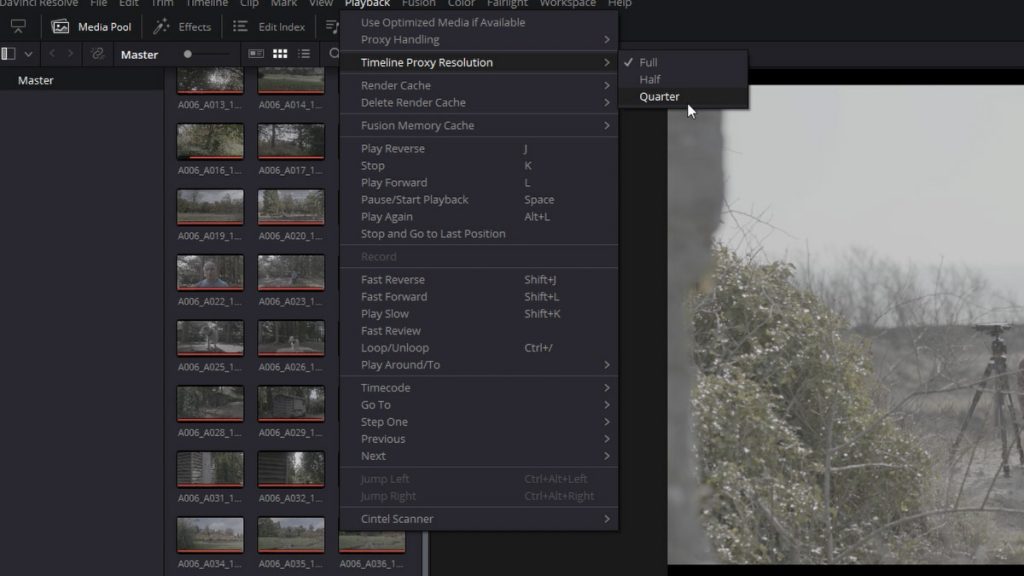
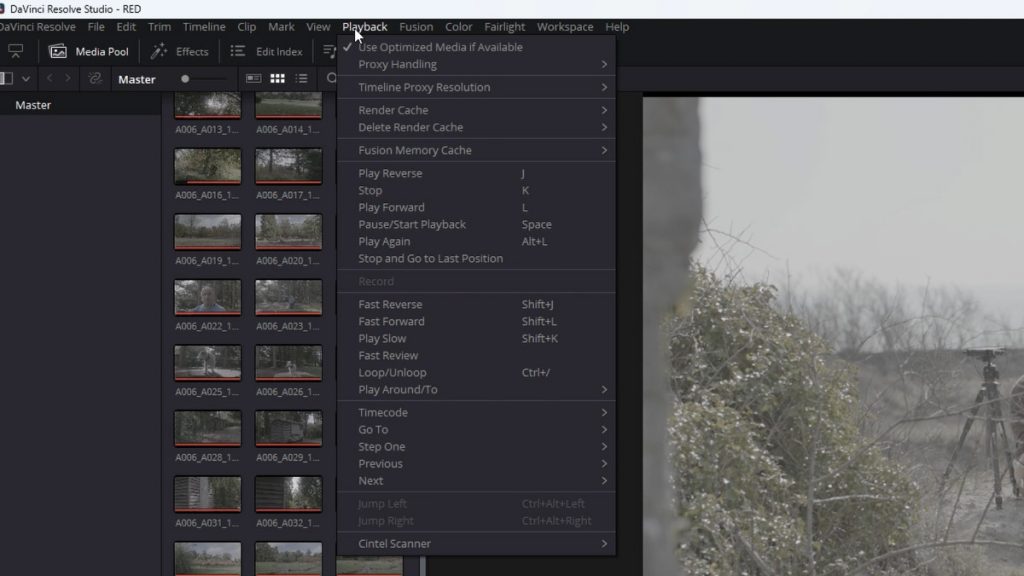
To turn on this feature, go to Playback > Timeline Proxy Resolution, and select a reduction of either half or a quarter, depending on how much your machine is struggling.

Depending on your media, you may find this is sufficient to create real-time playback.

Despite its name, the proxy mode is not related to proxy files, which may be misleading to some. You’re still working with the clips imported into Resolve; it’s just being played back with less detail. However, this might not be enough if you’re working with extremely high data media or your computer just isn’t up to snuff.
If that’s the case, you should use a proxy or optimized media. Let’s have a look at each one.
Generate Proxy Media in DaVinci Resolve
Proxy media refers to lower-resolution copies of high-resolution video files. This is created to make it easier for computers to handle the editing and playback clips. Thankfully, it’s straightforward to create proxy media inside Resolve, but before doing so, we need to set the parameters of how you want the proxy media to be generated.
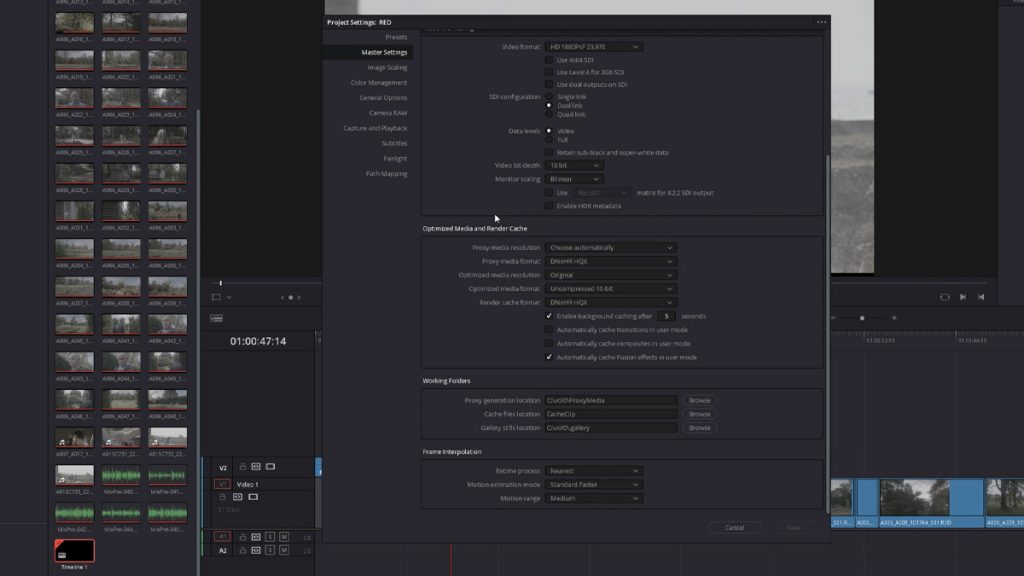
And we can do so in the settings panel, which is opened by selecting the cog wheel on the lower right. In the Master Settings, go to the Optimized Media and Render Cache panel. Here, you can change the generation properties. You should play around with these to find a setting that works well on your machine. But DNxHR HQX works well for me.
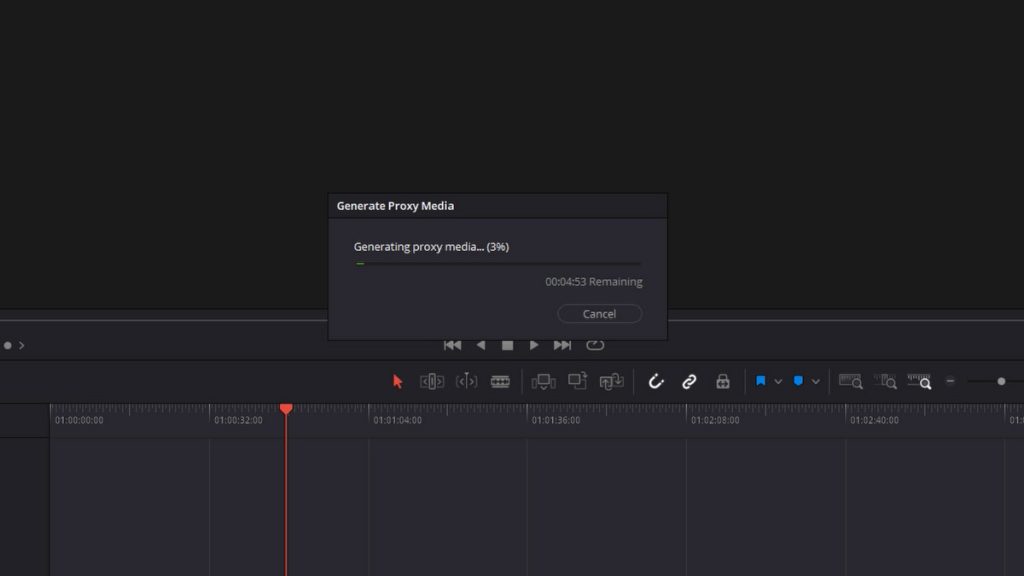
Now, head to your media pool, select the clips that are giving you trouble, right-click, and select Generate Proxy Media.
Resolve will now generate a lower-resolution version. It’s important to note that Resolve is essentially rendering at this point, so if you have a lot of high-resolution video clips and a low-powered machine, make a cup of coffee or maybe even your lunch, as this will take a while.
Once the generation is complete, you must go to Playback > Proxy handling > Prefer Proxies. This will tell Resolve to use the newly generated media. Now you can play, edit, and review the media without issues or your computer crashing.
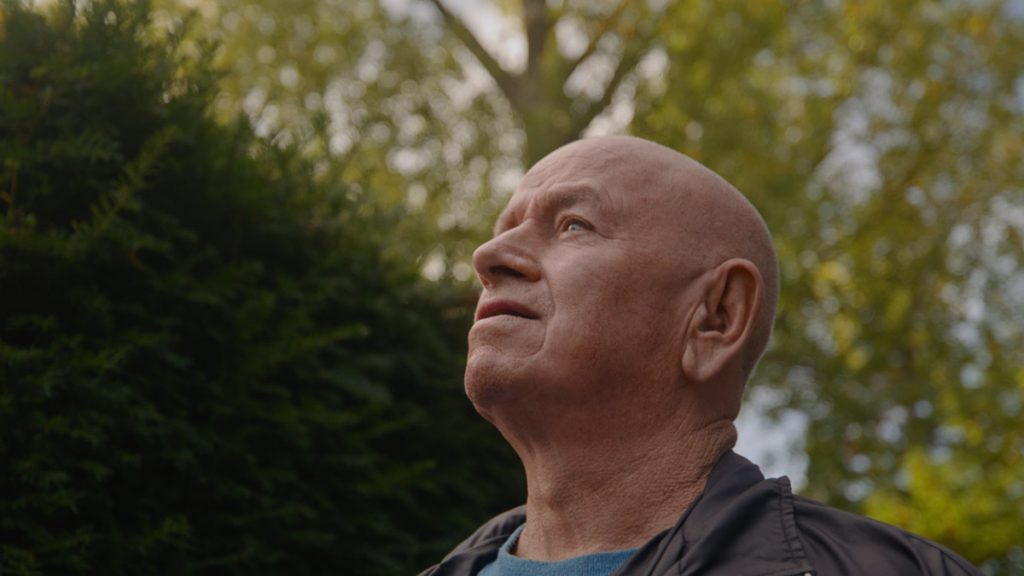
It’s crucial to remember that working with proxy media means working with files of lesser quality that don’t hold the same level of data as the original file. You may miss important details in the composition with a loss of clarity. Likewise, as we’re no longer working with the original codec or RAW file, that proxy file doesn’t have the same data parameters as the original media file. For example, this is the original clip with my grade applied.
And this is the same video, with the same grade, but with the proxy version active.
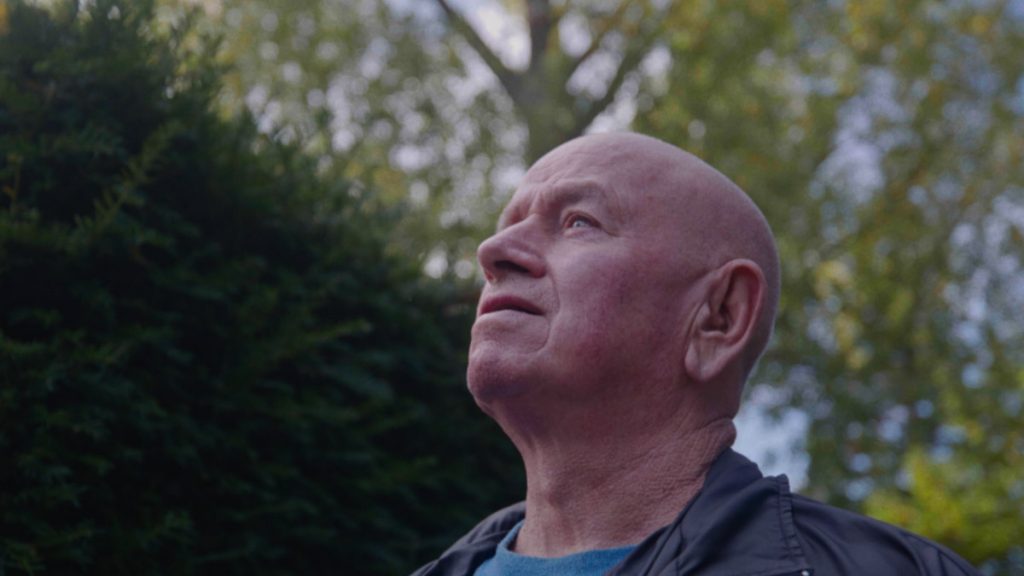
This means that when grading, you will need to disable the proxy media to return to the original media files.
Generate Optimized Media In Davinci Resolve
If you find that you need the clarity of your image to edit correctly, you may want to use optimized media instead of proxy media.
Optimized media replaces the files you’re working with using a much more efficient codec for playback and processing. It maintains the color depth and resolution of the original footage, which eliminates going back and forth between proxy and original media during the editing and grading, and it ensures a more streamlined workflow. However, the optimized files will leave a larger footprint on your machine, taking up more storage space.
To create Optimized Media in Resolve, right-click on a video clip in the Media Pool, and select “Generate Optimized Media” from the context menu. It’s important to note that you must activate the Use Optimized Media button first, which you can find in the Playback menu, to use generated media.
Depending on the power of your machine, you may still struggle with optimized media, as Resolve isn’t creating a sub-par version like proxy media; it’s just creating an optimized version. Therefore, if you’re system is on its last legs and doesn’t have as much power, it may be scrambling to carry out these necessary tasks.
Here are the details in brief:
- Proxy media are small, low-quality files created for less processing power.
- Optimized media share the same color information and resolution but are encoded in a more machine-friendly format. As such, this will also take up more room on your machine.
Transcode Via Media Management
There is one more function we will look at, and that is to transcode your media through the media management tool. This is activated by File > Media Management.
When you use media management to transcode files in DaVinci Resolve, the software will create new versions of your media files in a different format or with varying settings of encoding. This process can be helpful for various reasons, such as preparing files for different delivery formats or improving playback performance during editing. The transcoded files will be stored in a new location on your hard drive, and the original files will remain in their original location.
So, I bet you’re thinking, isn’t this the same as creating a proxy file? Well, yes, to a degree. But there are some differences.
Transcoding refers to re-encoding a video into a different format with different settings; proxies are the lower-resolution copies of your media.
The Media Management feature in DaVinci Resolve offers more encoding options than when generating proxy media, making it a great choice if you’re working with limited storage space. In addition to the encoding options, additional settings can be beneficial for optimizing your workflow.
For example, the “Copy/Transcode Used media” option only transcodes media files for clips used in a timeline. This can save you time if you’ve selected the desired clips from your memory card and added them to the timeline rather than generating proxy media for everything.
While the methods mentioned above are effective at improving playback efficiency, they only scratch the surface of the many functions available in DaVinci Resolve. At a fundamental level, however, these methods should help you play and edit high-resolution media files on a computer that may need upgrading.
Looking for filmmaking tips and tricks? Check out our YouTube channel for tutorials like this . . .
Looking for more tips and tricks? Check out these articles . . .