Here is everything you need to start a successful podcast.
Just like everyone has a great movie idea, the same can be said about podcasts. A quick glance at Spotify will reveal thousands of podcasts. It’s easy to understand why. It’s a medium with an initial investment that’s relatively inexpensive compared to video production. But, of course, you can also start a podcast without spending anything, using your phone and computer to record. But with so many shows having a high production quality, keen podcast listeners can spot an amateur immediately.
As far as serious podcasters go, you don’t need to buy the best microphone or pay monthly for a professional digital audio workstation (DAW). However, putting money into a better microphone than your phone’s will go a long way. Not only will your podcast sound better, but by investing in the gear, you’ll be more motivated to continue recording episodes. Aside from gear, things like commissioning an eye-catching podcast thumbnail or thinking of a good name will help you attract more listeners.
Having a successful podcast takes a lot of time and effort. Consistency is key, but so is paying attention to the production quality. If your goal is to create a large enough listenership to monetize your podcast, you have to start from a solid place.
The Planning Phase
So you have an idea for a podcast. You tell a few friends and family, and they tell you you should do it. Why not, right? It’s just a bunch of talking into the microphone, and then, boom. It’s a hit. Hello Fresh and MeUndies will be flooding your inbox, asking you to include their ads in your podcasts. It’s wishful thinking. In truth, less than half of all podcasts make it past the third episode, and even fewer make it past ten, according to this study. And of those with more than ten episodes, less than a tenth keep to a weekly release schedule.
Many podcasts fall off the map because they fail to meet the creator’s expectations. It’s a combination of underestimating the amount of work it takes to produce a podcast and overestimating listener numbers. While new podcasts can certainly climb the charts rapidly, it’s often the case that the host or podcast network has a large following. New podcasters with minimal to modest social media followings don’t have the pull to attract an audience from the get-go. To maximize the reach of a new podcast, you need to make a good first impression and stay consistent. How do you do that? Like this:
- Have a good theme for the show. The more niche, the better.
- Make a list of names, and pick the one that draws the most attention. Being punny can work well if your podcast has that kind of tone. A good example of this is King Things, a podcast that discusses every Stephen King novel.
- Create a thumbnail that draws the eye. Or hire someone to do it.
- Find a memorable theme song or introduction. If you can’t write it yourself, you can use royalty-free music.
- Choose a podcast hosting platform and submit your podcast to apps like Apple Podcasts.
- Buy your gear and set it up.
- Record a test episode to understand your gear and podcasting style better.
- Publish a trailer that explains the premise of the podcast.
- Announce the publishing schedule in the trailer, and stick to it. Consistency will create trust with the audience and help you stay focused.
- Publish your first episode.
This is the stage where you’ll nail down every aspect of the podcast going forward. The rest of these steps shouldn’t take long if you have the podcast idea in place. Picking the name is maybe the toughest one since changing it later can confuse your audience and make the podcast harder to find. As for the thumbnail, sites like Fiverr or Upwork can be great places to commission professional art at an affordable rate. Or if you know your way around Adobe Illustrator, you can save a few bucks by doing it yourself.
Picking the right podcast platform will take some research, with every platform offering features at various price points. But, for an affordable hosting platform, you can take a look at PodBean. If you’re not sure about subscribing to a monthly plan right away, platforms like Podbean offer a free tier. The “Basic” tier isn’t much, offering only five hours of storage, limited stats, and no ads. On the upside, PodBean will distribute your podcast to all major podcast apps.
The behind-the-scenes work is tedious, but you only have to do it once. After that, you only have to worry about making the podcast and publishing it on time. To do that, of course, you’ll need a few pieces of equipment and a DAW — here’s a list of the best DAWs. This is the fun part of starting a podcast, especially if you’re a gear nerd like me.
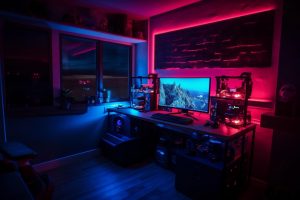
Creating Your Podcast Setup
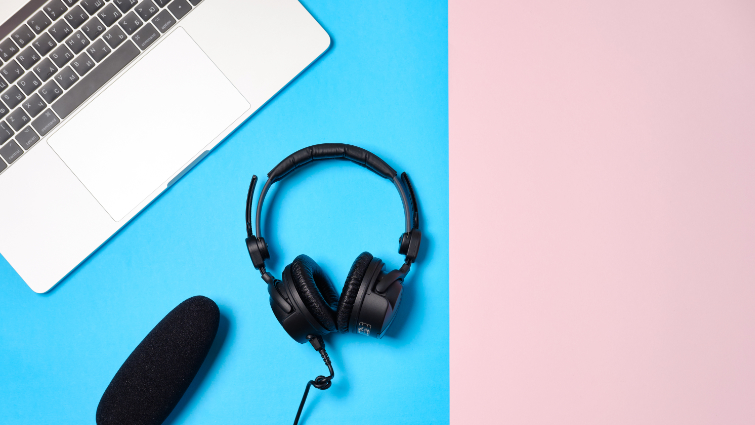
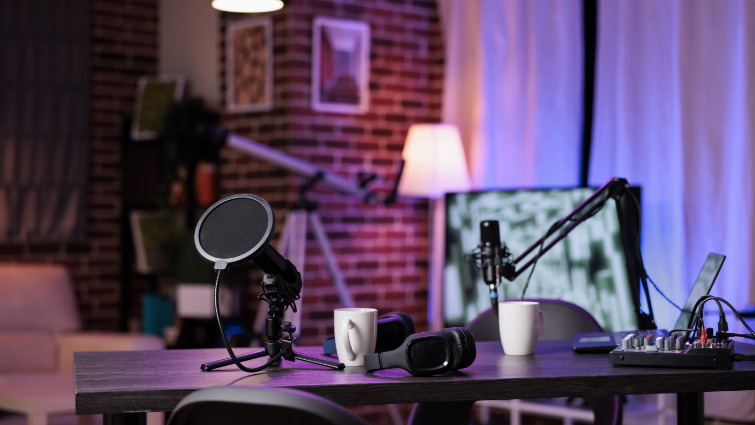
The great thing about podcasting is that you don’t need much gear. You only need a USB microphone and a computer for recording and editing. You can get a decent-sounding microphone for about $100. The Rode NT-USB Mini ($100) or the HyperX QuadCast (about $90 on sale) will work just fine for solo recording. Setting up multiple USB microphones on a single computer can get tricky, though Rode has custom software that allows multiple NT-USBs to be hooked up.
Overspending on gear is a rookie mistake, however. You don’t need a new computer or a $300 microphone, but it also doesn’t hurt to invest money into a setup that works for you. While a USB microphone can be great for the price, you will eventually grow out of it, meaning you’ll reach into your wallet for a better microphone in the future. To prevent that, you’ll want to future-proof your setup. You may spend a little extra now, but good podcasting setups age like wine. This is the gear I recommend you start with:
XLR Microphone
If you’re unfamiliar with microphones, an XLR microphone may seem worse than a USB one. I get it. XLR microphones lack built-in smart features like gain control, a mute button, or a noise gate. And because they rely on another piece of equipment to function, these microphones cost more. But the thing about XLR microphones is that they’re quieter, have a better dynamic range, and they sound better overall than their USB counterparts. Also, the quality of the microphone can be improved by upgrading the audio interface. USB microphone audio, on the other hand, can only be improved via software.
Recommendation: The $100 Rode PodMic is a monster for the price and has a classy look for extra points.
Budget pick: The Audio-Technica ATR2100x is the best of both worlds, costing just $80. You can use it as a USB or XLR microphone, meaning you can upgrade to an XLR setup when you’re ready.
Audio Interface
You can’t have an XLR microphone without an audio interface. This piece of equipment is the conduit between your XLR microphone and the computer, but it’s also much more than that. Aside from powering the microphone and relaying its audio signals to the computer, audio interfaces can adjust the gain and sometimes apply effects that improve the audio quality. But it’s the physical aspect of the device that makes it so useful. Unlike using software to adjust microphone settings, an audio interface has tangible dials and buttons. It makes it easier to adjust on the fly, keeping you focused on the podcast instead of losing your train of thought as you navigate menus.
Recommendation: Focusrite’s Vocaster Two is the best pick. It’s a bit expensive ($300 or about $250 on sale), but you won’t need to upgrade for a long time. It’s also incredibly versatile, able to work on an iPad and output audio to a DSLR for video podcasting.
Budget pick: The Scarlet 2i2, also from Focusrite, lacks the podcast-focused features of the Vocaster, but it’s still a really solid piece of gear you can pick up for about $150 when on sale, which is often.
Monitor Headphones
Realizing your audio is off after recording the podcast is a terrible feeling. Some things can be fixed within the DAW, such as low audio levels, but unwanted noise, plosives, and clipping are much harder to fix. That’s why you’ll need a set of monitor headphones, which are designed to output a neutral sound profile that is true to the recording.
Recommendation: The Audio-Technica ATH-M50x is the industry standard, with a price to match ($169). You can’t go wrong with these cans.
Budget pick: Sony’s MDR7506 monitors are the best for under $100.
Microphone Boom Arm and Other Accessories
While USB microphones may often ship accessories, XLR microphones don’t. That means buying a base stand or boom arm to hold the microphone in place. I prefer having a boom arm because it’s easier to move the microphone around and doesn’t take up room on my desk.
You’ll also want a shock mount to prevent the microphone from picking up the sound of you bumping the table or moving the boom arm. Pop filters, while not necessary, are inexpensive and can make a big difference by counteracting plosive sounds that blow air onto the microphone when certain words are spoken. Recommending specific pop filters and shock mounts depends on the microphone you have. For example, the Rode PodMic has a built-in pop filter beneath the mesh grill. Also, some pop filters, like this one, are designed for side-address microphones.
Recommendation: Samson’s $50 MBA28 is a sturdy boom arm with good mobility. This $80 universal shock mount from Rycote may be overkill, but it’ll fit your microphone. Finally, this $19 goose neck pop filter will work fine on any microphone.
Budget pick: InnoGear’s microphone accessories bundle is unbeatable for the price ($30). It comes with a boom arm, pop filter, and a shock mount. It’s worth noting this bundle may not work with all microphones.
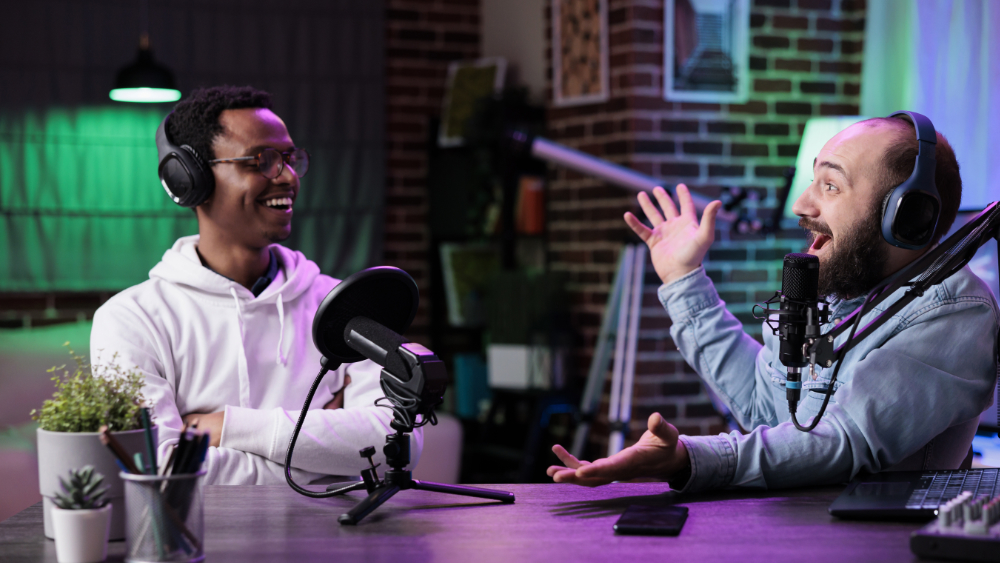
Hit Record
Podcasting is a fantastic medium to tell a story, chat with friends about specific topics, or investigate a crime. Unlike creating content on YouTube, podcasting is much more approachable and doesn’t require much. The low barrier to entry is a big reason why so many podcasts exist, but it also leads creators to believe it’s easy.
Podcasting requires publishing on a consistent schedule, which means setting up a dedicated time to record, edit, and publish every week — if you’re on a weekly schedule. But if you start strong and stick to it, you’ll eventually see the fruits of your labor. Listeners may be difficult to come by, especially when you’re an unknown with one episode to your name, but as you publish more episodes, your podcast will be harder to overlook.
Images via Freepik.
Need a break? Check out our videvoscapes — the ultimate reels for relaxation or concentration. Each videvoscape collects hours of high-definition nature footage and background video with downtempo chill beats for the ultimate escape from the grind.