The world of stabilization has come a long way since the the 2010s. What was once reserved for professional sets has now trickled down to the entry-level consumer. Initially, the primary form of stabilization was through Steadicams; then, we saw the introduction of (somewhat) budget-friendly gimbals.
A decade and more later, today’s technology works wonders in aiding modern filmmakers in stabilizing their footage. Today, we will explore the gyro stabilization found in Blackmagic cameras. But first, some history.
A Brief History of Stabilization
When we think about camera operators on a professional film set stabilizing footage, we most likely conjure the image of a Steadicam operator. Yet, if we think about a YouTube filmmaker creating a stabilized shot, we likely picture them holding a gimbal. While gimbals and Steadicams are used to stabilize cameras and achieve smooth and steady shots, they work differently.
A Steadicam is a stabilizing camera system that uses a mechanical arm and balancing system to isolate the camera from the operator’s movements, making it possible to capture smooth, steady shots while the operator moves. It’s typically used for larger cameras and heavier setups, requiring a skilled operator to use it effectively.
On the other hand, a gimbal is an electronic device that uses motors and sensors to stabilize the camera. It’s a much more compact and portable solution that can be used with smaller cameras and even smartphones. The operator can move the gimbal in any direction, and the camera will stay stable and level, which makes it a popular tool for capturing smooth shots while walking or running.
Now, with consumer-level cameras receiving in-body camera stabilization, you may even be able to pull off a handheld static shot looking very shake-free with no additional tools.
In-body stabilization, also known as IBIS, is a feature in some modern cameras that helps stabilize the camera and reduce unwanted camera shakes. This feature works by using sensors within the camera body to detect any movements or vibrations, and then the camera’s internal mechanism counteracts these movements to produce a stabilized image.
How in-body stabilisation works can vary slightly from camera to camera, but the basic principle is the same. The camera’s sensors detect any unwanted movement or vibration. Then the camera’s internal mechanism counteracts those movements by shifting the position of the camera’s sensor in the opposite direction of the motion.
Some cameras use a mechanical system, which physically moves the sensor to counteract any movements. Other cameras use an electronic system that adjusts the camera’s image to compensate for the motion, but IBIS does what it says on the tin.
Software Stabilization
Of course, in-body stabilization is never perfect as using a Steadicam; that’s why it’s great to have stabilization features in applications like DaVinci Resolve and Premiere Pro that can further help smooth the jitters that are still going to be apparent with IBIS.
When you apply the stabilization effect to a clip in your timeline, the software detects any camera movements or vibrations by typically looking at particular points within the footage, such as edges or corners, and tracks the movement of these points over time. It then adjusts the footage’s position and rotation to keep these tracked points steady, stabilizing the rest of the footage.
Of course, I’m sure everyone knows the negative results of using a stabilization tool when you get these jello-like shots. While this is often the result of the software trying to decode very shaky footage, it’s also due to the fact the software doesn’t inherently know how the camera is moving. It’s simply analyzing the image data and adjusting where it thinks it should go; it interprets the movement, and as we know, interpretation is not an accurate description.
This is where Blackmagic’s gyro stabilization will help create a more efficient form of stabilization.
Gyro Stabilization
Last year, with the 7.9 Update, Blackmagic activated a dormant motion-sensing gyro within their pocket line. It’s important to note that this isn’t a mechanical gyroscope that can offset movement. Instead, this gyroscope captures the camera’s movements during filming and saves this data within the video file.
Now, when you bring the clip into DaVinci Resolve, the embedded motion data can be utilized to improve the stability and smoothness of the footage. Therefore, instead of Resolve trying to analyze and interpret the movement, it’s receiving precise information.
The question is, just how well does it perform? Due to the nature of this exploration, it’s advisable to watch the video tutorial embedded above for visual examples.
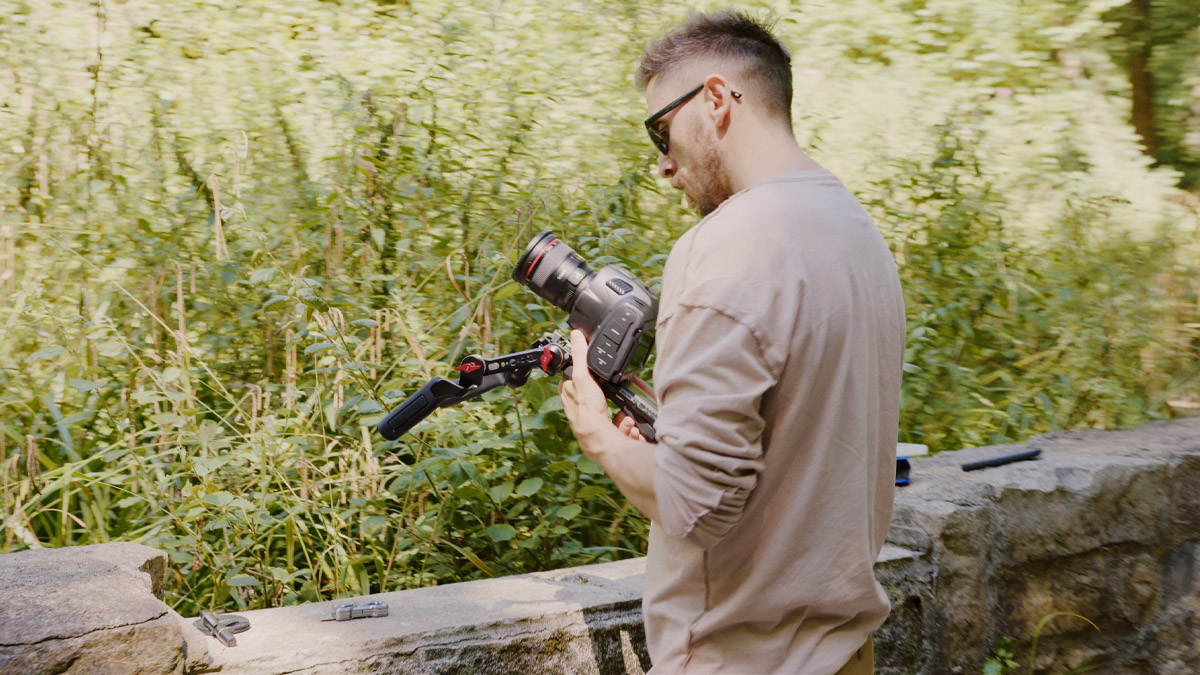
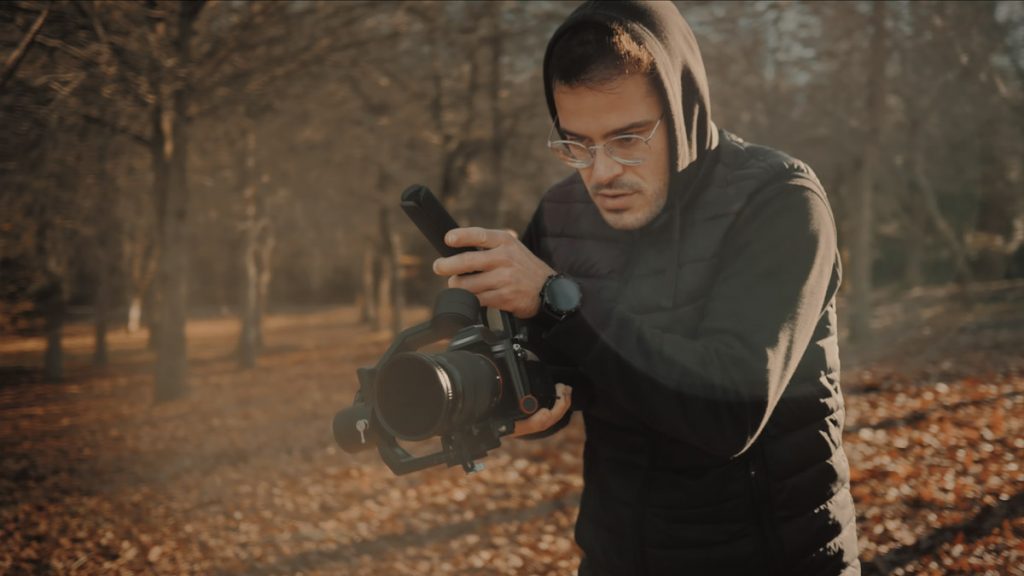
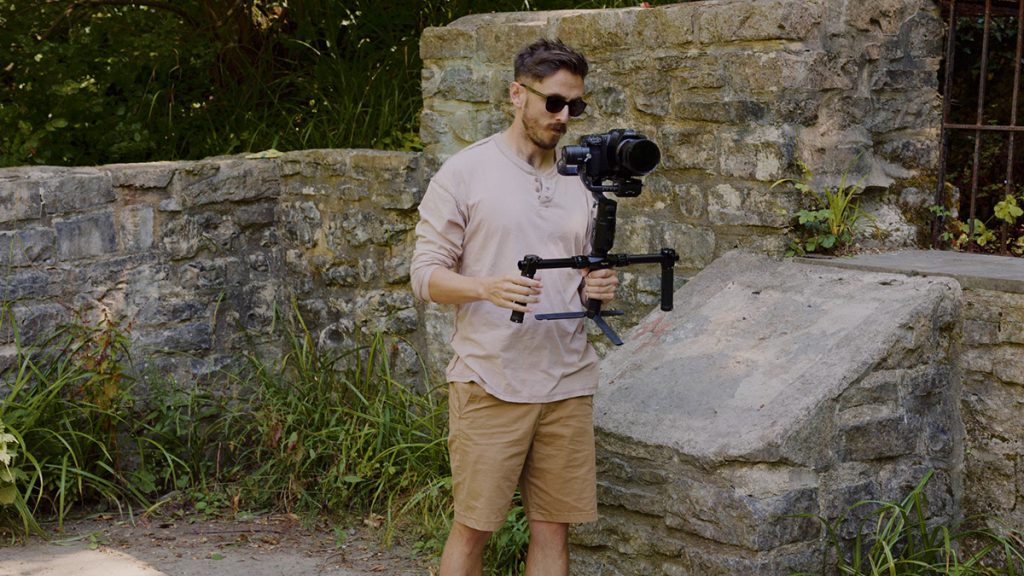
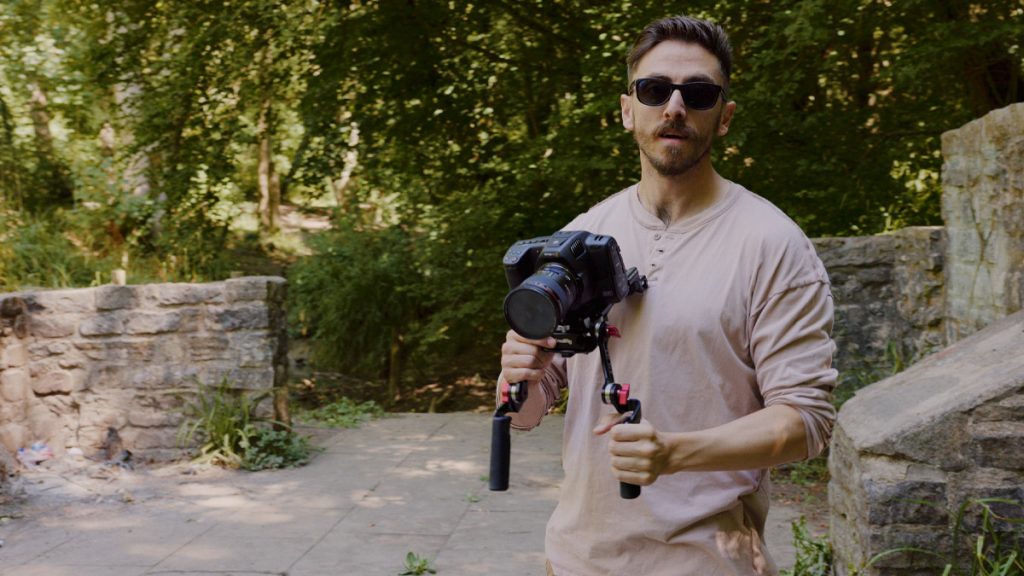
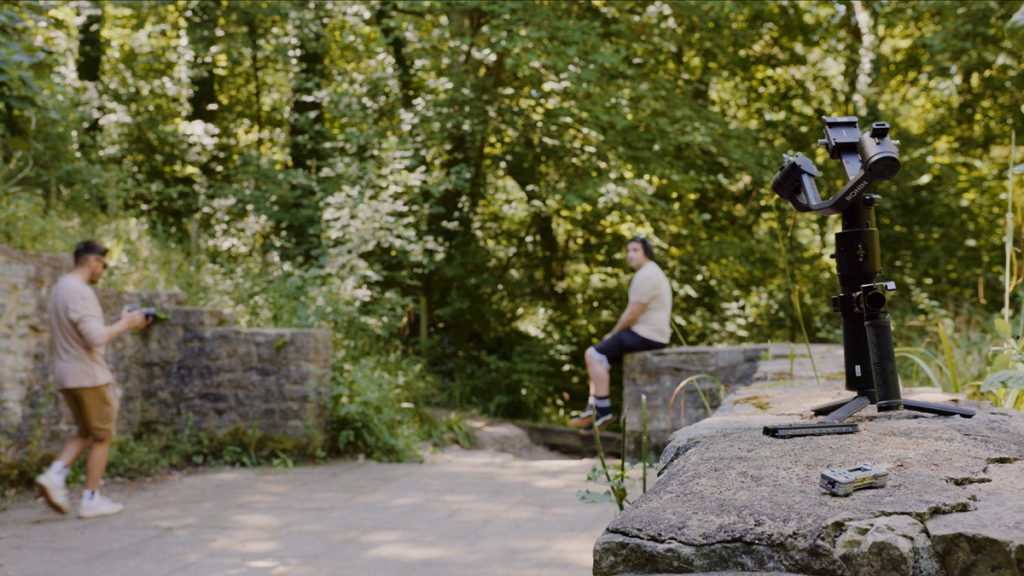
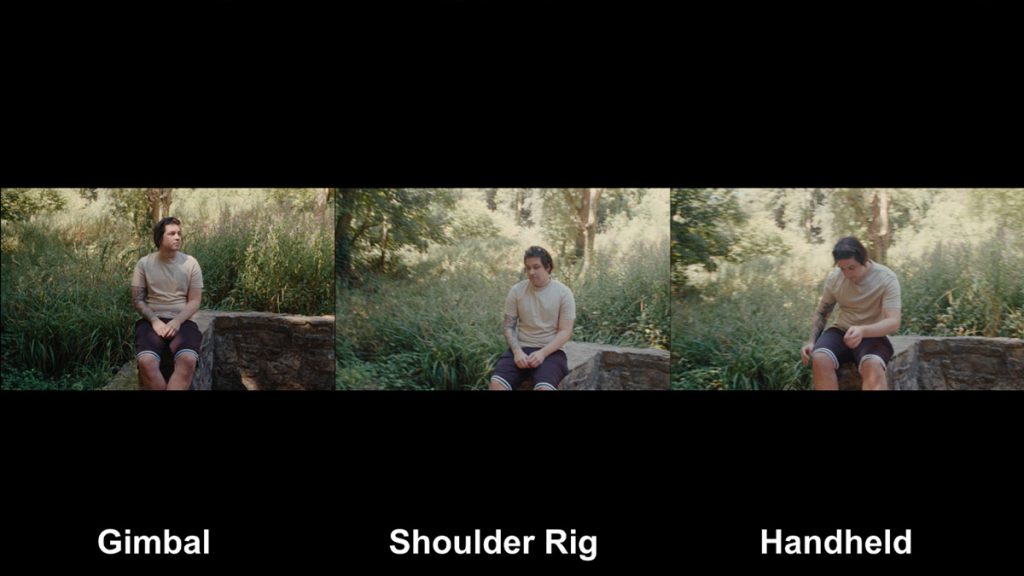
First, let’s compare the Blackmagic Pocket 6k G2 with three different forms of movement.
- Gimbal
- Shoulder rig
- Handheld
The three shots have vastly different feelings, they promote different production values, but of course, the stabilization across all three shots is varied.
The gimbal has little to no shake, the shoulder rig has a sense of purposeful motion, and the handheld looks incredibly amateurish.
However, the issue with the shoulder rig shot is that the shakiness of the shot is due to the weight of the camera. Ideally, we’d want to weigh the rig down with a heavier camera or add weights to the rig, but of course, that defeats the concept of the pocket cinema line.
The handheld shot, while having the most shake, offers the most flexibility regarding location and mobility. It’s the perfect choice for moving quickly and capturing a scene without setting up a traditional tripod or dolly. However, in my opinion, the shake ruins the shot.
Let’s begin by adding the default stabilization in Resolve and analyzing the results (please refer to the video). While the shoulder rig results are satisfactory, we still observe some abstract movement due to Resolve interpreting the type of movement. If there was any shake present in the gimbal shot, it has been entirely removed. In contrast, the handheld shot is unsuitable for stabilization and should be discarded since the added stabilization creates an undesirable effect. With the stabilization added, the footage is unusable and would be better served in its default state.
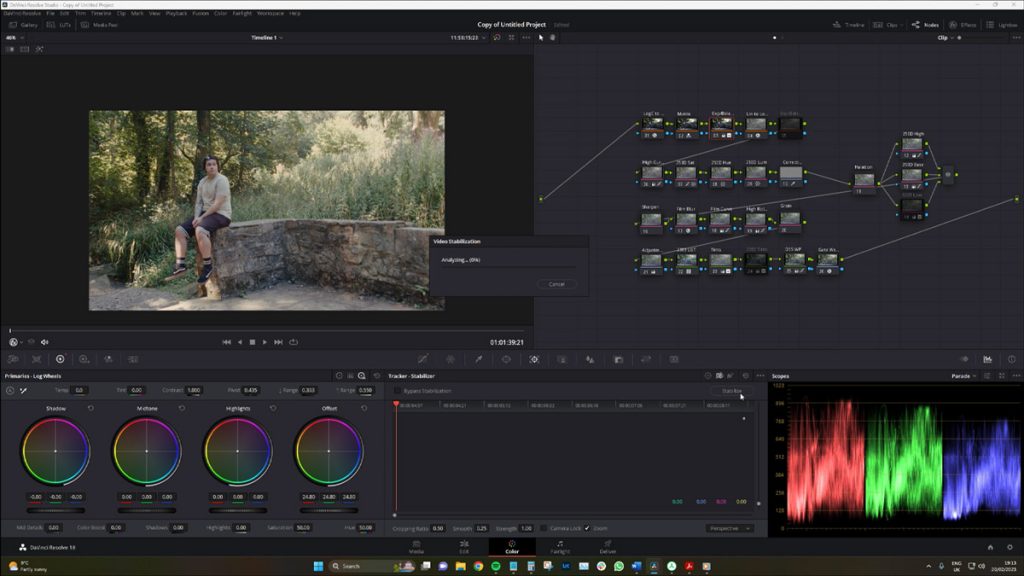
These three different types of movements produce three different results with the default software stabilization. Now, let’s explore what happens when we use the sensor gyro information by selecting the drop-down menu. This option allows us to change how Resolve interprets the stabilization method. The results are quite impressive.
Not only impressive, but the difference is staggering. At this point, we can discard the gimbal shot and focus solely on the shoulder rig and handheld shots.
Gyro Stabilization Best Practices
The stabilized footage created from the gyro information is far from its original captured state. I would maybe say the shoulder rig shot now looks as smooth as the gimbal shot. Even the handheld shot glides in motion. However, and I placed that in bold for a reason, while the motion has been smoothed, the jitteriness that has now been introduced into the footage is beyond distracting. In fact, I now wonder if it would be preferable without any form of stabilization.
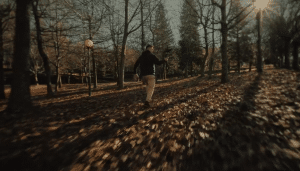
Looking at this, I may have been slightly too confident with what can be achieved. I have a very dramatic shot, so let’s look at something simpler with a standard slow walking shot — a shot where my stride is measured, and there’s a full attempt to reduce movement on my behalf.
In the video, you will find three versions of the same shot.
- Standard hand-held footage
- Standard hand-held footage with default stabilization
- Standard hand-held footage with camera gyro stabilization
Each of the three example shots produces varying results in the final output of footage. The default shot with standard careful walking forward is again awful due to visually apparent shaking from such a light rig.
The shot with standard stabilization also produces too many artifacts and degrades the quality of the footage.
In such situations, gyro stabilization should significantly improve the footage’s overall stability and minimize undesired effects.
It does, but it’s slightly too jittery from the processing. And this here is the key element to touch upon. Using the gyro information produces better results than the default form of stabilization. However, it won’t be a substitute for a gimbal or even a camera with IBIS. And this is a core point that needs to be reinforced. Activating the dormant gyro is a massive update. The results are always an improvement. But the foundation of the original footage is still pivotal. You won’t get silky-smooth footage if you’re running with the camera in your hand.
As such, you will still need to employ the core practices of handheld footage:
- Use as many contact points as possible between the camera and your body (elbows touching the torso).
- Use a neck strap.
- Take slow and steady strides.
- When possible, use a higher frame rate.
Filming at 60fps also produces better results because it captures more frames per second, which gives DaVinci Resolve more data to work with when stabilizing your footage. The software can use this extra data to analyze the motion of your footage more accurately, resulting in better stabilization.
In conclusion, Blackmagic’s camera gyro stabilization can significantly improve the quality of your footage compared to relying solely on basic stabilization tools in Resolve. Using the gyro stabilization feature, you can ensure your footage looks better than it would without it. However, it’s important to remember that even with the best stabilization tools, the quality of your footage ultimately depends on how it was initially captured. So, it’s always a good idea to pay close attention to your shooting technique and take steps to minimize camera movement while filming. Combining good shooting practices with the latest stabilization technologies can produce stunning results that will leave your audience wondering if you had a gimbal on set.
Looking for filmmaking tips and tricks? Check out our YouTube channel for tutorials like this . . .
Looking for more tips and tricks? Check out these articles . . .