Editing ambience recordings needs a light touch. Here’s what you need to know.
After a long few days of recording ambient sounds, the time has come to sit down at the computer and edit. In comparison to most other sounds, editing ambience is a relatively simple process and only needs a few tools here and there. As the ambience is made up of multiple sounds together in a natural environment, we want to maintain the authenticity of the soundscape, so the editing is very minimal. Here’s a quick guide into the essentials necessary for editing ambient recordings.
Good Recordings Mean Less Editing
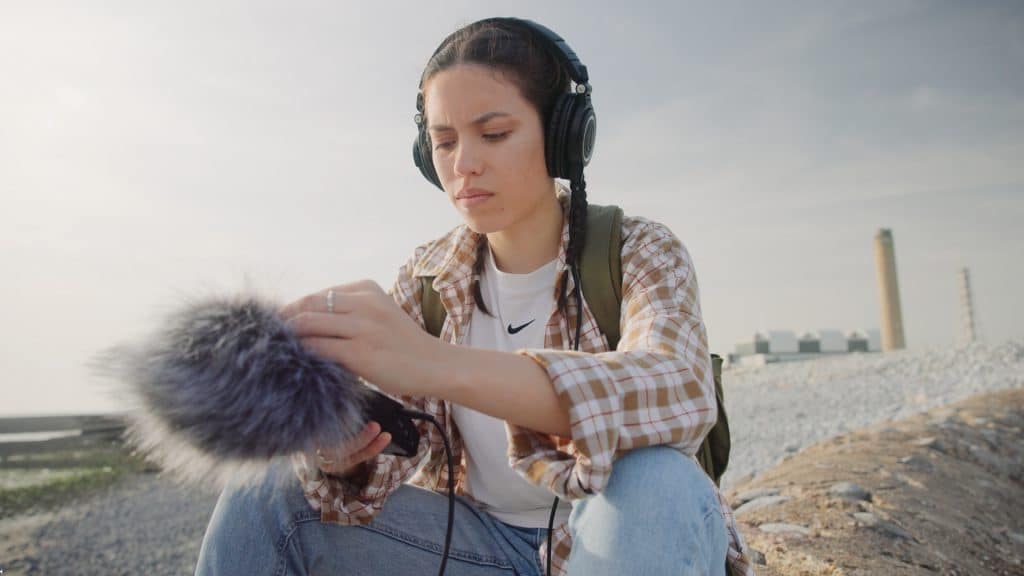
Before diving into the editing tools, it’s important to note that having a decent set-up that allows for the best recording possible is paramount in any scenario, particularly ambience. This includes having the appropriate gain levels dialled in, good microphone positioning, the right accessories like a blimp or a windshield to negate any unwanted noise, some good monitoring headphones, and a stable stand for longer recording sessions.
Recording ambience means working in environments that aren’t controlled. Noises will arise here and there that may not be what you wanted. So, if you can have control over the gear, then that’s already a fantastic start. This will avoid any mishaps such as distortion or a recording that’s too quiet. You also don’t need super-expensive gear for this: a simple handheld recorder, some monitor headphones, and a stand can give you brilliant results, without breaking the bank!
EQ: High Pass Filter
EQ is your best friend when it comes to editing ambience. Using an equalizer will help shape the ambient sounds — as well as cut away any unwanted sounds. When we talk about unwanted sounds, in this case, we mean low-end rumble. This is the sound that occurs anywhere below the 100Hz region. These sub-frequencies can pose a problem down the line in the overall mix, such as phase issues, which can result in hollow-sounding ambience.
Low-end rumble can be in the form of wind that may have been picked up in the process. This is something that unfortunately can’t be controlled, so it’s essential to apply that high pass filter to clear up the messy low-end. Listen carefully, and ensure that the filter being applied doesn’t cut away any frequencies that contribute to the character of the ambience.
EQ: Low Pass Filter
It’s not as important as the high pass filter, but applying a very subtle low pass filter can help with taming any harsh high-end frequencies. Microphones tend to make noise, especially from recording quiet ambience. This is from the electronic components — hence why recording ambience needs a gain level that is slightly lower than if you were recording sound effects, to counteract the self-noise.
This type of noise can be more present in the high-end. Having a low pass filter at around the 10kHz region with a steeper slope of 24dB/Oct will distil some of that noise for less harshness.
EQ: Resonant Frequencies
Ambience comes in many different forms, from forest sounds, to animals, water, machinery and people. While you may have that specific sound picked up pretty clearly, sometimes they can be super resonant. The noise can stick out too much in the overall ambience, but fortunately, there is a way to fix this!
As the high pass and low pass filters are shelf filters, we can use bell-shaped filters to tame resonance. We can do this easily by selecting a node, changing it to the bell shape and increasing the Q value to make the bell shape narrower. If you already know what sound you want to decrease, simply move the node over to that area, and decrease the gain of the node by a few decibels.
EQ: Highlighting Frequencies
Conversely, there may be sound that you would like to highlight specific areas that may be lacking in the overall texture. We can use a bell shape or a high-shelf filter and boost frequency ranges. While this is a great way to do this, only do it if it’s necessary, as this can tarnish the overall quality of sound, so listen closely when considering this.
I would advise doing this at the higher end of the frequency spectrum if it needs be just to add some brightness. Avoid this in the low-mid frequencies as this can result in muddiness. This is all down to personal preference, but as long as it doesn’t sound unnatural, then doing this technique in small doses can help enhance those areas.
Crops and Fades
Ambient recordings are more long-form, and considering the uncontrollable environment, the full recording may not be the standard you want it. Luckily editing software allows us to crop audio clips, and combine different clips to sound like one using fades.
Fades allow smoothness in transitions. As a general rule, it’s always best to put a slight fade at the beginning and the end of a clip. Doing so can avoid any clipping, particularly if you have cropped a clip. Furthermore, you can combine two sections of a recording using crossfades. You may need to cut out a section where there are unwanted sounds, such as someone talking, abrupt footsteps, a plane, etc. Just drag the clip and slightly overlap with the other. Some DAWs will automatically place the crossfade; others will require you to add it manually. It’s super simple and a great way to combine clips.
Gain Adjustments
As mentioned at the beginning of the article, gain levels are an important aspect when dealing with any type of recording. As we have to record at much quieter levels for ambience, the final recording may be on the quiet end. In post-production, you may need to increase the overall gain. Just be sure to not overdo this as you still want plenty of headroom to make space for other sounds to exist in the space if the recording is part of a designed ambience.
Using a Spectrogram
This is entirely optional, but using a spectrogram is a useful tool to visualize your ambience recordings. A spectrogram is a tool that visually represents frequencies over time, and it’s a great way to distinguish any problematic noises just by sight.
The X-axis represents time and the Y-axis represents the frequencies. The intensity of the color of the audio dictates the amplitude of the frequency at any given point. This is a great way to analyze the behavior of the frequencies if you’re more into the physics behind the sound.
This video by David Dumais Audio uses a spectrogram to edit his field recordings!
Spectrograms can be useful for identifying sounds that aren’t necessarily part of the ambience. This can help down the line if you need to use shaping to nullify or reduce that particular area. You may have to purchase a spectrogram as not all DAWs will have them included, so if you’re feeling fancy, there’s no harm in grabbing one to get to the gritty gritty details of the soundscapes.
Conclusion
While there’s a lot of information here, it’s a rather simple process when you boil it down.
Always apply a high pass filter to get rid of low-end rumble, and use a slight low pass filter to reduce harshness (only if necessary). Use bell-shaped filters with a high Q value to tame resonances if needed, or enhance frequency areas with a bell-shaped filter and a lower Q value. Make sure the gain is just right for your sound design and use fades for smooth transitions. Crop out audio that includes unwanted noise and meld together clips. You now have all the tools and knowledge to edit ambience!
Looking for filmmaking tips and tricks? Check out our YouTube channel for tutorials like this . . .