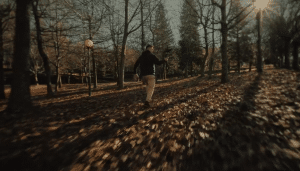
The unsung hero of a beautifully lit shot is a catch light. Here’s everything you need to know.
When it comes to lighting, there are a lot of things you have to consider to pull off a great-looking shot. Regardless of whether you’re shooting photos or video, lighting is definitely one of the more complex aspects of creating a professional-looking image.
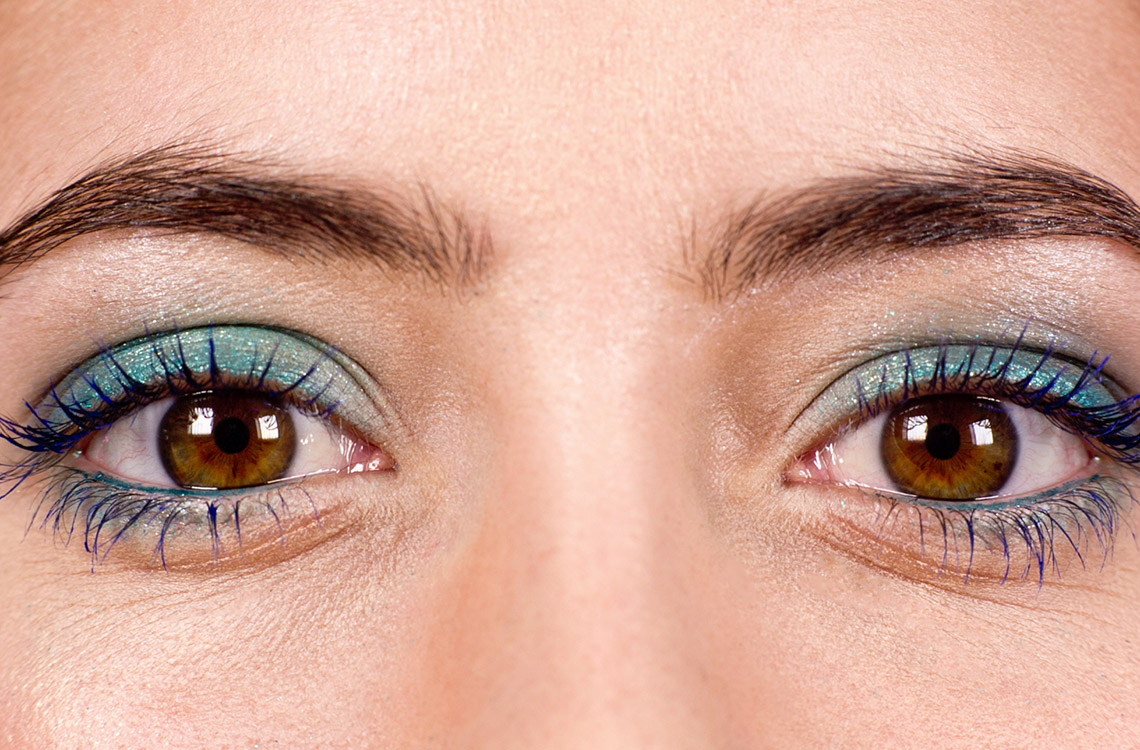
We often talk about things like diffusion, we talk about bounce, we talk about shadow, but one thing that a lot of shooters worry about far too little is what is happening in the eyes of the subject. Like literally, how do the reflections in the eyes look.
This is the difference between a lively, engaging, beautiful shot and one where your subject looks lifeless and dull. It’s a little thing called catch light.
The human eye is obviously an extremely reflective surface. Lighting reflective surfaces comes with rules of their own, and not knowing them might make or break your shot.
When you’re lighting an extremely reflective surface, you’re not actually as worried about pointing light directly toward that surface. You should be far more concerned with the look of the reflection created by that light. Think of a mirror. If you wanted to light up a part of a mirror, would you shine a bright light at it, or would you reflect something big and bright into it?
In the case of catch light, what we’re referring to is the use of a light to intentionally create a pleasing reflection in the eye, and the term describes what the reflection is doing in your shot. Getting a good-looking catch light is relatively simple, but when you get it wrong, it looks really bad and is incredibly noticeable to even the least technical viewers.
Turns out, catch light is a lot more of a deciding factor about the mood and look of your subject than you might have initially assumed. The light reflecting in a subject’s eyes really does a load of work in terms of providing life in the eyes, and it’s another tool in your toolbox that can convey tone and feeling.
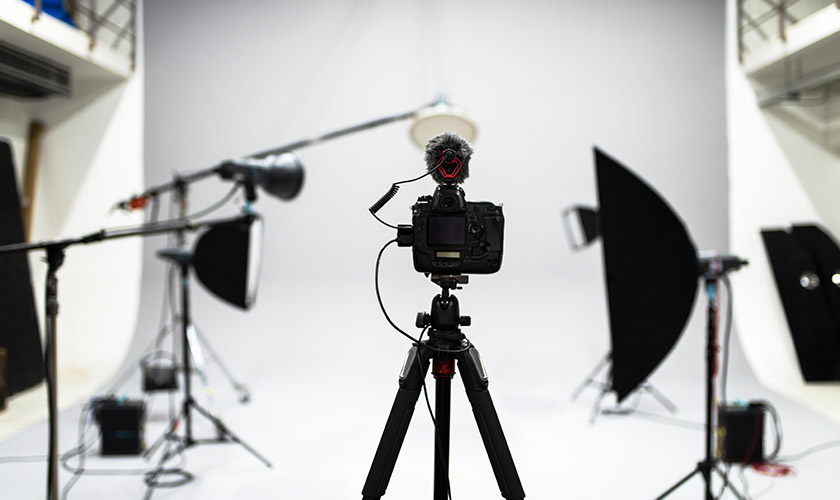
Here are some of the things to consider when attempting to get good catch light.
Light Placement Is Key
One thing that I love to do when watching movies is try to dissect where the cinematographer placed the lights in the scene by looking at each character’s eyes.
Often, just by pausing a scene and looking really closely, you can see the entire lighting setup, and sometimes members of the crew in the background, all reflected off of an actor’s eyes.
Light placement is one of the biggest deciding factors when it comes to whether or not a catch light will be just right. If the light is too far to one side of the subject’s face (lighting the side of their head), then it won’t be visible. Same thing goes for a light that is placed too high above your subject’s head.
If you’re lighting someone’s face, it’s relatively hard to place a light where it will create no catch light at all, but it’s definitely possible. Especially for interviews, this is definitely something you really want to pay attention to.
Often, for a moodier look, you may be tempted to bring your key light around to one side of the subject such that the other side of the face is only barely lit — if at all. In this case, you’ll often lose the catch light entirely from that fixture.
Without intervention, this will lead to a scene with no catch light and a really unsettling dead-eye look to your subject. You don’t want the dead-eye look. Even if you want to add the tiniest little speck of light closer to the camera, it will absolutely add a bit more life to your subject’s eyes, regardless of the brightness of the light itself.
A common issue that has come up from time to time in my work is when a subject is wearing glasses. Generally when your subject has glasses, you’re going to have some issues with reflections. A common solution for reflections in glasses is to raise the light fixture higher until the light disappears in the top side of the reflection. This can cause the catch light to disappear as well.
In contrast to a reflection in some glasses, a catch light can be tiny and still have a decent effect. You just need that little bit of life in there. So just pull out a tiny light, lower the output, and just stick it where you can still get a tiny bit of glint. That’s all you need. A catch light doesn’t need to bright.
A Natural Look Is Best

Another thing that I see very often in photography and fashion visuals is a heinously unnatural catch light. It is truly super unsettling to see these ring light approaches that has for some reason become a mainstay of hobbyist and influencer-type shooters.
I absolutely despise the look of a ring or diva light being used close to the face with the camera placed right in the middle, with the subject up close. For some reason, it’s just become a common understanding that this makes you look great. Which it will, of course, do great for your skin with nice even lighting, it absolutely creates one of the most alien-like and unsettling catch lights you can dream of.
There are a number of ways to use a catch light that are completely unnatural and completely distracting. The ring light example is just one of them. If you’re going to use a ring light for portraiture of any type, I highly recommend using it slightly off camera, or further back so the eyes aren’t filled with an alien-like ring around the iris. It’s not flattering — it’s distracting.
Another thing I’ve seen somewhat often is uncommon fixtures being used for lighting that cause strange-looking catch lights. An example of one is a lighting fixture called a Quasar or LED tube. These are bars of light that have become pretty common for on-the-go lighting. They look great, and they make a great key-light, but they can create a distracting catch light if placed in a certain configuration. To my eye, it seems to be less distracting when used horizontally (which is better for soft lighting anyway).
If nothing else, this is just a reminder to keep an eye on your catch-light and try to make sure that you’re not creating anything that is a distracting or unflattering shape.
Don’t Overthink It
Generally speaking, if you’re paying any attention at all to catch-light, you’re going to be fine. For me, the best possible catch-light is a dome light that is really large and close to the subject. It lights up a larger portion of the eyes and is also just good for lighting quality in general.
You might also be going for a scene where your subject has a bit of a dead look. Again, these are all tools that you can control in the service of the mood or tone of your scene. For instance, you may choose to light your villain in a way that makes the eyes dark and soulless, while you might want to make sure your protagonist has a big, beautiful catch light to give your audience a feeling of comfort when they see them.
It’s a tool just like anything else in lighting. It’s just definitely one of those things that’s like every other aspect of lighting — when it’s off you really notice it, and when it’s right, you almost don’t.
A good catch light in the subject just feels right — so right that it feels effortless and you don’t notice it. A bad one sticks out like a sore thumb and can ruin an entire viewing experience.
What to Do When All Else Fails
So you’ve got your lighting setup just how you like it, as it relates to the skin and general lighting of the scene, but you notice that your subject has a pretty weak catch light. What do you do then?
As mentioned before, when it comes to catch light, it doesn’t take a whole lot to make a difference. I like to carry a small battery-powered light like an Aputure MC that you can literally just stick to the camera and turn on at the lowest brightness you can get. In most cases, this will cause almost zero discernible lighting change in your scene, but it will liven up the eyes just enough that they no longer look dull and lifeless on your subject’s face.
Just remember: the closer the light is to your subject’s face, the more it’s going to play a role in the lighting, inverse square law and all. So if you want a bigger catch light, make sure that it’s creating the effect that you want. Softer, bigger, and overall higher-quality lighting is the way to go if you want your catch light to be good on all levels.
But again, don’t overthink it. Just don’t buy one of these and think you’re good to go. It takes a bit more than that.
Images via Freepik.
Looking for some music for your projects? At Videvo, our library has everything from free ambient music to music for streams — perfect for any indie project:
- Royalty-free Christmas music
- Royalty-free meditation music
- Royalty-free upbeat music
- Royalty-free jazz music
- Royalty-free Halloween music
Need a break? Check out our videvoscapes — the ultimate reels for relaxation or concentration. Each videvoscape collects hours of high-definition nature footage and background video with downtempo chill beats for the ultimate escape from the grind.