Every filmmaker will need a spotlight from time to time. Here’s how to use one effectively.
If I were to ask you about using hard light, I would wager that your thoughts would initially gravitate toward how you can soften the light and not use the hard light in its default state. Regarding entry-level filmmaking and online content creation, hard light is often too brutal for everyday setups. Therefore, we look at soft boxes, silks, diffusion sheets, and everything in our toolkit to spread the light and make it appear softer and more beautiful.
On an entry-level basis, we work in smaller environments with fewer people, and hard light is too overpowering. However, the moment your set extends in size, you’ll see a great need for hard light to help illuminate the location in a way that mimics natural daylight.
As such, when viewing behind-the-scenes stills, it’s not uncommon to see a series of condor cranes with 12k Fresnel lamps attached to each beaming down into an interior to simulate windows admitting natural daylight. This, in turn, allows the filmmakers to move the camera where necessary in the location.
However, even when filming in a smaller location where typically you would gravitate toward soft light, today I want to talk about a light tool that will help you create better and more exciting compositions with the addition of hard light. The tool I’m talking about? The spotlight.
What Is Hard Light and Soft Light?
If that introduction has excited you, but you’re not entirely sure of the difference between hard and soft light, let me give you a quick debrief before you continue.
Hard light:
- Produces sharp, well-defined shadows
- Creates high-contrast lighting with strong highlights and deep shadows
- It can create a dramatic and stylized look but can also appear harsh and unflattering
- Suitable for action and dramatic scenes or for accentuating textural details
- Created from a small, powerful source
Soft light:
- Produces softer, less-defined shadows
- Creates low-contrast lighting with subtle highlights and shadows
- Creates a more natural and flattering look
- Suitable for portraits, beauty shots, and scenes where natural, unobtrusive lighting is desired.
- Created from a large source.
Now that we have that covered, let’s look at how to use hard light.
Modifying Hard Light
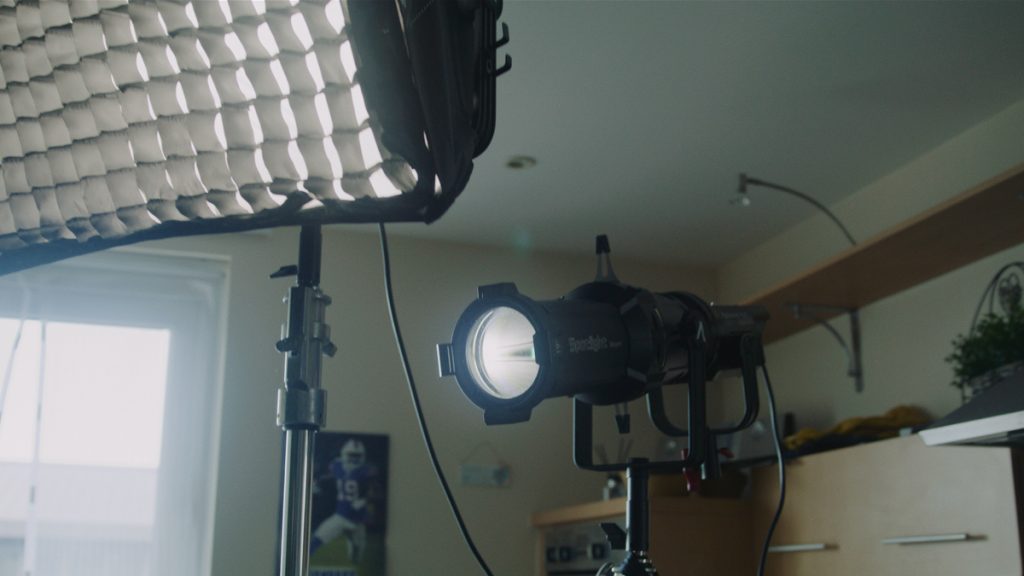
Depending on the model you buy, some LED lights will ship with a reflector dish, which will help direct the light into a more controllable area — usually, a 55-degree angle. However, it’s still not very flattering. We need more control.
So, instead, you might attach one of these to your lights. This is a Fresnel lens, similar to tungsten ARRI Fresnel lamps that once crowded every aspiring filmmaker’s wardrobe.
Like an ARRI junior Fresnel lamp, an LED Fresnel mount will do the same thing; it accurately finesses the beam angle of the light source. So now, instead of having that sizeable 55-degree beam, we can control it down to 12-40 degrees. It’s important to note that the concentrated beam makes the light twice as bright.
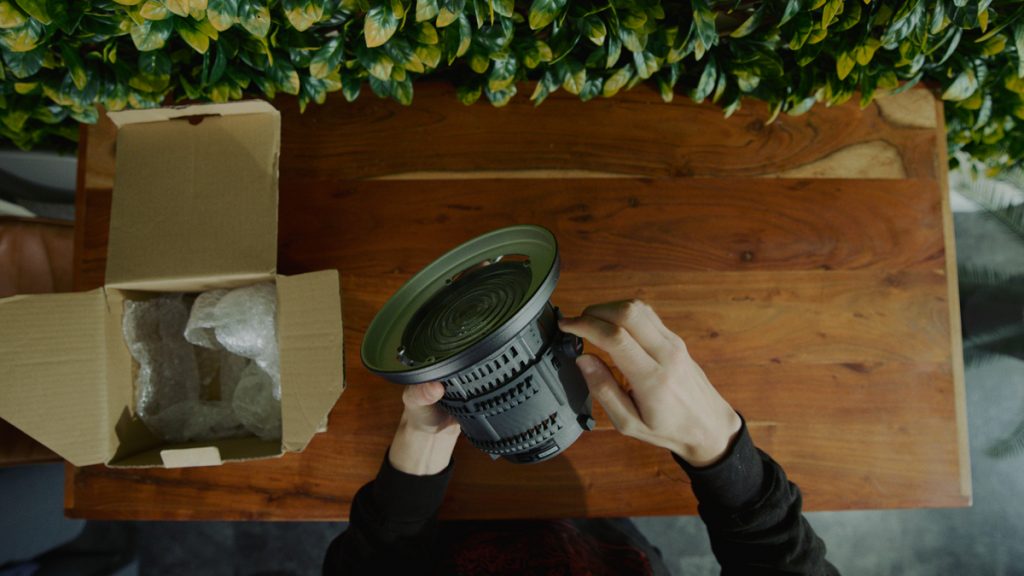
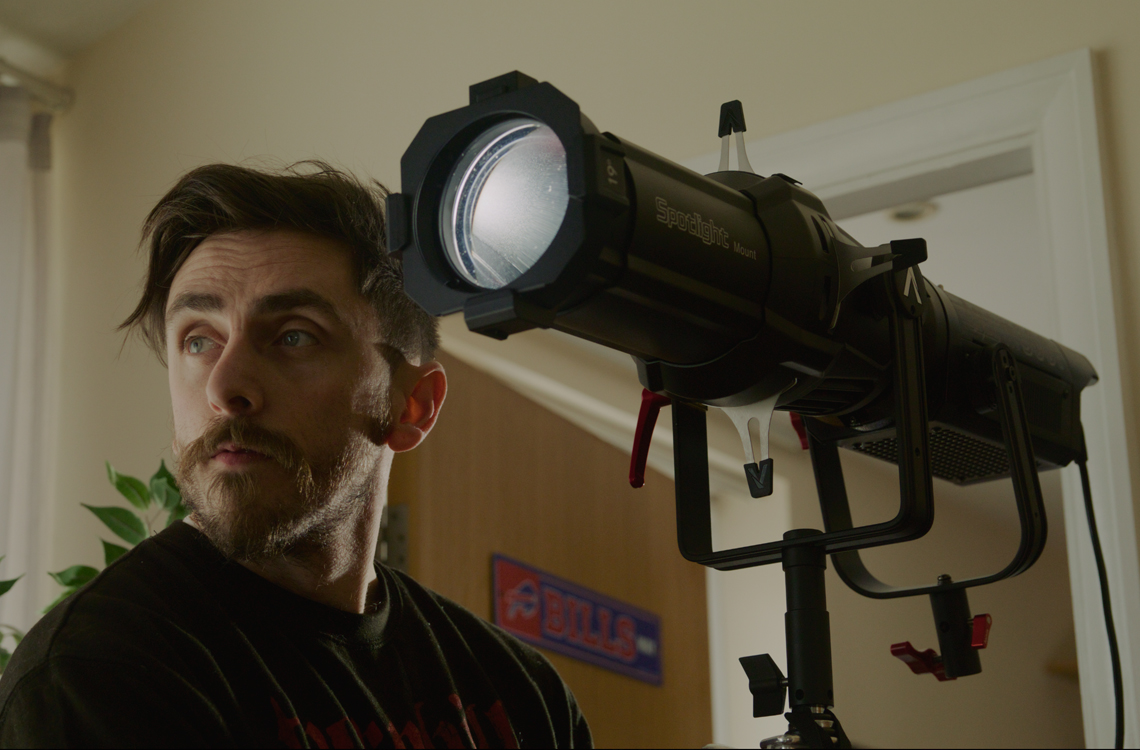
The Spotlight
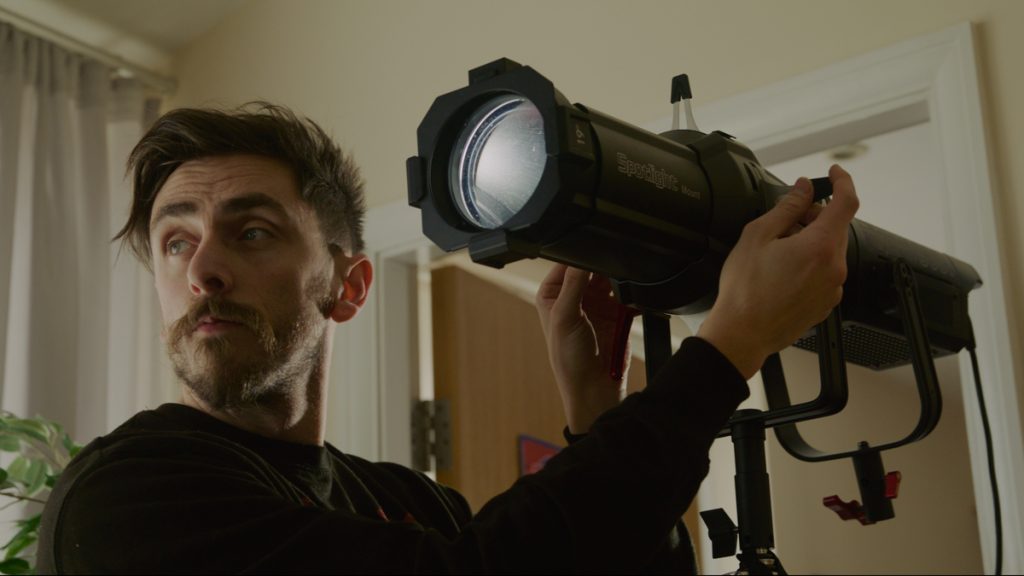
However, I need a different look than this to give me the correct look I’m aiming for. So let’s finally bring out the spotlight mount.
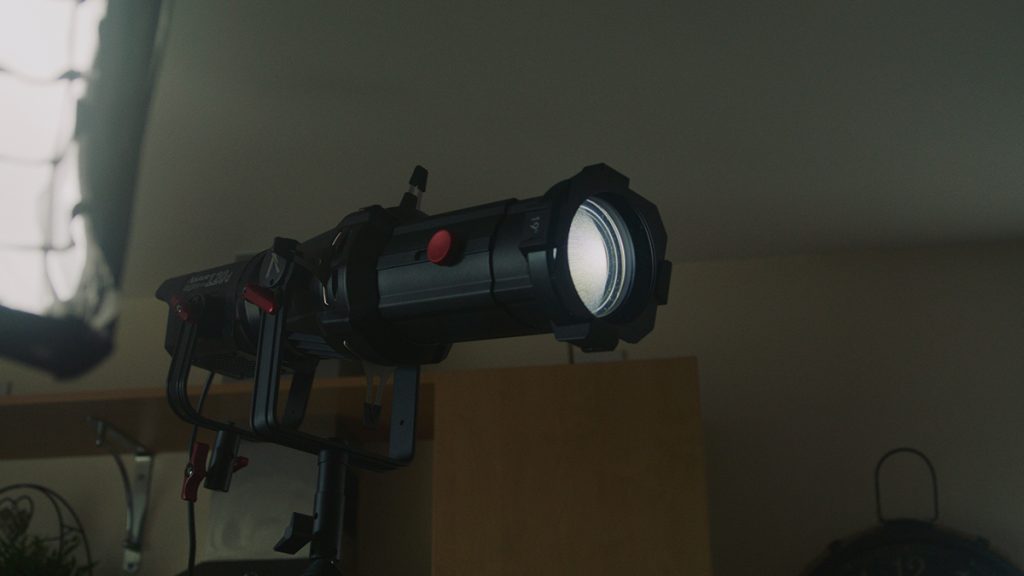
I’m sure many will be familiar with the concept of a spotlight from theatre or music gigs. A spotlight in theatre is used to illuminate specific areas or performers on stage, drawing attention to them and highlighting their movements or actions. The spotlight mount seeks to do the same on a more portable level.
We haven’t taken the hard light and made it softer; we’ve taken the hard light and harnessed complete control of its directionality.
This mount also helps us achieve ten times its actual output; the high-resolution lenses produce an even beam of light with minimal light falloff on the edges.
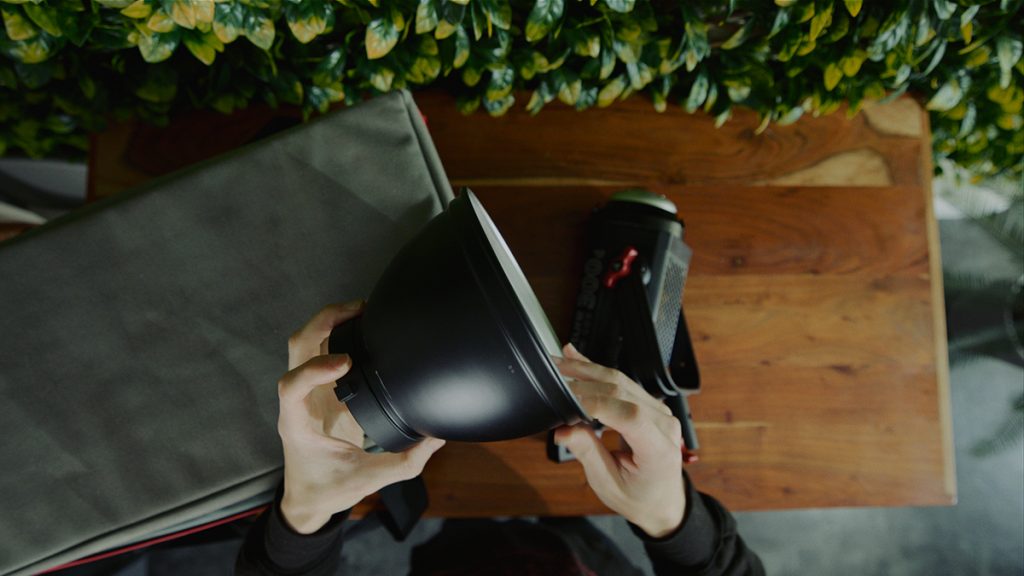
(It’s worth noting that while I’m using the gear from Aputure, many other brands offer a spotlight, too — like Godox, Nanlite, and Nanlux, and I’m sure SmallRig is pretty close behind.)
Now, all of a sudden, we have this controllable beam of light instead of having this criminally powerful output of hard light from the LED light when using the reflector dish or Fresnel lens. This allows us to position this touch of light in places that would have otherwise been off-limits with the other modifiers. Let’s look at two examples of how useful this tool can be.
Using the Spotlight for Background Interest
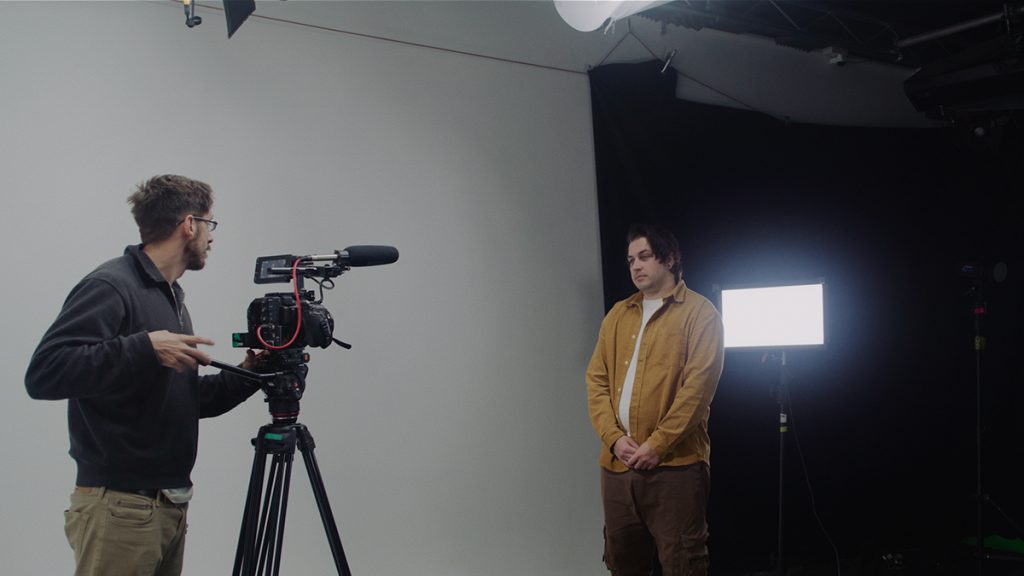
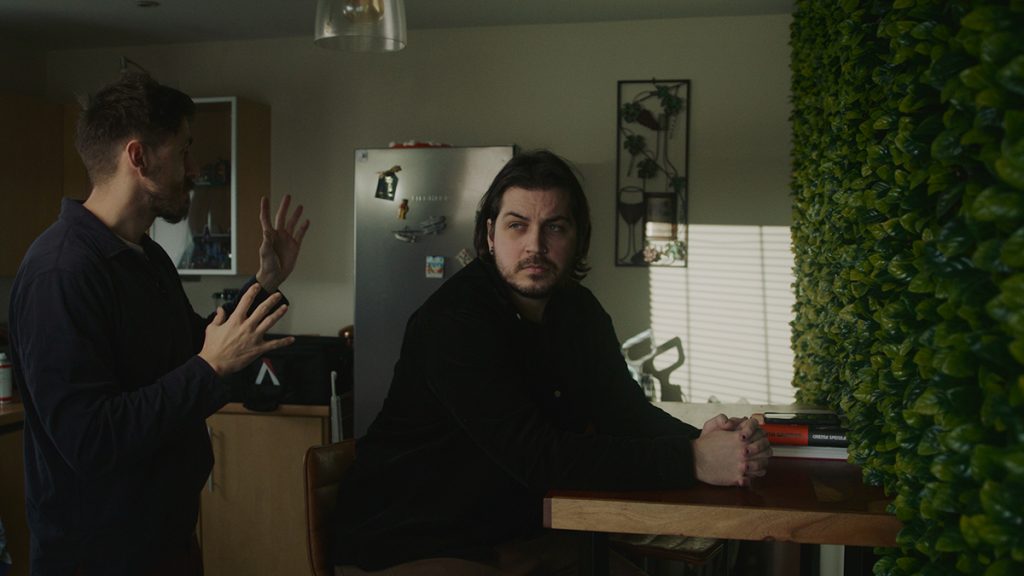
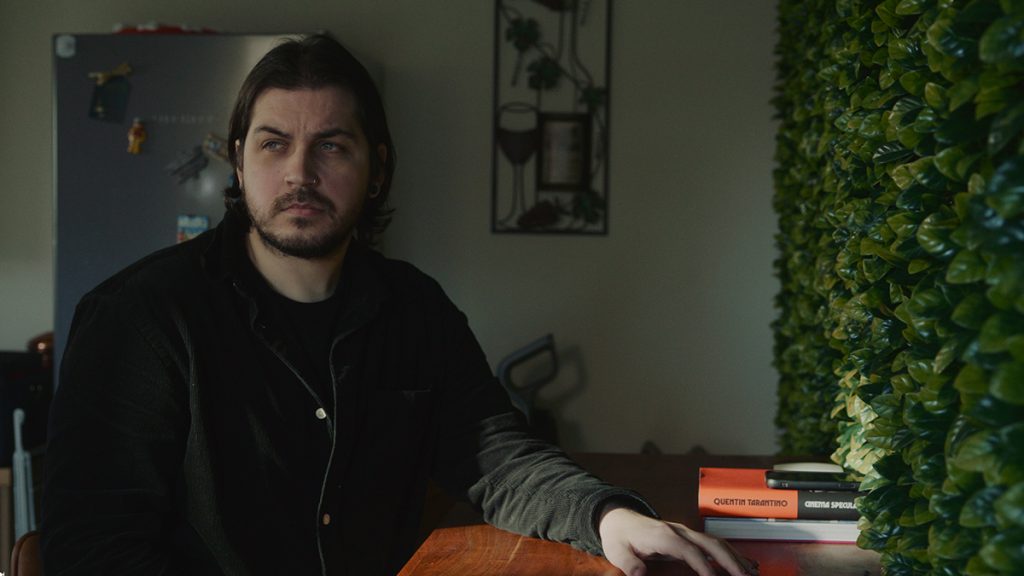
In the example below, our character has received a text, and it’s not good news. If this is the same character from our negative fill tutorial, he’s not having excellent luck lately. Overall, I’m happy with the lighting on our subject.
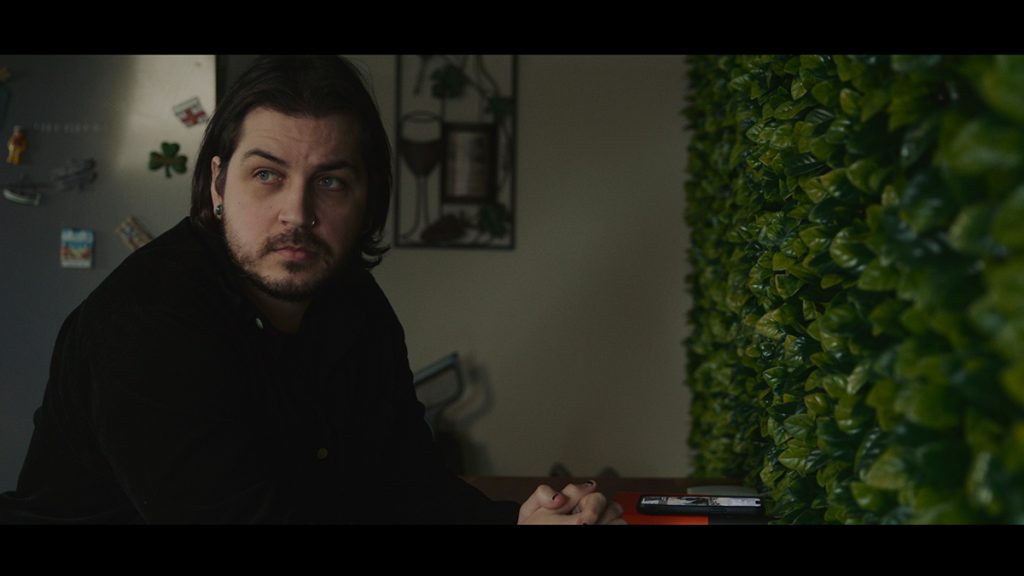
I have a Nova P300c as our key light, and this has a softbox and ¼ Grid Diffusion Sheet that will further soften the light. While this light is excellent for my subject, I’m using a flag to stop this light from spilling onto the wall, and because the wall has a dark green floral decoration, it, in turn, is acting as a negative fill. It looks moody and cinematic, my two favorite things.
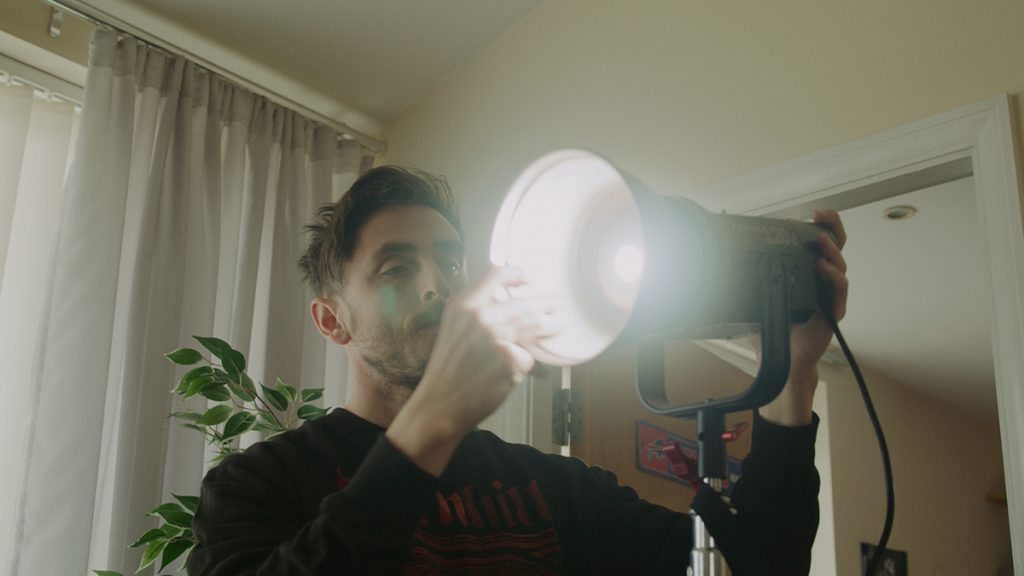
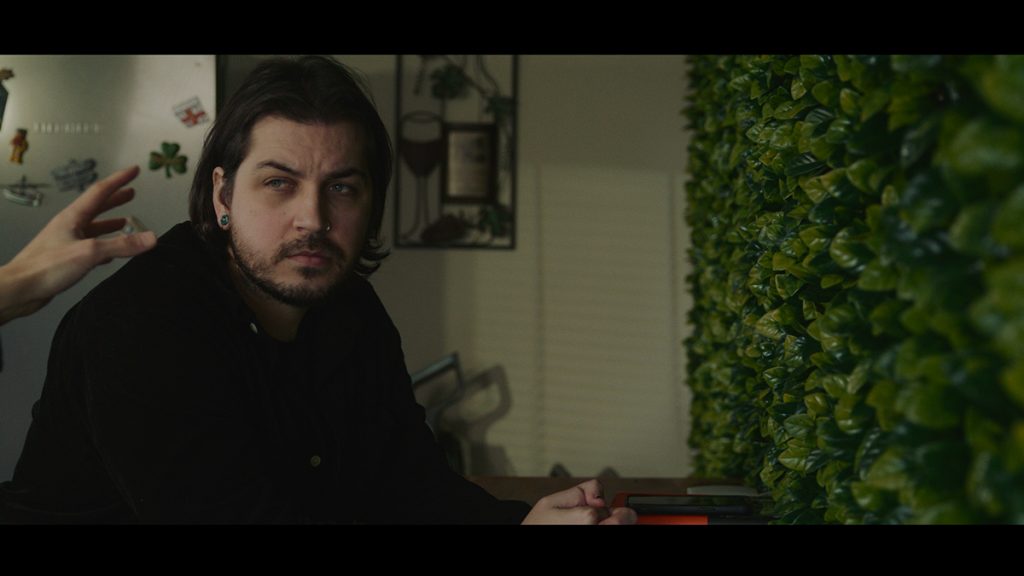
However, this area in the back is killing me. It’s plain, lifeless, and uninspired. We can now use our calculated splash of light from the spotlight mount.
One of the core features of the mount is that it doesn’t just reduce the beam to a smaller angle, but the design incorporates shutter blades, further customization of the light beam. We can shave off specific sides of the light, and with a dual drop-in slot, we can insert gobos and gels to create a customized display of light. The spot and flood functions help soften or sharpen the light, and the lens can also be swapped to achieve different beam angles—you can see why I love this tool.
So, using the spotlight with the gobo attachment that mimics Venetian blinds, I can paint a touch of light to the background. The goal isn’t to distract or to flaunt but to add a touch of interest to the composition to keep that area from falling into an ugly magnolia smudge.
It is of the utmost importance that when using the spotlight to achieve this, you do not have the intensity of the light brighter than the key of your subject. If it is, seek to lessen the intensity with ND gel.
I love this look, but depending on the project, sometimes it’s not suitable. Therefore I would like to present my second favorite use of the spotlight mount: natural hard sunlight.
Using the Spotlight for Sunlight
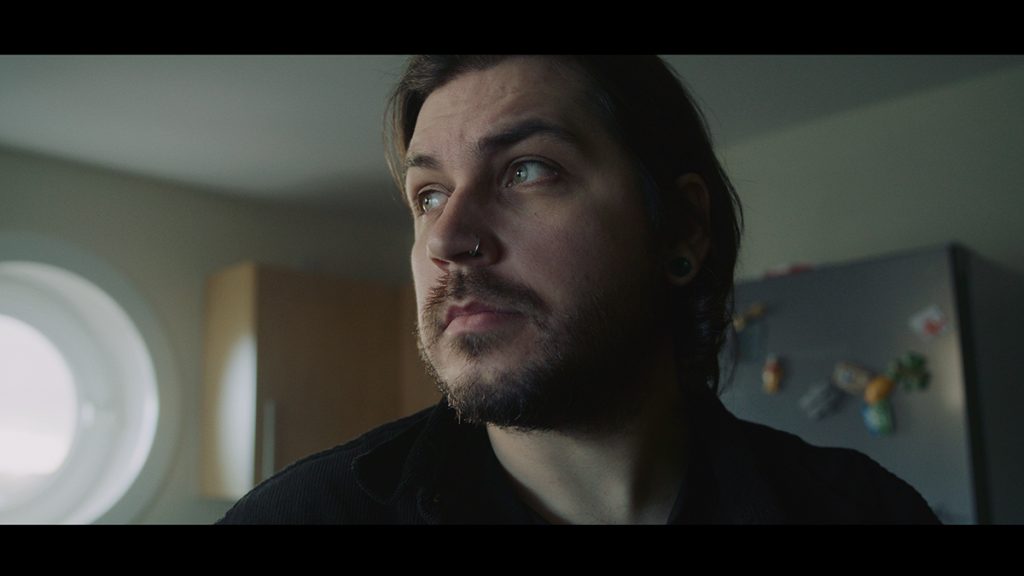
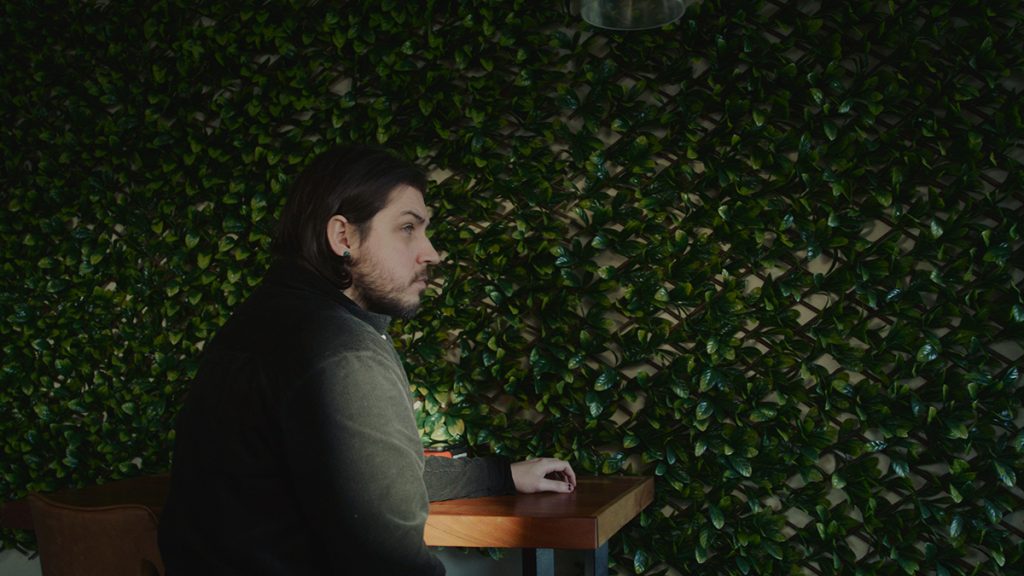
In many circumstances, we typically set our key light to be motivated by a source presented in the establishing shot. In the case of our example, the window near the kitchen sink. However, if we’re replicating daylight from the window, it would be unnatural to have the talent solely illuminated with a soft light if the sunlight coming in through the window is hard.
So, how about the best of both worlds?
You can establish the key light with our soft source and then use the spotlight mount to direct some hard light to the torso of the subject.
In the example above, I’ve removed the gobo from the spotlight and feathered the edges using the iris control. I’ve then tilted the mount downward to avoid the subject’s face, and I have the hard light hitting his shoulder, hands, and table. As a by-product, this hard light also creates bounce light from the table onto our subject’s face.
So quite like natural sunlight, we have this hard light coming in through the window and hitting our talent, but it’s not catching his face and becoming distracting. The falloff of the hard light looks so natural and organic; I would never think it was superficial if I was a viewer.
In both examples, the additions to the scene were minimal, but they both made significant compositional differences that will help take your cinematography up a notch. These are just two examples of the spotlight, but upon acquiring a tool from whichever brand takes your fancy, you’ll see how much the world of painting with light opens up.
Bonus Tip
One more bonus tip before I leave you. The spotlight also serves as an excellent tool for creating bounce light. Usually, it would be impractical to use hard light to bounce off a wall in a small location due to the wide angle of untamed hard light.
However, when using the spotlight, we can size the beam to a relatively small shape, aim it toward the wall, and have the talent standing near receive the illumination from the bounced light.
I won’t arrive on set without this tool; the options are endless.
Looking for filmmaking tips and tricks? Check out our YouTube channel for tutorials like this . . .
Looking for more tips and tricks? Check out these articles . . .