Learn how to use blur in DaVinci Resolve in this introductory video tutorial.
Hi, Resolve newbies!
Lewis here with Videvo, and in this article, we will introduce you to using Blur in DaVinci Resolve.
We will cover the different types of blur, when to use it, where to use it, and a few best practices. This is a very beginner-friendly tutorial, but by the end, you’ll fully understand all aspects of using blur inside of Resolve.
Now, in Resolve, there are four pages where you can apply effects: the Cut Page, the Edit Page, the Fusion Page, and the Color Page. Where you place the blur effect depends on your workflow.
- In the Edit and Cut pages, you may want to apply a blur to create an interesting transition.
- In the Fusion page, you would apply a blur to a node structure to aid your compositing.
- In the Color page, you would apply a blur as part of a creative effect or to aid your grading.
Today, for the sake of simplicity, we’re only going to apply the blur to video clips on the edit page.
To do so, select your clip, open the effects panel, and drop down to the blur section.
Here we have a wide range of blur effects with distinct characteristics. While you may assume that all blurs are the same, that’s not entirely true! The specific processing techniques used for each blur can significantly affect your footage. Consider this: if you wear glasses or have experienced the clarity of prescription glasses, you know that the blur you perceive differs from the blur you observe when the countryside quickly passes by outside a moving car.
Let’s run through each blur.
Box Blur
The Box Blur effect imparts blurs in a rectangular pattern, causing each pixel to blur with its neighbors, resulting in a smooth, Gaussian-like blur. It is particularly effective in creating a visually appealing, seamless blur effect. Box Blur is useful for different purposes, such as the following:
• To isolate title text by adding blur to the surrounding area
• To obscure a distracting or unwanted elements within the frame
This effect offers lines running both horizontally and vertically across the image. The Gang feature allows you to modify both axes simultaneously (when checked), thus locking the parameters together. However, if you uncheck it, you can tweak each horizontal and vertical slider independently, thereby adjusting the blur intensity in specific regions or changing the shape of the blur to non-rectangular forms.
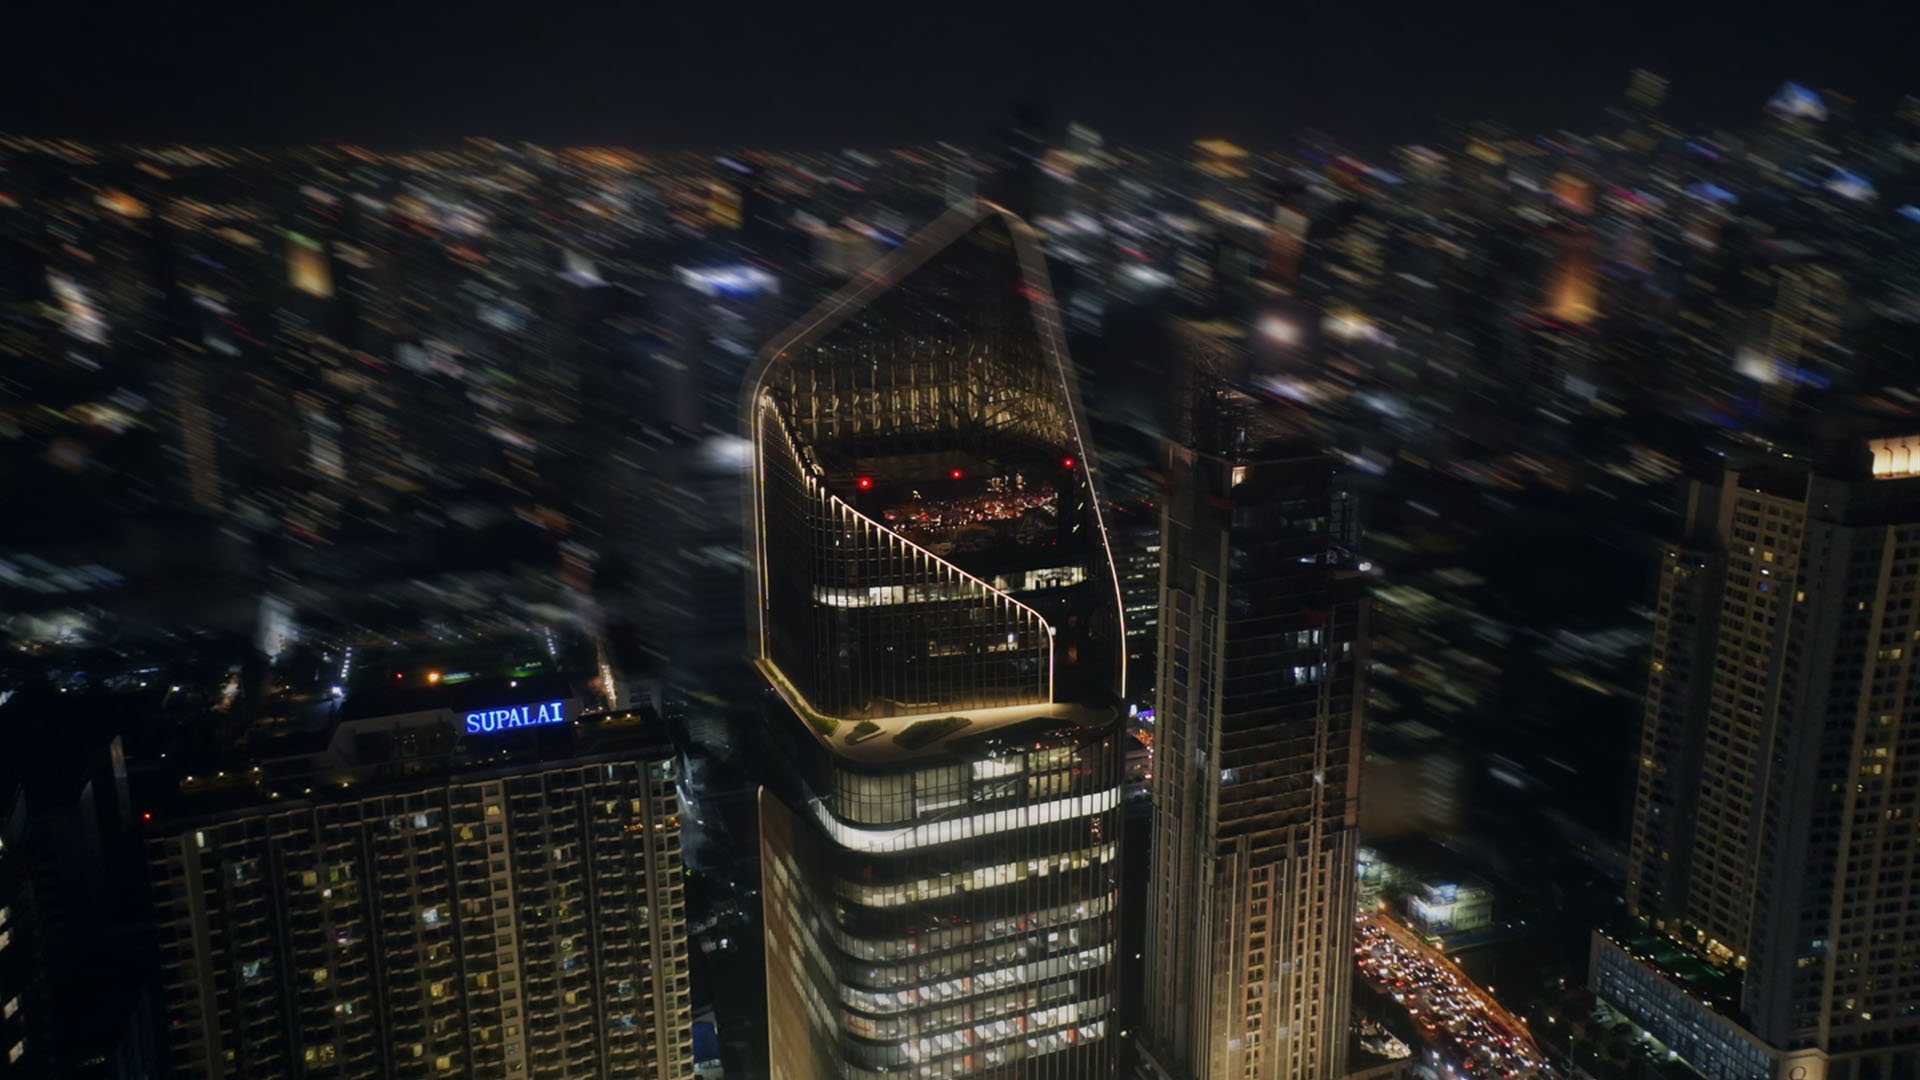
Directional Blur

The Directional Blur effect involves a single, angle-defined blur that runs along a selected orientation. Often used to simulate rapid movement, it effectively offers viewers the illusion of high-speed action. Despite being a simulated motion blur, you retain full control over its intensity and angle. The use cases of Directional Blur might include the following:
• To depict motion in a static image, giving a sense of velocity.
To increase the blur intensity, you can utilize the Blur Strength slider to amplify the blur’s impact on the selected angle, thus creating a smoother but elongated distortion in the image.
Mosaic Blur
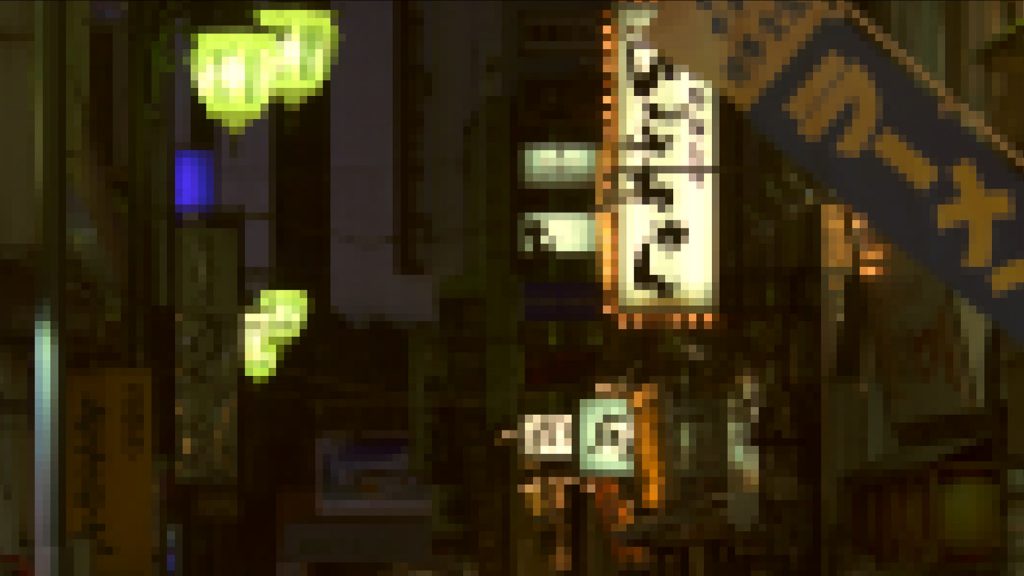
The Mosaic Blur effect is reminiscent of The White Stripes’ music video for “Fell In Love With a Girl,” which uses pixel-like colored blocks to represent scenes. While it achieves this effect through animation, you can create a similar visual result using Mosaic Blur. Here are some situations when Mosaic Blur can be beneficial:
• To give your image a retro, pixelated look, replicating an old-school video game aesthetic.
To control pixel size and color averaging. The lower the pixel frequency, the larger and more average the colors within those pixels. Conversely, a higher pixel frequency results in smaller, more recognizable pixels.
To add a Gaussian blur using the Smooth Strength slider; this can smooth out pixel harshness, making the edges blend seamlessly into each other for a softer overall image.
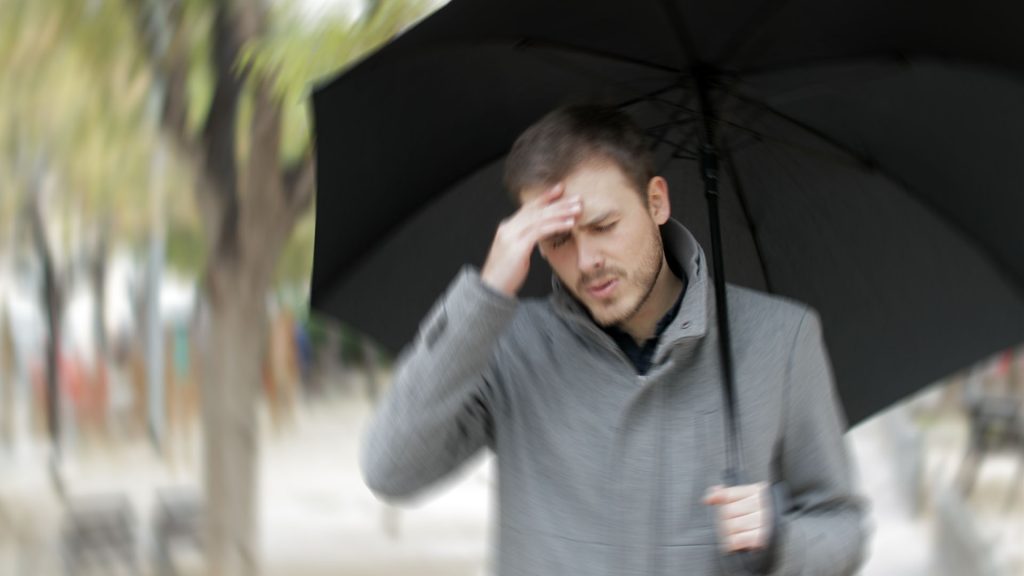
Gaussian Blur

As one of the most popular and widely-used blur effects, Gaussian Blur is a go-to for smoothing rough edges or harsh pixels. Its effect is akin to looking through semi-opaque glass, as it diminishes detail and reduces noise. Imagine the effect of the box blur but unrestricted by shape and applied uniformly across the entire image. Gaussian Blur can be used in the following scenarios:
• To soften the harshness of jagged surfaces or sharp pixels.
• To create a soft focus effect over the entire image, reducing detail and noise, ideal for background elements.
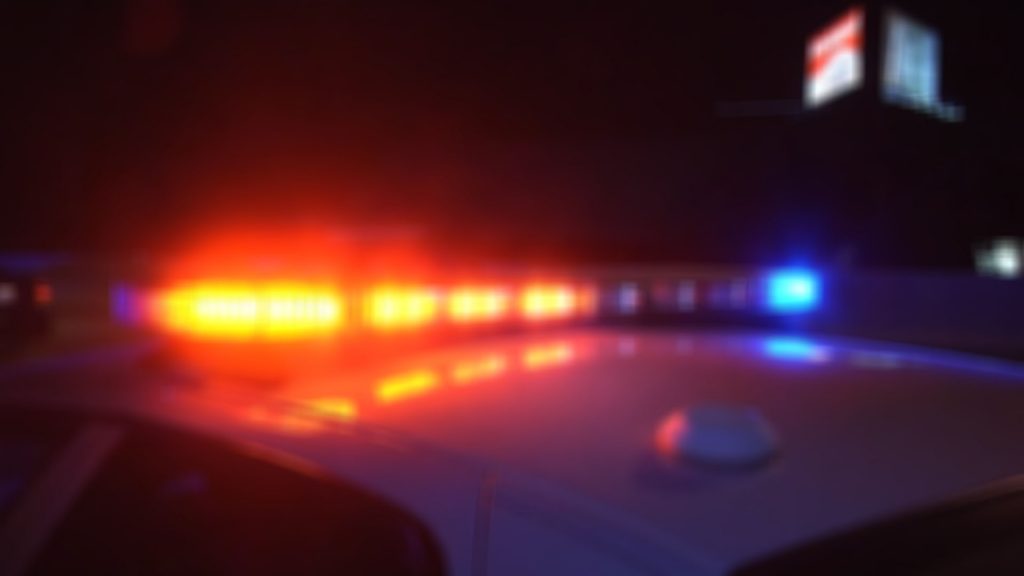
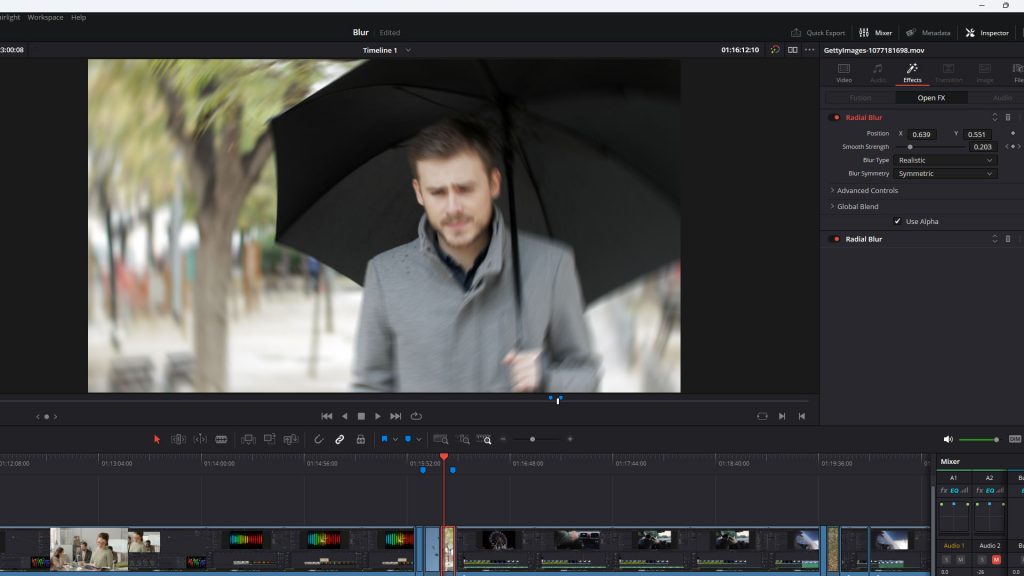
Radial Blur
With Radial Blur, the blur originates from a selected central point, extending outward in concentric circles that grow softer with increasing distance from the center. This effect simulates a 360-degree spinning motion or can give the illusion that the environment is spinning around a stationary subject. Here are a few instances when Radial Blur may come in handy:
• To simulate a spinning motion, such as a rotating car wheel. The center of the wheel stays sharp, while the tire appears blurred due to its rapid motion.
• To create a dizzying effect, making it seem like everything around the subject is spinning.
Zoom Blur
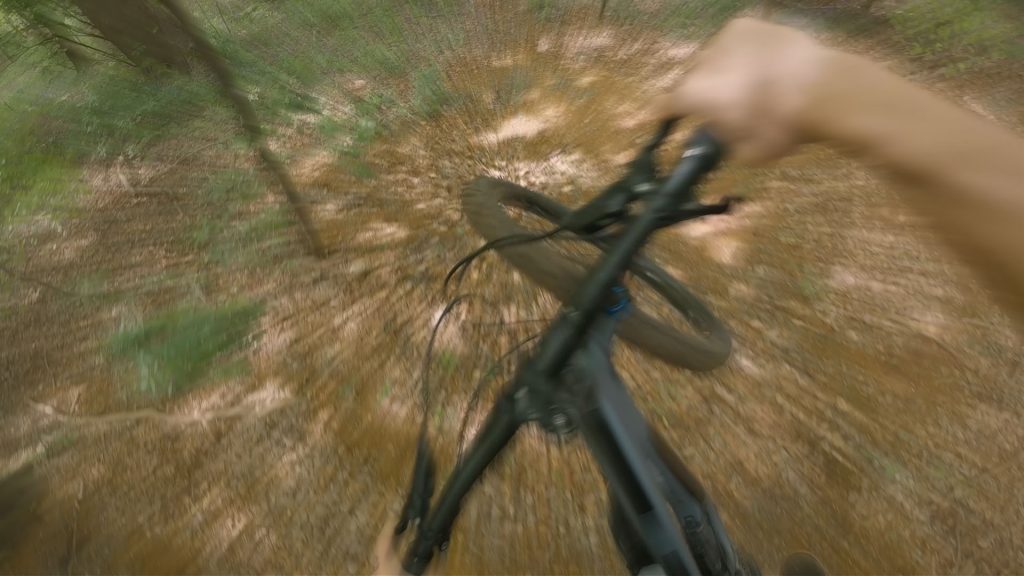
The Zoom Blur, or zoom burst, creates a dynamic visual effect wherein the image appears to be radiating from a central point. This technique is frequently employed in street and landscape photography, adding a sense of motion while keeping the focus on the image’s center. Consider using Zoom Blur in the following situations:
• To introduce a sense of speed or motion to static subjects.
• To focus viewers’ attention on a central point, giving the illusion of the rest of the image moving away from that point.
Lens Blur (Studio Version Only)
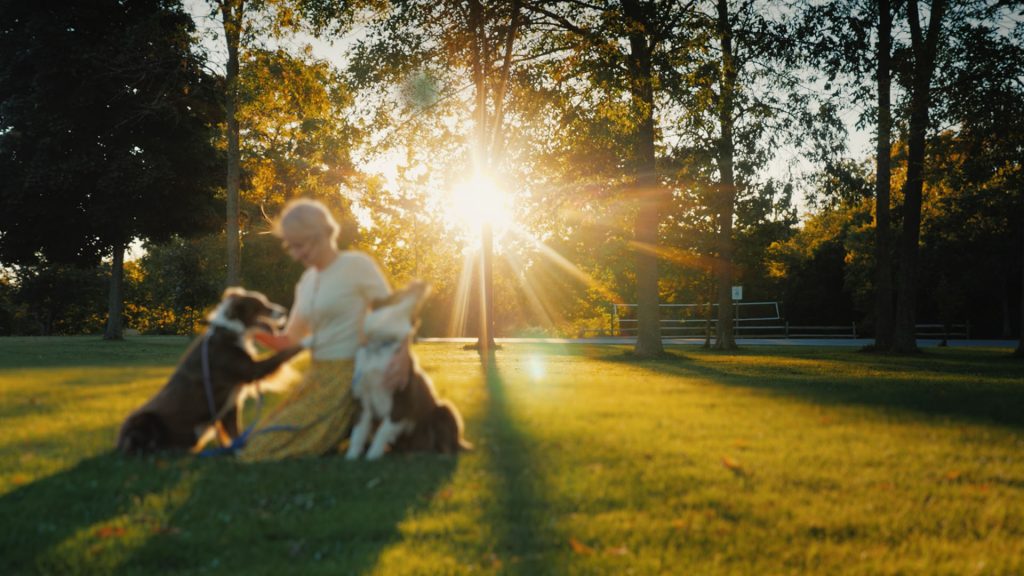
Lens Blur offers comprehensive control over various “bokeh” effects using adjustable parameters. Whether you desire soft, creamy bokeh or whimsical heart-shaped bokeh, Lens Blur can help achieve that. It leverages its high-quality simulation capabilities to create bokeh effects similar to those produced by professional camera lenses. Use Lens Blur in the following scenarios:
• You wish to simulate the depth-of-field effect often seen in professional photography, creating a pleasing blur in the out-of-focus areas.
• You want to create customized bokeh shapes for artistic or stylistic purposes.
How To Use The Blur
We now know what each blur is and when to use each type. Let’s look at using one in practice to see how you can adjust the parameters. Thankfully, if you know how to use one blur, you know how to use them all, as the settings are similar and only vary a little.
In the Inspector, you will find the individual parameters, and as noted before, most of the blur effects share similar adjustable parameters.
So, this is the basics of using blur in Resolve. It’s simple, but the key is understanding what blur to use in any given circumstance.
Looking for filmmaking tips and tricks? Check out our YouTube channel for tutorials like this . . .