The shotgun microphone is an essential filmmaking tool, but how can you connect one directly to a PC?
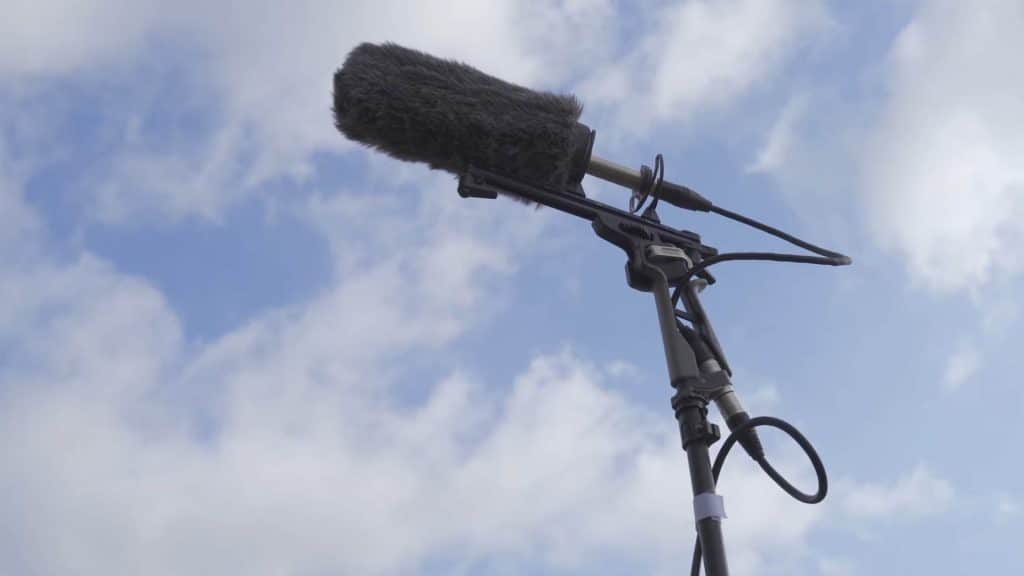
The shotgun microphone is a staple of the filmmaking, television, and sports industries. They are easily distinguished by their elongated, tubular design. If you ever see a sound recordist holding a boom pole with a sound blimp on the end of it, you can be almost certain it’s holding a shotgun microphone. Shotgun microphones offer unique advantages, particularly their exceptional directionality and off-axis sound rejection. This feature allows for placing the mic further from the source while still capturing clear, rich audio — perfect for when the mic needs to be out of frame.
Given the level of clarity that a professional shotgun microphone can offer, if you intend to create YouTube tutorials or even stream, wouldn’t it be better to use this microphone instead of buying a desk mic? Well, yes. The issue is that professional shotgun microphones require professional tools, such as an XLR cable, a boom pole, and a field mixer. So, how do we take our sweet film tool and make it a desk mic? Well, it’s going to take a few items. In the tutorial below, I run through what you need exactly to get going.
Items Needed To Connect A Shotgun Microphone to a PC
To seamlessly integrate a shotgun microphone with your PC for professional-grade audio capture, certain essential tools and accessories are necessary. These not only ensure compatibility between the microphone and your computer but also enhance the audio quality for various applications, from streaming to tutorial creation. Here’s what you’ll need:
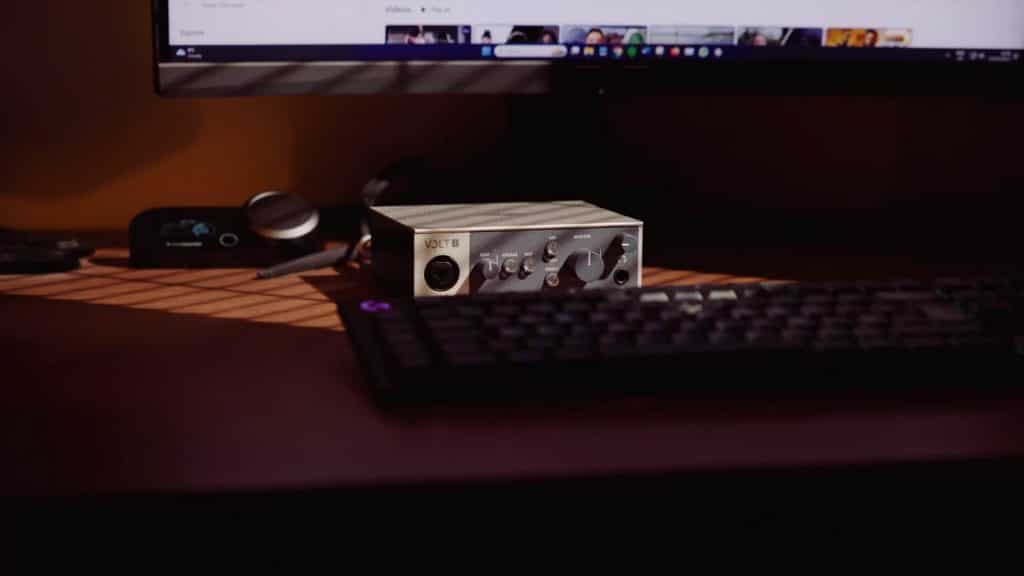
- An Audio Interface: crucial for connecting an XLR shotgun microphone to your computer, the interface converts the microphone’s analog signal into a digital format that your computer can process. This tool is typically found at the desk of a music producer or musician and serves as a gateway to connect your broadcast mic to a streaming platform.
- A Desk Tripod: when you buy a boom pole or blimp, you’ll usually get one of these attachments. While they offer many ways to mount the microphone to the boom pole, they also allow you to mount the mic to a stand. In our case, we need a desk tripod to position the shotgun mic on your desk while streaming or making tutorials. It provides stability and flexibility, allowing you to adjust the microphone’s height and angle for optimal sound capture.
- A Pop-Filter or Microphone Foamie: finally, you’re going to need a pop-filter or foamie. They are vital for reducing plosives and ensuring clearer audio quality. These accessories are especially important for close-mic setups to maintain professional clarity in your streams, podcasts, or tutorials. Sometimes, the shotgun microphone can be perhaps too powerful and, as a result, pick up all the small mouth movements.
If you’re not too sure what those things look like, make sure you watch our video guide above!
When everything is connected, you will need to ensure that your computer’s sound settings are correctly optimized to accept the microphone input. Usually, this is nothing more than just heading into your control panel to access the input settings, and switching over to the audio interface.
Low-Budget Audio Interfaces
Now, after reading our guide, you may be looking to pick up an interface. Like filmmaking tools, an interface can range from $100 to $2,000 or more. To keep things budget-friendly, here are five interfaces you can pick up for less than $150.
- Focusrite Scarlett Solo
- 24-bit/192 kHz audio resolution
- 3rd-generation Scarlett mic preamp
- Super-low latency
- PreSonus AudioBox USB 96
- 24-bit/96 kHz audio resolution
- 20Hz to 20kHz frequency response
- Class A mic preamplifier
- Native Instruments Komplete Audio 2
- 24-bit/192kHz resolution
- Direct monitoring
- USB 2.0 powered
- Steinberg UR12
- 24-bit/192kHz resolution
- USB 2.0
- D-PRE mic preamp
- BEHRINGER U-Phoria UM2
- 24-Bit/192 kHz audio resolution
- Ultra-low latency
- USB 2.0 port
Oh, and the one I’m using is the Universal Audio Volt 1. To be honest, when you’re buying an entry-level interface from a well-respected brand, more or less all of them do the same thing. They only differ in regards to design and the accompanying software. So this choice is up to you.
While the initial setup of a shotgun microphone for home studio use might require some investment and effort, the long-term benefits are considerable. Not only do you get the professional sound quality inherent to shotgun microphones, but you also gain the flexibility to use this high-grade equipment for various types of content creation. Whether you’re recording voice-overs, streaming live, or creating music, a professional shotgun microphone’s adaptability and audio quality can significantly elevate your work’s production value.
Looking for filmmaking tips and tricks? Check out our YouTube channel for tutorials like this . . .