RunwayML’s Motion Brush is a fantastic AI animation tool. Here’s how it works.
Several months ago, we produced a tutorial on how you could generate an image like you might get from Midjourney or Dall-E and then use After Effects to animate the image as if we have a living and breathing scene. The results were pretty great.
Now, in true AI fashion, RunWay ML, which we have featured on the channel many times, has a new feature called Motion Brush, which, by all accounts, allows us to animate similar properties that we introduced within After Effects.
So, let’s see if it lives up to the hype.
Introducing RunWay ML’s Motion Brush
So, jumping straight into it, on the Runway ML dashboard, when first looking for Motion Brush, it’s like looking for a needle in a haystack—because it’s not there.
Currently, Motion Brush is a feature hidden inside the text-to-video/image-to-video generation tool. It’s not a standalone thing—at least, not right now.
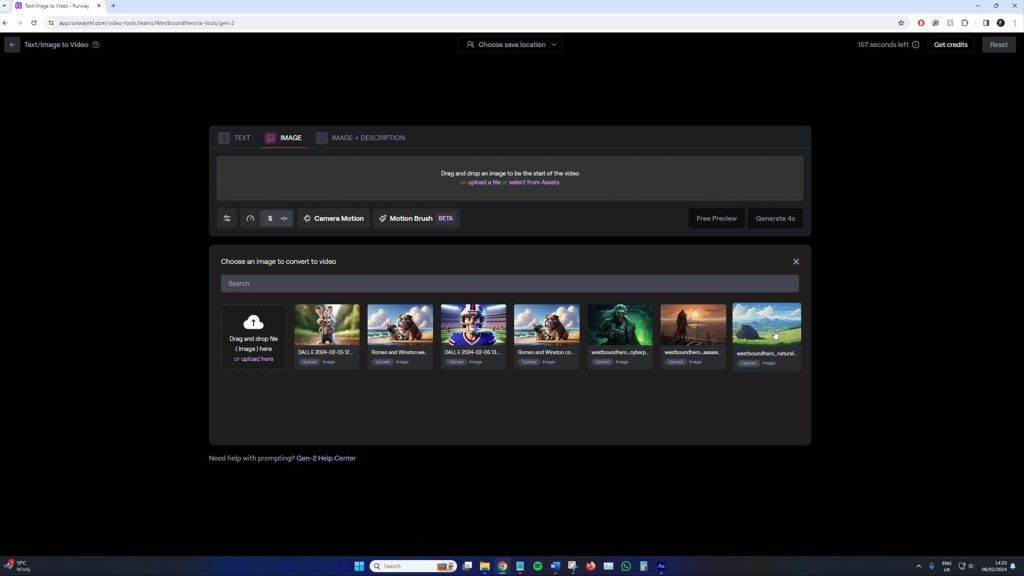
You can upload your still images in the popup panel. In this test, I thought it would be interesting to pit the anime Studio Ghibli-style landscape from that After Effects tutorial against Motion Brush to see which does it better.
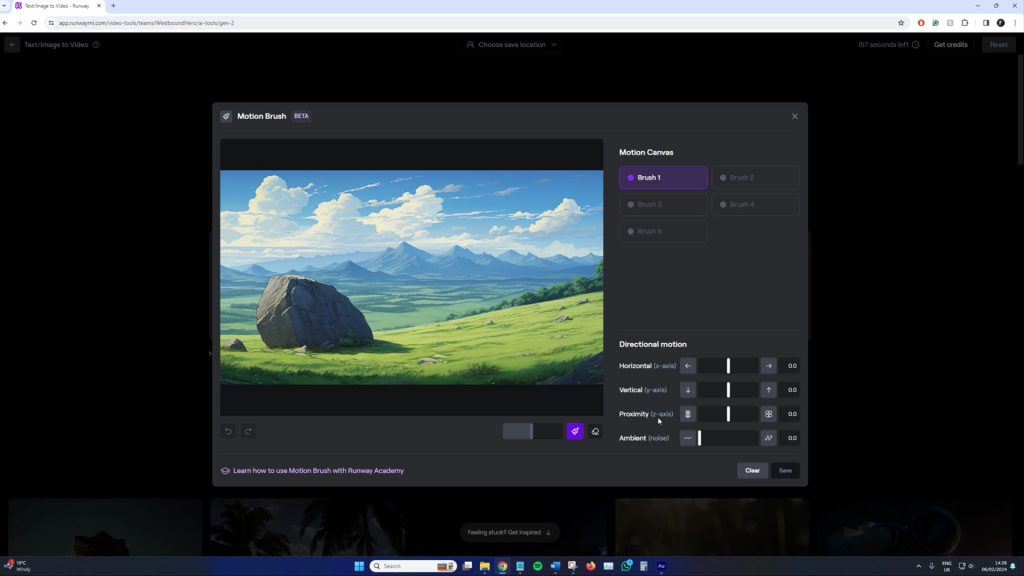
Once uploaded, hit Motion Brush underneath. The user interface? It’s unbelievably straightforward, especially when you compare it to After Effects. We’ve got five brushes to play with, directional motion settings to slide your creations left, right, up, down, and even in and out (that’s your Z-axis), and this neat little feature called ambient noise that adds just a hint of wiggle to the area that has been brushed.
Animating a Studio Ghibli-style Landscape
Now, with brush number one in hand, let’s try to recreate that After Effects magic. In the previous tutorial, we had the skies moving and the grass swaying with the wind, and this subtle push-in effect added a dash of parallax for depth.
First, I’m just going to paint over the sky, and as noted in the video, my brushwork could’ve been tidier. But if you do find that you’ve accidentally brushed over an element you don’t want to be affected, hit the Eraser and clean up. It’s not about perfection here; aim to keep things neat without overlapping.
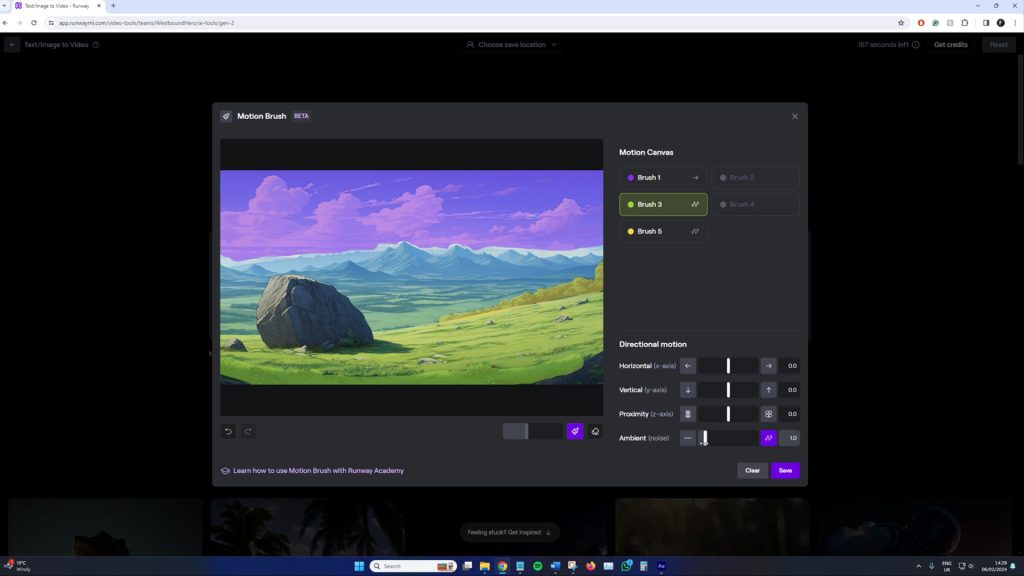
It’s time to add some movement. Let’s have the clouds drift to the right, and with a slight adjustment to the horizontal parameter, we’re in business. Just like in After Effects, sometimes less really is more. Crank it up too high, and things might start looking a bit off. So, I’m setting it to a gentle 1.8.
Next, let’s dive into brush two and add some life to our trees and plants. However, the brush size is slightly too large, so a simple, quick decrease on the brush size slider will get us back on track and make things look just right.
For the trees, I’m not looking for them to uproot and dance around. I’m thinking more along the lines of a subtle sway. So, in this instance, just a dash of ambient noise will do.
Moving on to brush three, let’s give the same treatment to that foreground grass, especially the areas lurking in the shade. Again, less is more when applying the motion parameters.
I’m also going to add camera motion as in the After Effects original; I added a track forward. I’m going for a slight zoom in Runway ML’s camera motion panel, just enough to draw you in. Hit save, then generate, and maybe make a coffee as we wait a few minutes.
You won’t be able to see it when reading this article, but if you refer back to the video, you can see the results are pretty darn impressive. The clouds are rolling in from the left, dodging the mountains. The trees are swaying just right, with the grass doing its thing, all subtle-like. It’s quick and brutal to catch every detail with this video player, but it’s there.
Here’s the kicker: in that After Effects tutorial, we had to prep with three layers — foreground, midground (mountains), and sky—to get that depth with parallax movement. Runway ML? It skips the prep and dives right in. As we push past the rock, the software’s painting more meadows and fields on the fly. The hue takes a weird turn here and there, but it’s not too shabby.
However, as we move through the scene, some of that crisp detail at the start begins to blur. Likewise, some areas of the image have that weird procedural look associated with AI video. But considering the trade-off — 30 to 60 seconds of work against a solid half-hour to 45 minutes? It’s hard to argue with the efficiency. Sure, it depends on your aim, but Runway ML has the chops for a quick and dirty dynamic scene.
Character Animation with Motion Brush
Runway ML’s introduction of the motion brush tool was met with excitement, especially when the company showcased characters coming to life in its trailer. However, as noted in the comment section, nobody knew how to do this. So let me show you.
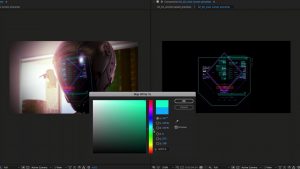
I’ve chosen a Pixar-style bunny for this demonstration. When looking for a character reaction, selecting both “image and description” in the starting panel is crucial.
Remember our After Effects tutorial, where animating the Cyberpunk character involved dissecting his body into segments for individual animation? We’re mimicking that approach here with our bunny.
Starting with brush one, I’ll focus on the eyes. The goal is to add a hint of movement — subtle but enough to bring some life into those pixels. So the movement is going to be from 0.1 to 1.0
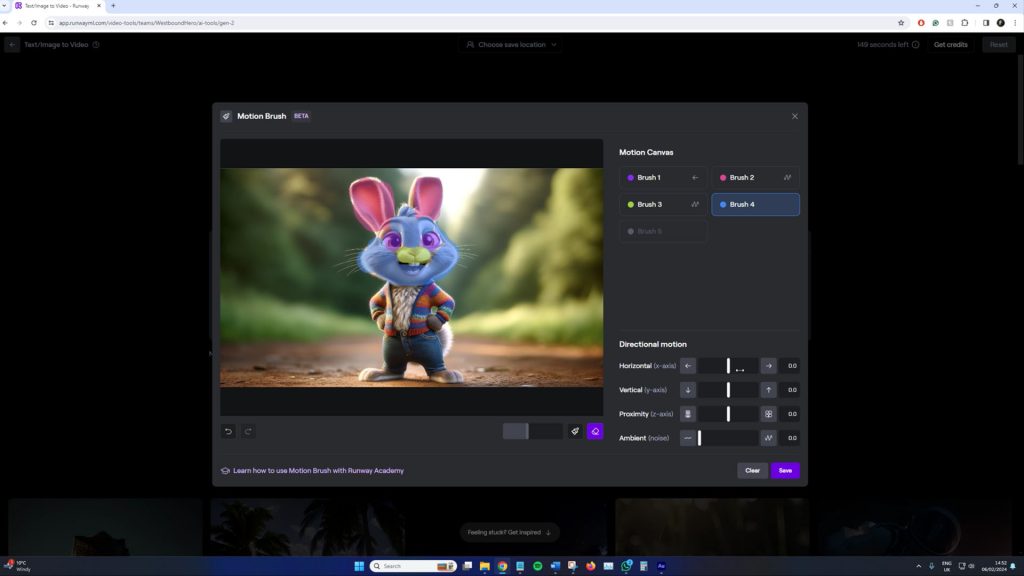
Moving on to brush two for the ears, I’m aiming for a slight wiggle. It’s all about adding that bit of dynamic movement without going overboard. We’re sticking with the wiggle theme for the nose with brush three. And then, with brush four, I’m covering the entire face, careful not to overlap the areas we’ve already worked on. A bit of tweaking here and there, including a slight shift to the left, and we’re set.
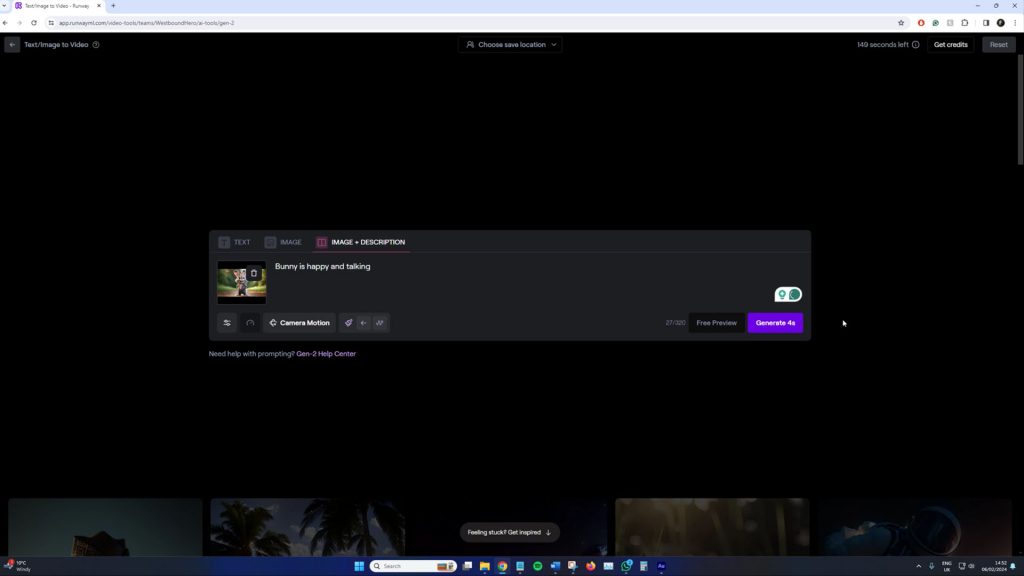
Now, the critical step is the text input. It would be best to suggest what the character is doing and reacting to so that it looks proper. So I’ll write “bunny is happy and talking” and set it to generate for four seconds. It’s time for a short break while Runway ML works its magic.
And here we are, back to witness our bunny in motion. The result? Surprisingly decent. There’s an added layer of movement in the arms and body, a natural consequence of the head’s animation. It’s not exactly what I had envisioned. Still, it’s certainly brought our pixelated friend to life — no complex animation skills required on my part, just strategic brush strokes and a bit of direction for Runway ML.
While it’s clear this doesn’t match the manipulation depth you’d get from 3D software or comprehensive compositing tools, it’s impressive for what it is. Runway ML’s motion brush has opened up a new avenue for animating characters, offering a straightforward, albeit less-detailed, alternative to traditional animation methods.
Given that our tutorial from several months ago is already outdated, I’m interested in seeing how long it will take to have control over these characters.
Looking for filmmaking tips and tricks? Check out our YouTube channel for tutorials like this . . .