In this tutorial, we will look at a new feature added to DaVinci Resolve with the recent 18.5 update — the uploading directly to TikTok. We’ll also look at some best practices for creating TikTok content. As always, it’s never recommended to download a Beta when in the middle of a project. Finish what you’re working on before changing up your system.
Resolve To TikTok
As the largest social media platform worldwide, TikTok’s growth and massive audience verticals are impressive. Even if you think TikTok is essentially for Gen-Z performing Fortnite dances, there is vast potential in adding your cinematic work to the content whirlpool and for it to be seen by millions — perhaps more effectively than YouTube.
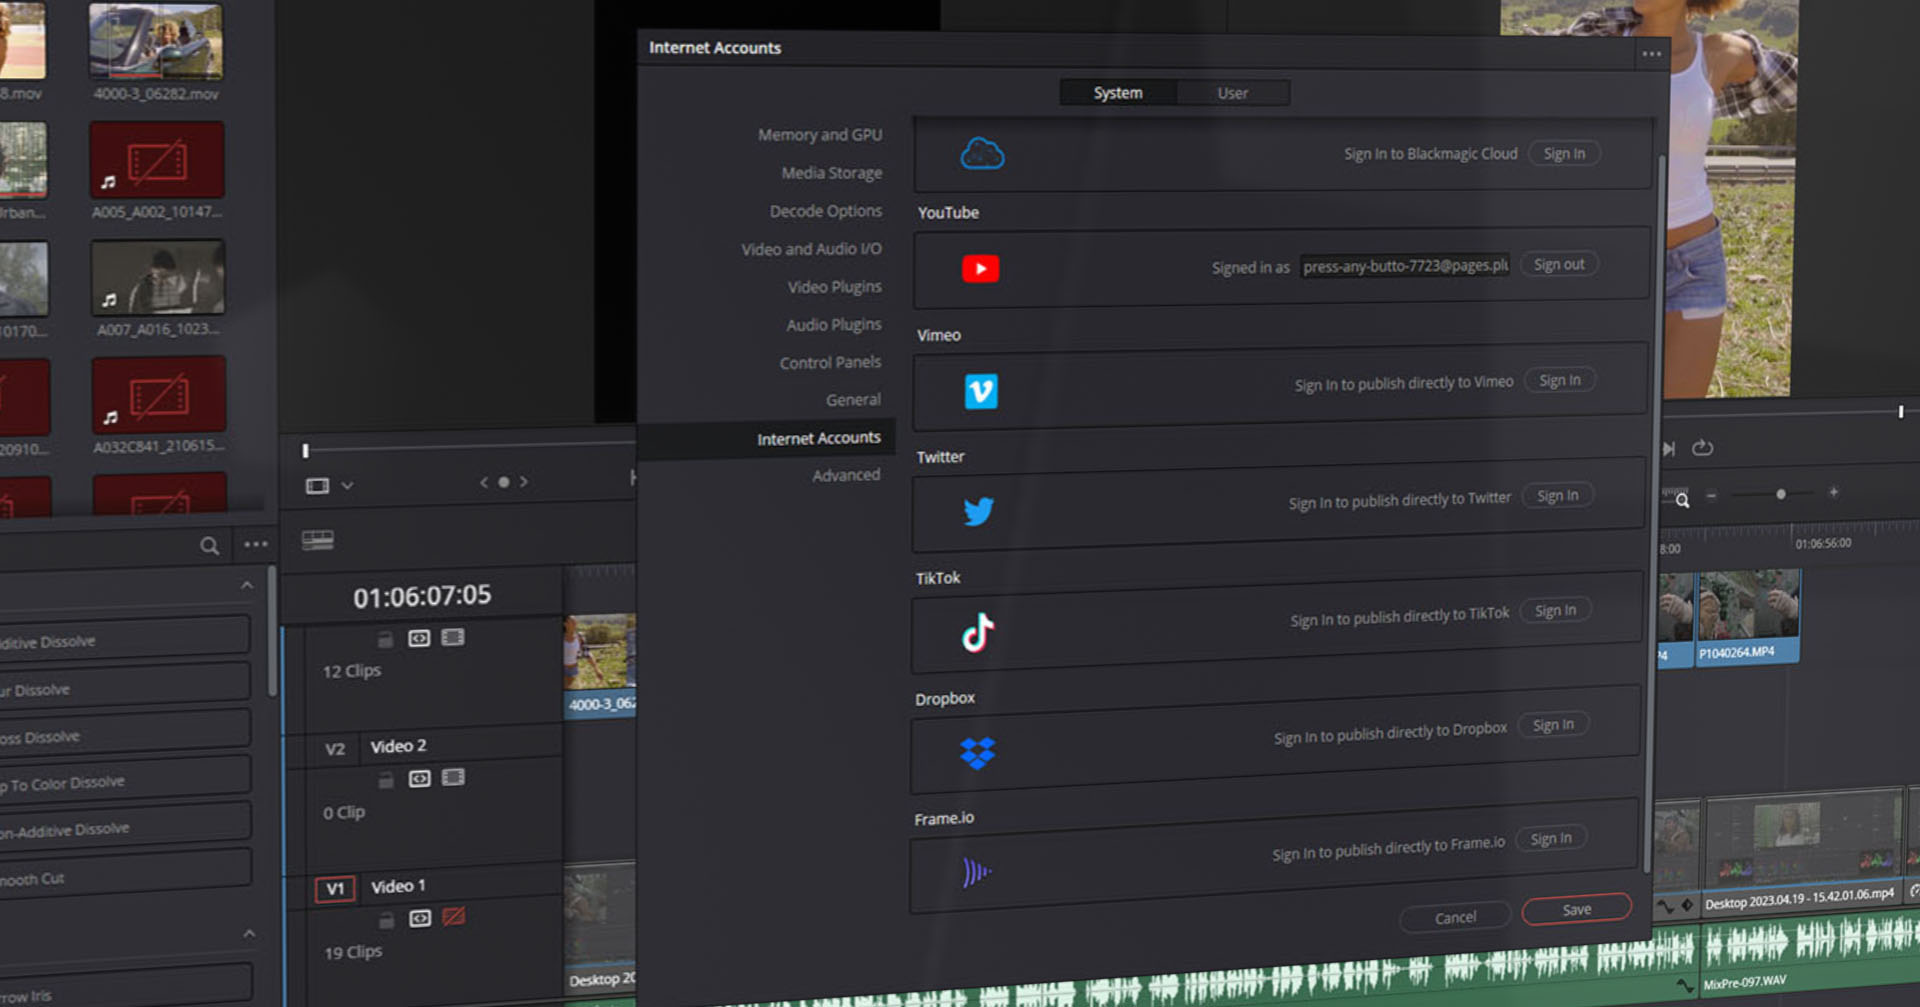
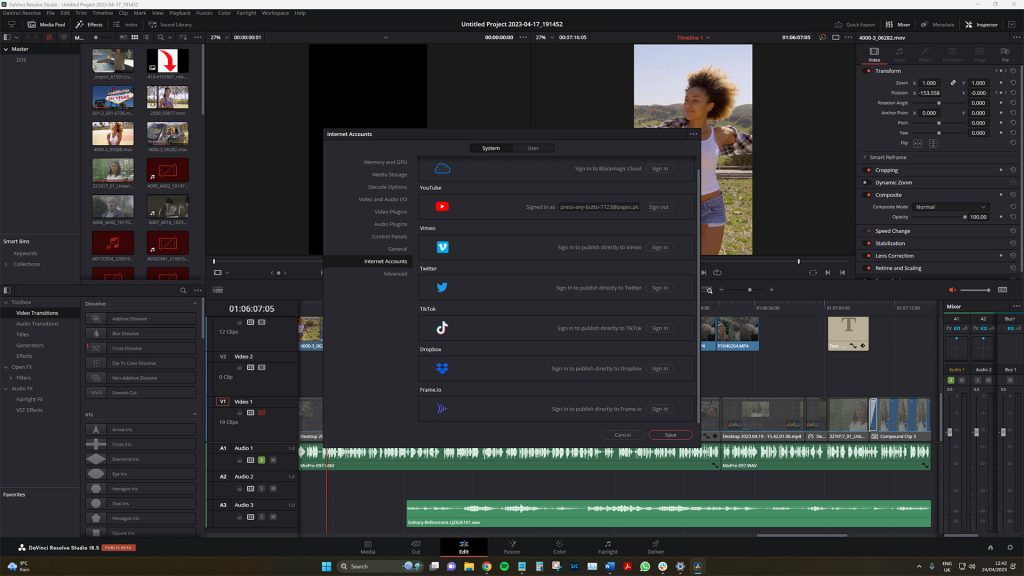
Ok, first, we need to connect DaVinci Resolve to TikTok. To do this, head to the preferences menu, down to internet accounts, and select “connect” next to TikTok.
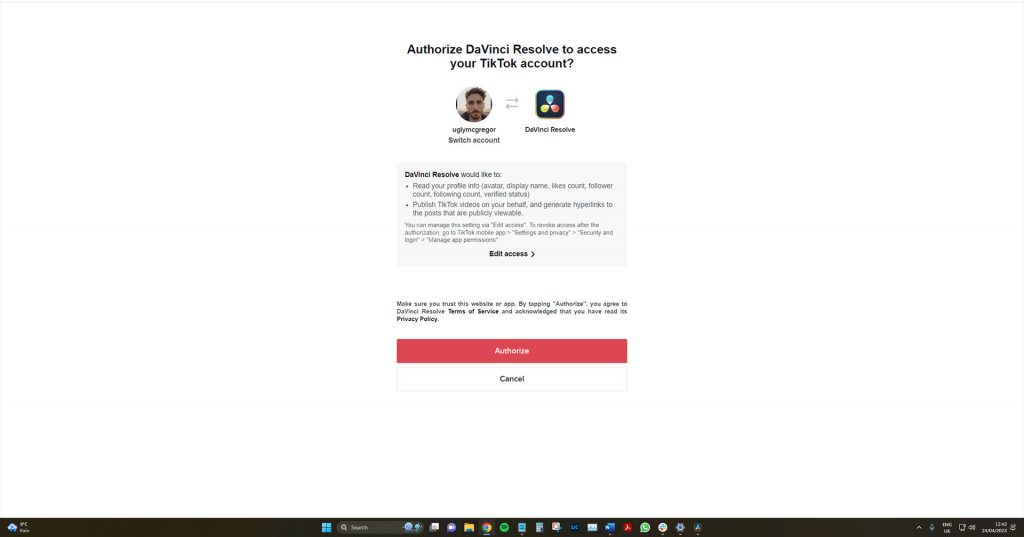
You will then be directed to TikTok’s website, where you will have to sign in and authorize the connection.
On the delivery page, you must scroll across the preset list and select TikTok.
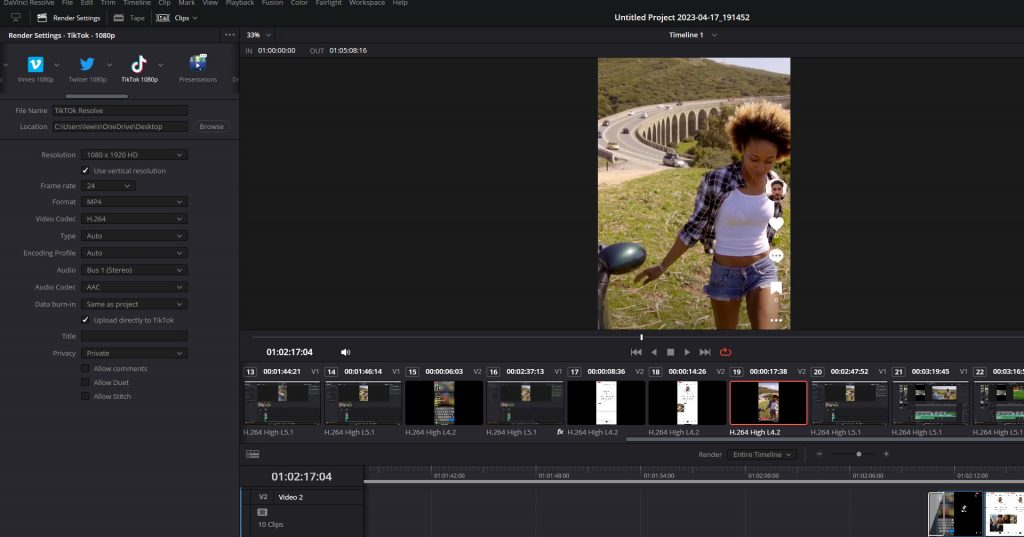
The TikTok preset will present a variety of parameters that, for the most part, we don’t need to adjust. I recommend keeping anything related to the video section precisely as it is. However, there are several TikTok-related settings to look at. We, of course, have to give the TikTok a title, and then we can choose if we want the video to be public or private when uploaded.
Then we have a group of settings that activate specific sharing features within the TikTok platform, such as allowing others to “react” to or share your video. I recommend ticking all these boxes to allow for further sharing and visibility. Of course, select the “upload directly to TikTok” checkbox, and then add your video to the Render Queue and hit render. DaVinci Resolve will render the video in the selected format to your local computer folder location and then automatically upload it to your TikTok account. Job done!
This helps remove the tedious process of exporting the video, uploading it to Google Drive, and downloading it to your mobile. Or, at the very least, export it to your desktop and then open the TikTok web browser and upload it there. And as you have a version stored in the designated folder on your PC, you also have the option to upload that video to YouTube Shorts or Instagram Reels.
DaVinci Resolve TikTok Best Practices
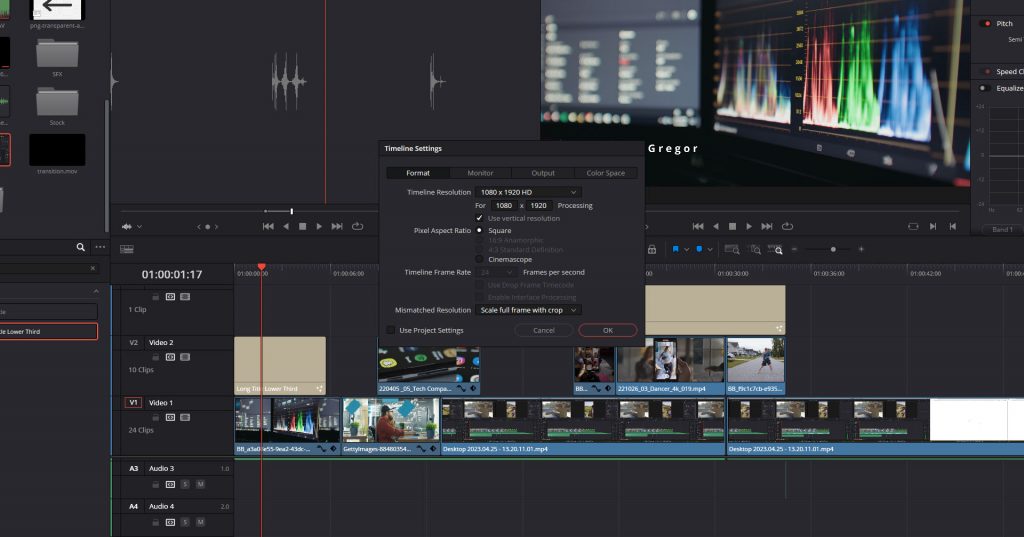
Now that that’s covered, let’s review some best practices to ensure your content looks great on TikTok. Of course, the platform is vertical, but if you have yet to film vertically, then you don’t want to edit in a 9:16 timeline resolution, as that will make finding the subject challenging.
Instead, first, edit the TikTok as desired and then change the timeline resolution to 1080×1920. While in the timeline properties manager, we also have this essential parameter to adjust: “mismatched resolution.” You must select “scale full frame with crop.” This will ensure that your video is scaled to fit the new resolution.
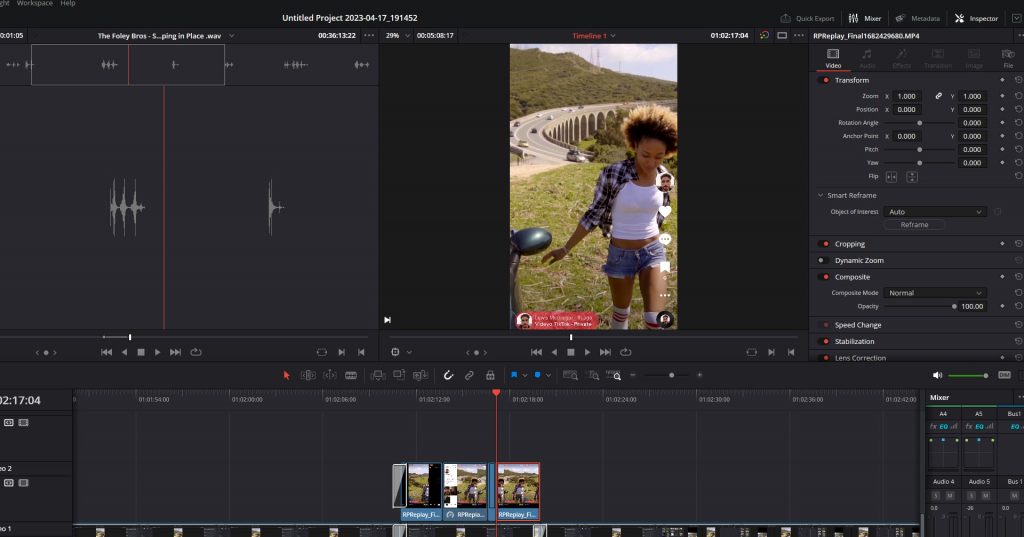
However, we now need help. In some of our shots, especially ones that move, the subject is no longer visible in the composition. Now we could run through the tedious task of turning on the keyframe for the position and then manually moving the subject to remain in frame throughout. Or, we could turn on DaVinci Resolve’s Smart Reframe, which is a neural engine-powered tool that identifies where the main subject is in your image and adjusts the clip as needed. This tool was built for resolutions like this and is a godsend in situations when you have yet to film vertically.
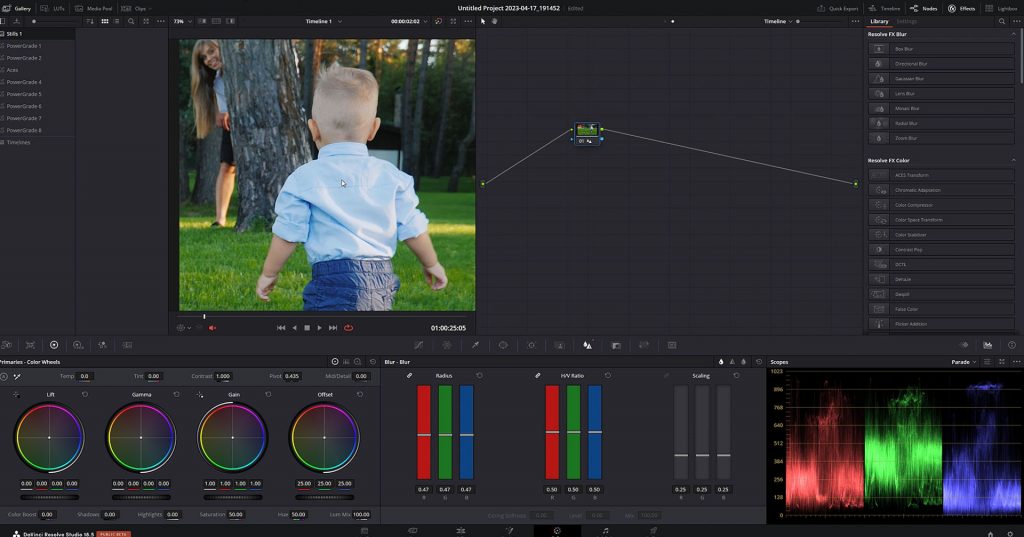
Finally, one more best practice to follow is to go over to the color page, change the node structure from clip to timeline, and add just a smidgen of sharpness — nothing much, just down from 50 to 47. I suggest doing this because of the typical online compression on apps that serve so much video content. When sharpening the video footage, it will retain some of the quality from your cinema camera and help it stand out in the crowd.
Happy content creating — good luck against Gen Z!
Looking for filmmaking tips and tricks? Check out our YouTube channel for tutorials like this . . .