Can AI outperform the classic portable green screen? We put it to the test to find out. Check out the results in our latest video tutorial.
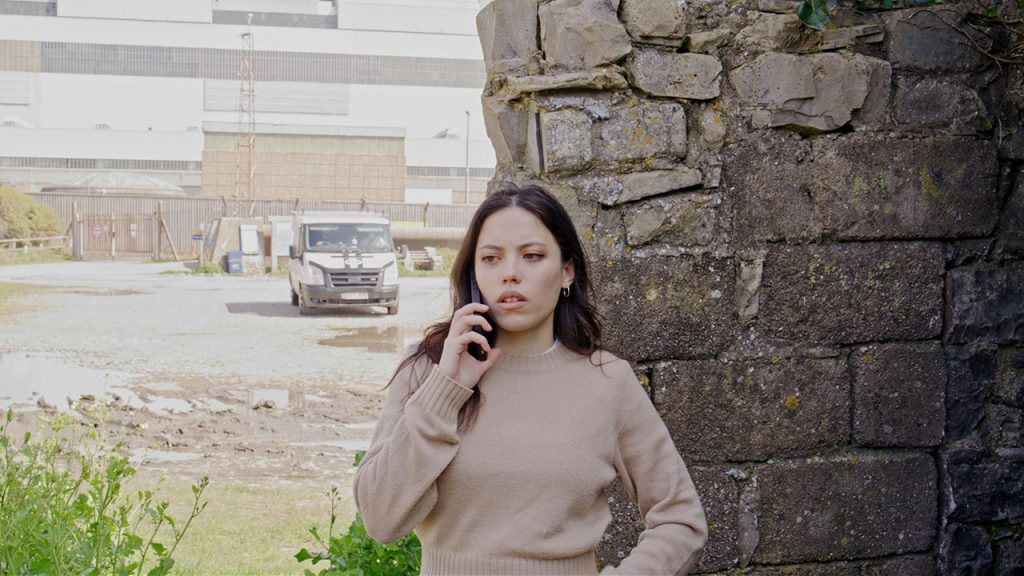
As a fantasy lover, I am fortunate to have been born in Wales, where ancient castles and old derelict ruins are seemingly situated everywhere.

However, while using these locations for short fantasy films is excellent, the locations themselves have often had society move on around them. For example, the ruin above is situated on the doorstep of a massive defunct power plant. Not ideal for a shot of a hiker exploring old ruins in the mountains.
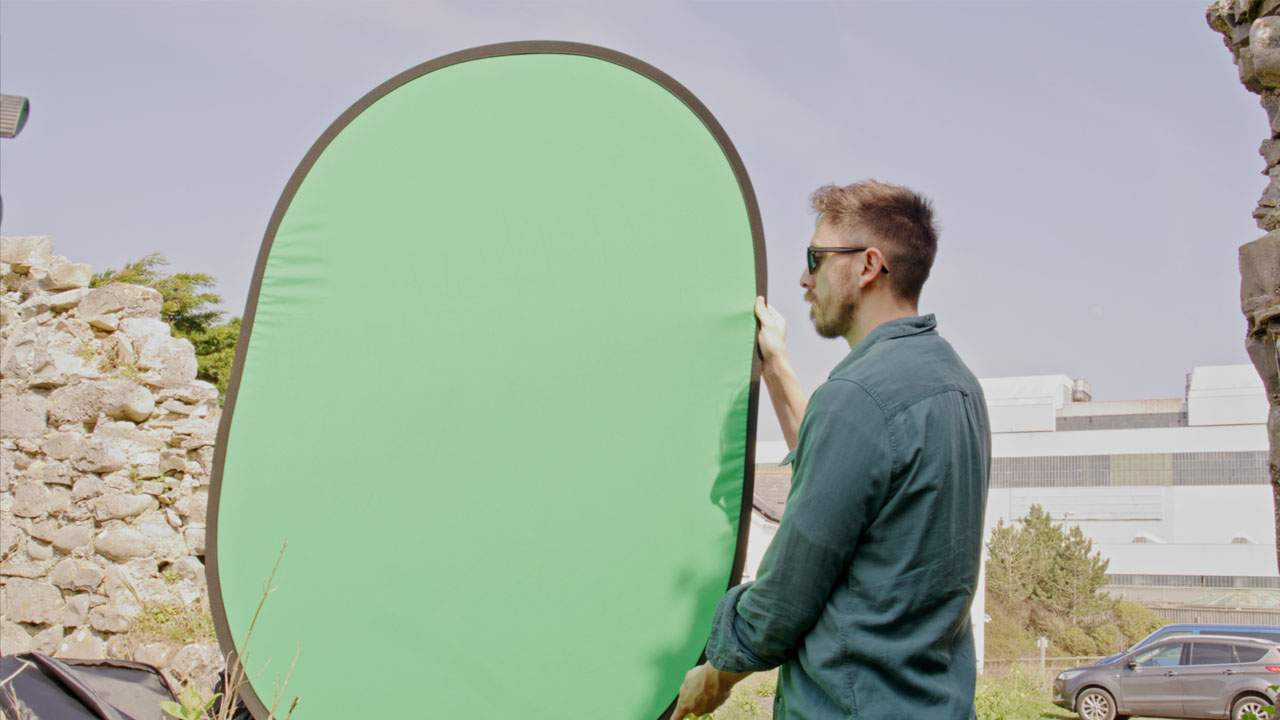
In the days gone by, I would opt toward using the classic portable green screen to comp a more relevant location into the background. A portable green screen allows the actress to move freely throughout the composition without laborious rotoscoping.
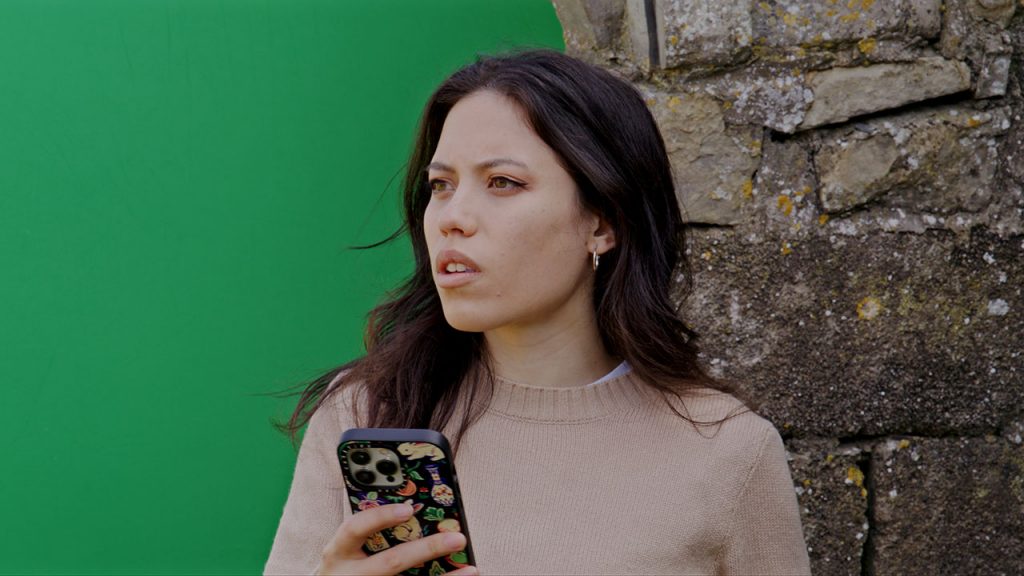
In this case, the rotoscoping job would also be a nightmare as the actress’s hair blows in the wind and bugs fly past the camera.
However, this got me thinking. In recent years, powerful machine learning tools like After Effects Roto Brush and Resolve’s magic brush have removed many tedious rotoscoping tasks. Similarly, over the last few months, we have also seen a rapid increase in AI-based background removers, such as Runway’s ML tool online.
Therefore, today, we will explore whether the trusty old portable green screen is still needed when the tools of AI are seemingly endless.
Portable Green Screen Basics
First, let’s run over some portable green screen basics. Proper lighting is crucial when using a green screen, especially when outdoors. You want to ensure that your green screen is evenly lit, without any shadows or hot spots, making removing the green background easier in post-production. You’ll also want to ensure that your subject is not casting any shadows onto the green screen.
So place the green screen a distance from the subject if they are standing in direct light.
However, when moving the green screen further away, it’s important not to drop it out of focus, as shooting with a shallow depth of field could result in trouble when trying to key the green screen later on.
It’s important to note that the compositional aspect of this tutorial is not important, so we’re not about to see some great wonders of compositing — rather, we’ll look at how well a portable green screen fares against AI removal tools.
Removing Portable Green Screen in After Effects
In After Effects, we will follow a popular removal process to remove the green screen. Head to the Effects menu and look for the Key Light effect. Although you can apply the Key Light effect independently, we will use Key Cleaner and Advanced Spill Suppression for this method. Drag and place this onto your video clip, and observe the Effect Controls panel displaying all three applied effects.
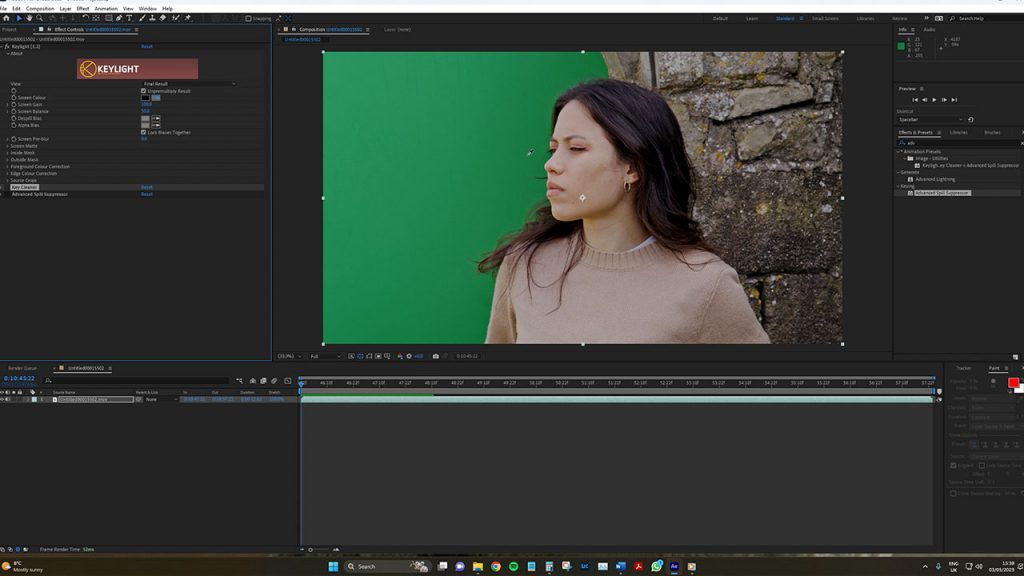
We’ll concentrate on the Key Light effect initially. Use the dropper tool to pick the key color, aiming for a medium green shade that is neither too dark nor too bright, preferably near the subject’s hair. In our case, the green is consistent throughout. Although the selection is pretty accurate, some refinements around the subject’s edges are necessary before proceeding.
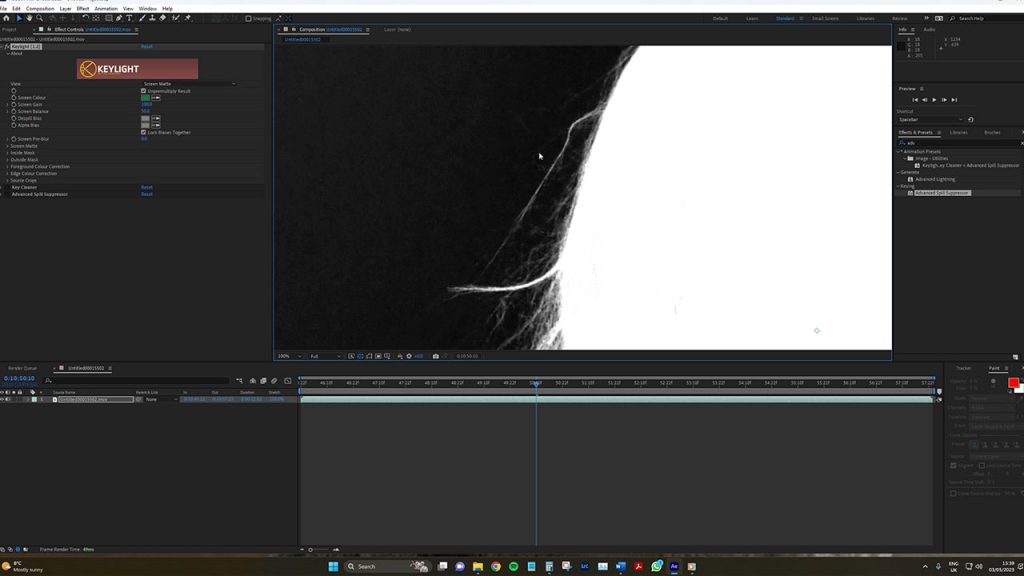
Navigate to View, and switch it to Screen Matte to evaluate the matte’s quality. There is room for improvement, as numerous gray areas are present. Gray signifies slight transparency, but ideally, you want the foreground to be entirely white (opaque) and the background to be pure black (completely transparent).
To eliminate gray areas, do the following:
- Adjust the Screen Matte controls.
- Open the Clip Black controls, and use the slider to move it to the right, clipping the black until the gray areas disappear.
- Avoid excessive clipping, which could trim the hair too much; aim for minimal adjustments.
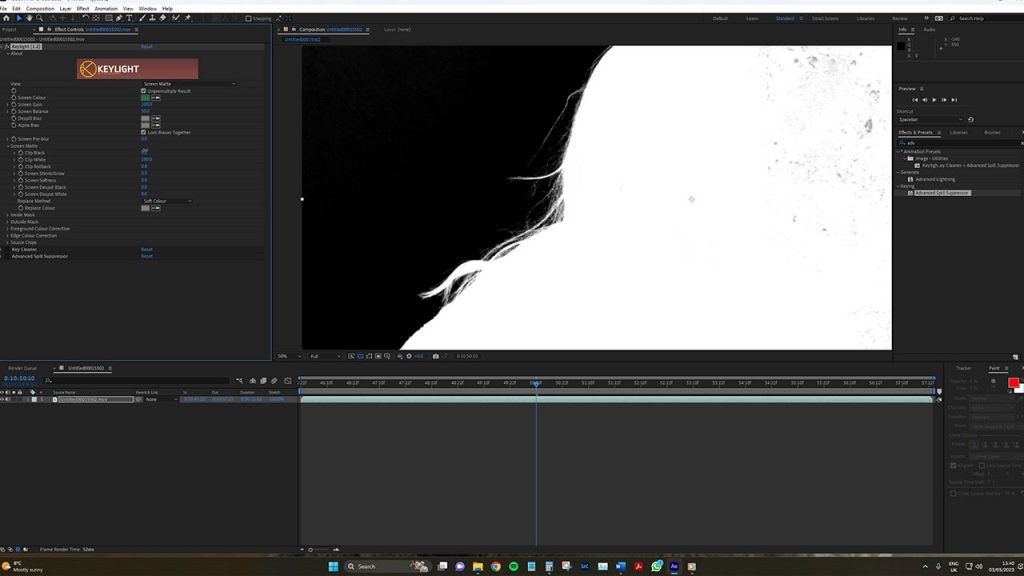
To achieve minimal black clipping, do the following:
- Aim for a value between 10 and 15 for this particular shot.
- Remember that each clip is unique, and excessive clipping may result in unwanted hair trimming.
- Adjust the Clip White by moving the slider to the left, revealing more hair detail. As you make this adjustment, you may need to clip the black further since moving the white to the left can reintroduce gray areas in the background.
Zoom out, and examine the rest of the shot, including the body, to ensure everything looks satisfactory. If all appears well, close the Screen Matte tools and switch the View back to the Intermediate Result. If we zoom into the hair’s edge, you’ll notice a residual green and a jagged, unappealing appearance.
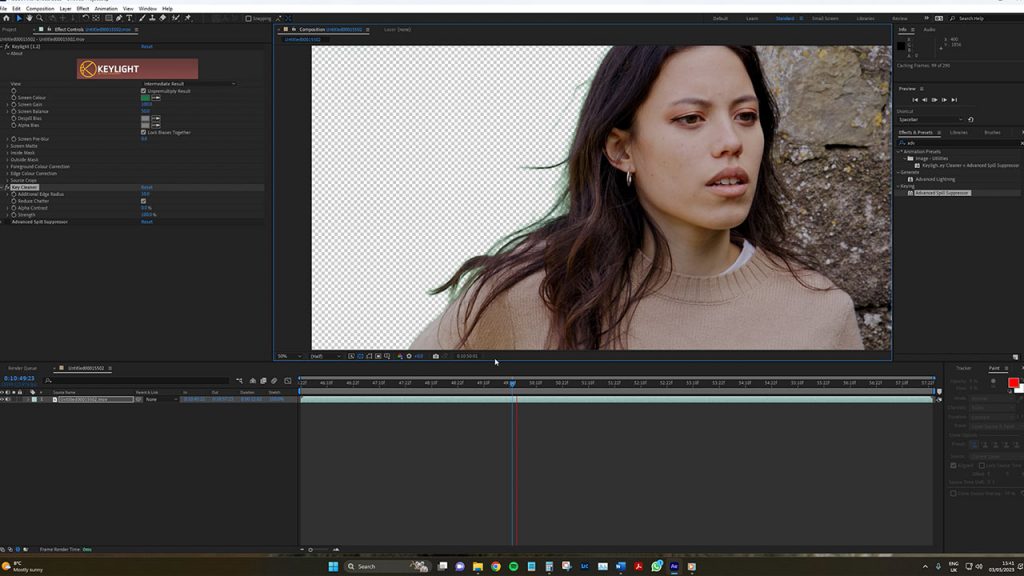
This is where Key Cleaner proves useful. Enabling Key Cleaner instantly softens the subject’s outline, eliminating harsh edges. However, playback may reveal unwanted chattering. This occurs because Key Light struggles to discern transparency due to the hair’s softness. Fortunately, Key Cleaner offers a “Reduce Chatter” option, which you can enable to resolve this issue. Upon playback, you’ll notice the chattering is almost entirely gone.
If you prefer a less-soft edge around the hair, reduce the edge radius — around 7 or 8 should suffice. Lowering it too much can result in jagged edges.
However, green still remains in these strands of the hair. Use the Advanced Spill Suppressor to address this — this tool works like magic.
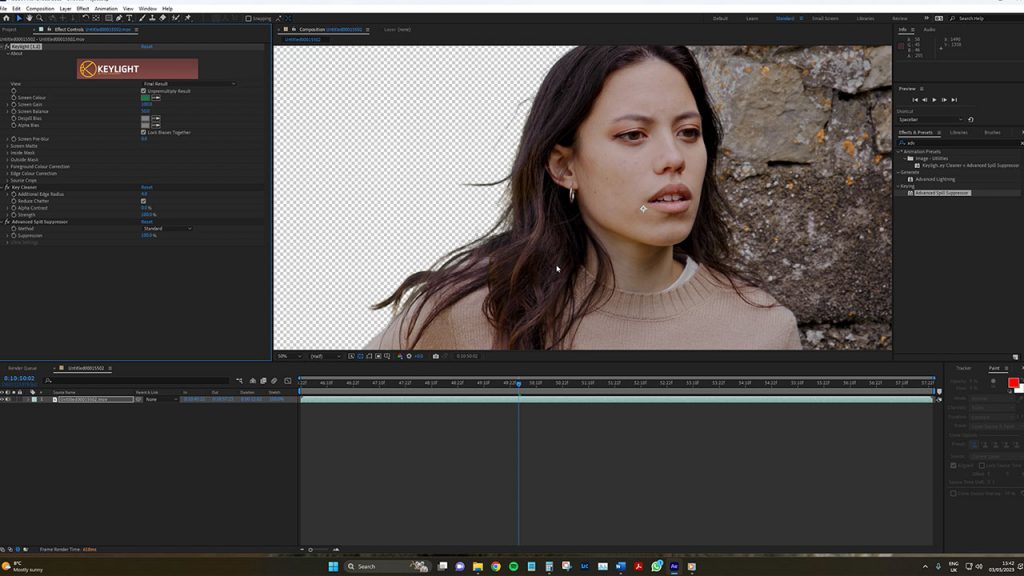
It neutralizes the green screen by transforming the background into a navy blue, dark gray, or black shade, effectively eliminating the green spill in the hair. This is a crucial step in refining your hair key.
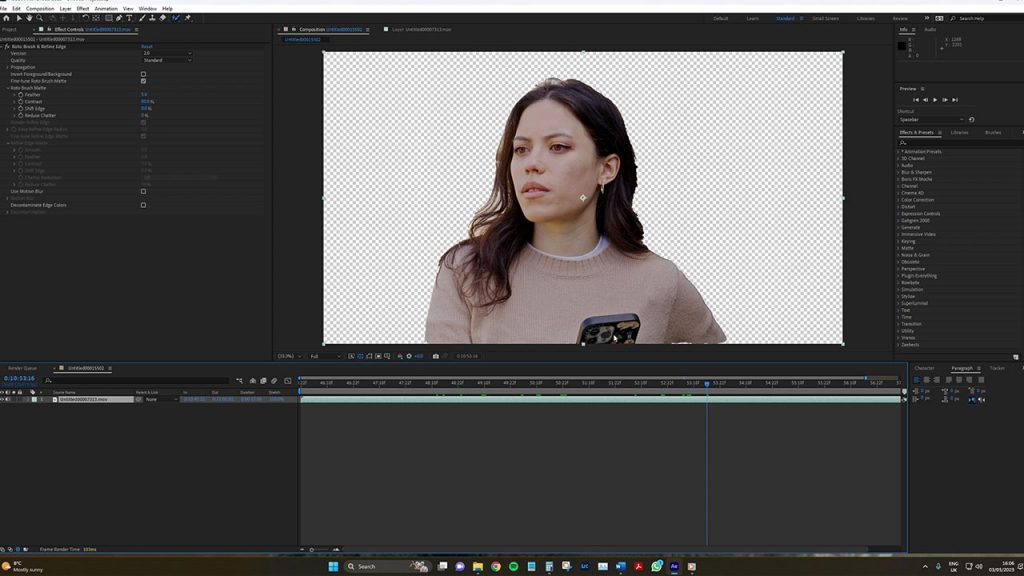
We’ve successfully removed the key, and everything looks great. Little to no strands of hair have been burned, and there are zero green spills. This is great and ready to be comped.
Using AI to Remove Video Background vs. Portable Green Screen
Okay, so working under the assumption that we no longer need a green screen, let’s explore our AI options for removing the background. First, we’ll examine a browser-based tool from Runway ML. Runway ML is a software application that enables artists, designers, developers, and researchers to easily create, train, and deploy machine learning models for various creative and practical applications.
The Runway ML Background Remover is a machine-learning model designed to remove the background from images and videos. It is based on a technique known as semantic segmentation, which involves labeling each pixel in an image or video as either part of the foreground or background. The model is trained on a large dataset of photos and videos, which allows it to identify the foreground objects and remove the background accurately.
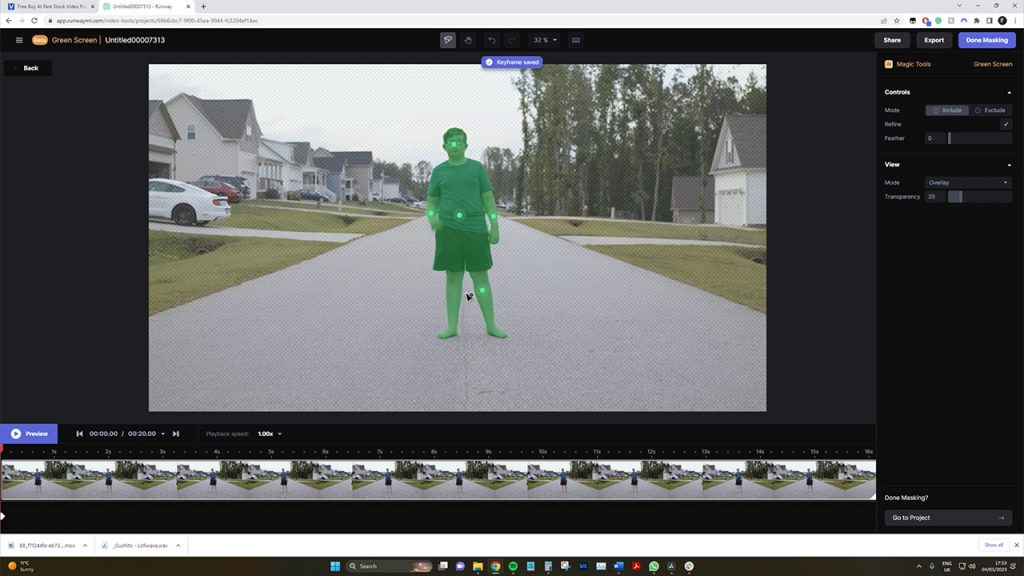
The platform requires a subscription, but we can use at least one of the free project spaces for this. When on the site, we will go to the background remover and draw over our actress using the brush tool. This is very similar to the roto brush found in After Effects. We draw on our subject, and the model will separate our subject from the background.
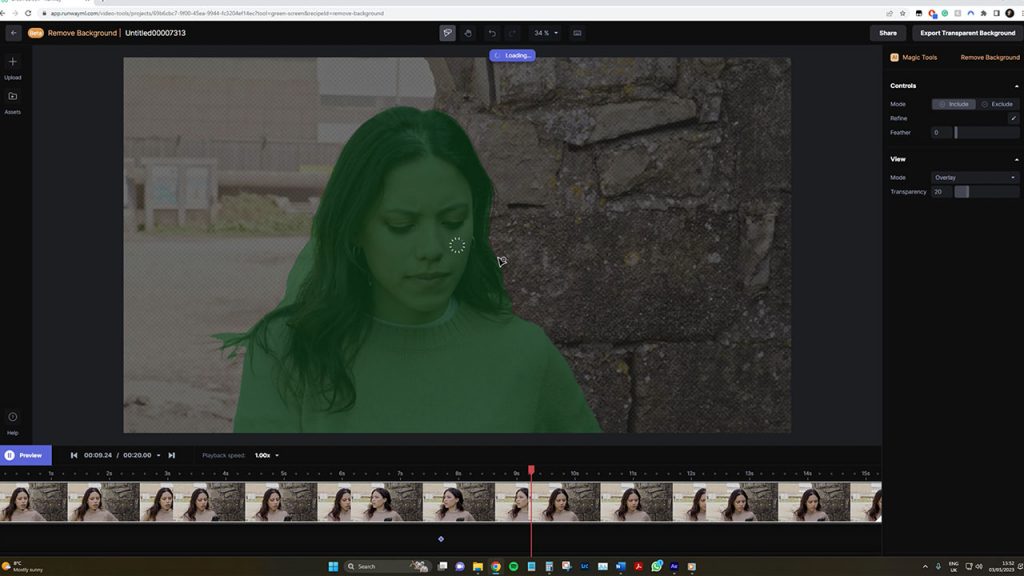
Now, of course, we have an issue with it negating the wall when that wasn’t the purpose of our shot. We needed that wall to be included. There is the option to paint brush strokes over the wall. However, I’m not receiving satisfactory results with it; therefore, let’s continue after painting our subject and excluding any areas, like under the arm, that have been caught up in the background removal, we can see that the green screen application on Runway ML has been able to pull the actress with just a few simple brush strokes, which is fantastic. This application would have been game-changing in the early 2010s when rotoscoping was so meticulous. However, we can also see that it could have done a better job with the actress’s hair blowing in the wind.
While it’s certainly been able to mask the shape of the actress’s outline, it leaves too much of the background visible. Likewise, the mask itself is too round and perfect. It’s important to note that Runway ML’s background remover is a machine learning model, and it works by analyzing patterns in images to identify the background and what’s the foreground.
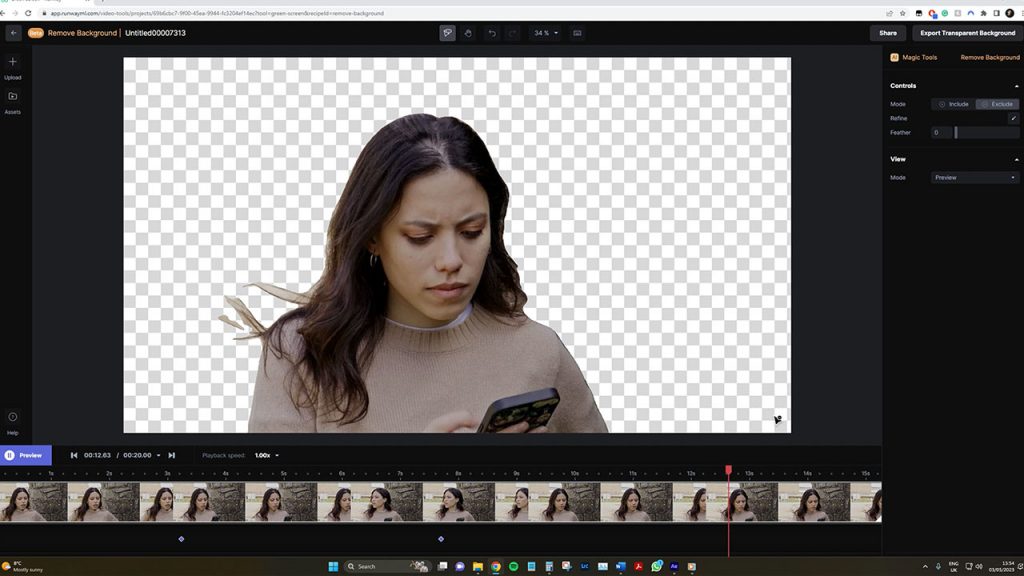
While the model can accurately detect and separate objects from the background, it’s imperfect and can struggle with more complex images, such as those with hair or fine details. As such, we may need to use additional techniques, such as manual masking or advanced compositing, to achieve the desired result.
After Effects Roto Brush vs. Portable Green Screen
Next, look at how this shot fares when using the machine-learning processes found in common compositors and NLEs. We’ve already written and produced a video about using DaVinci Resolve’s masking tool, the magic mask, and you can find that video here; therefore, today, we will look at using After Effects Roto Brush.
Like the Runway Mls tool, there’s no scientific mask creation method.
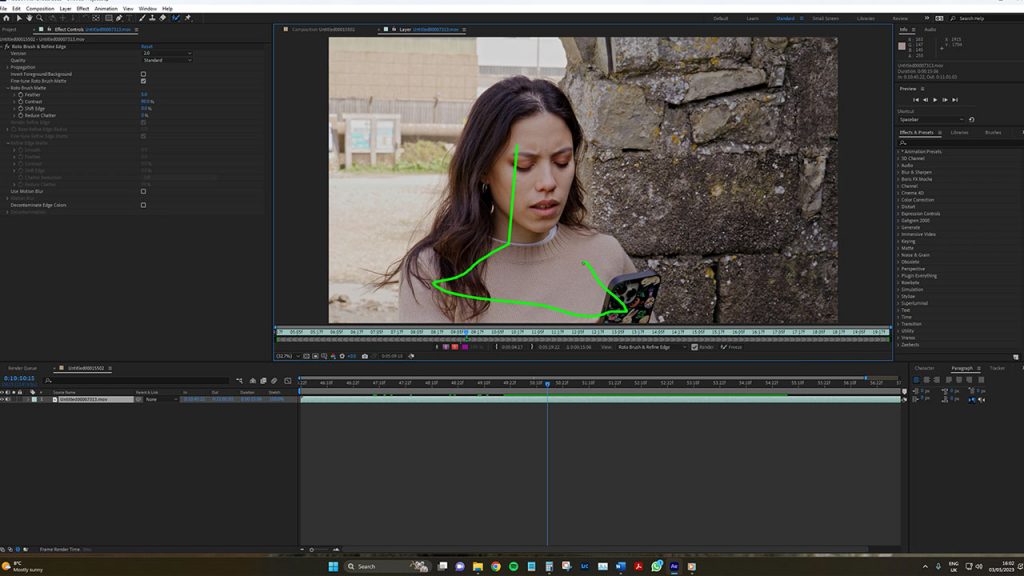
Double-click the clip to bring it to the layer window, then select roto brush. From here, you draw a line or two over your subject and use the exclusion tool to mask any areas that shouldn’t be removed. Then you will see a faint pink line around the subject’s automatically masked areas. Upon hitting play, After Effects will start to render and cache the mask for playback, and from here, you can make additional adjustments.
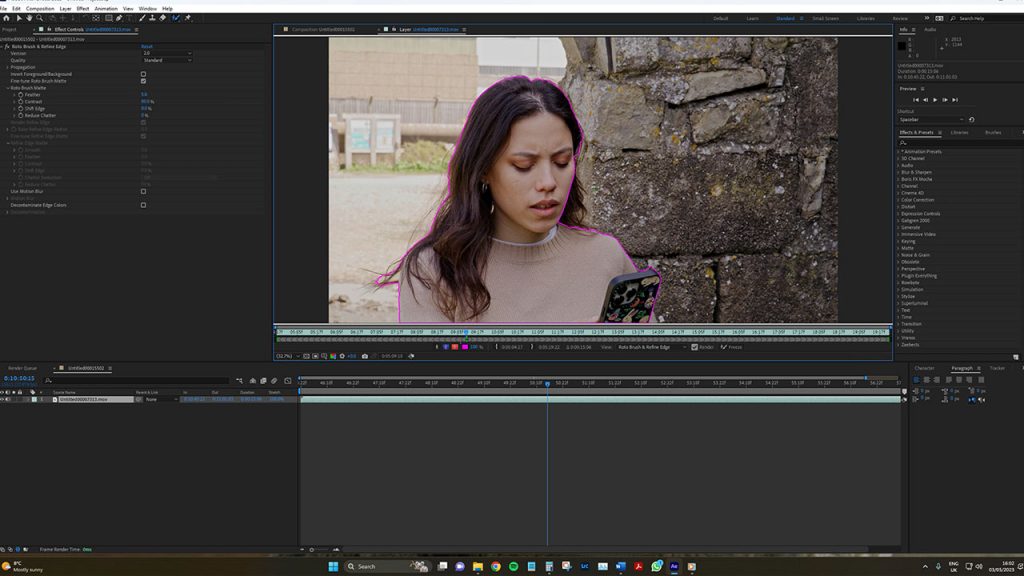
We’re already seeing a much better result from After Effects Roto Brush. The mask is closer to the subject than the browser-based AI tool, identifying more of the subject’s hair. Additionally, varying degrees of adjustable parameters can give us a seemingly good mask in the effects control window.
Like pulling the green screen key, the parameters here will be shot-dependent, but the roto brush matte tools will be key in creating a better mask.
However, given the complexity of the shot, we’re still seeing issues with the hair, bugs, and the background areas within the image.
Conclusion
While AI-based background removal tools have come a long way, they still struggle with more complex images, such as those with hair or fine details. In such cases, the traditional portable green screen method, combined with tools like Key Light, Key Cleaner, and Advanced Spill Suppression, can still be more effective in achieving the desired result.
However, it’s important to keep in mind that each method has its own strengths and limitations, and the choice of which method to use will depend on the project’s specific requirements. It’s exciting to see how technology continues to evolve and make filmmaking more accessible and efficient than ever before.
And hey, it’s not that these tools are bad. They simply require specific footage. For instance, in the shot below, we see a young boy dancing with a lot of arm movement that goes behind his back. The ML tool perfectly masks the subject within seconds. Not to sound old, but this would have taken me hours with a pen tool in After Effects back in 2009. However, when dealing with complex clothing and fabric, these tools tend to struggle, and a portable green screen becomes your ally
Looking for filmmaking tips and tricks? Check out our YouTube channel for tutorials like this . . .