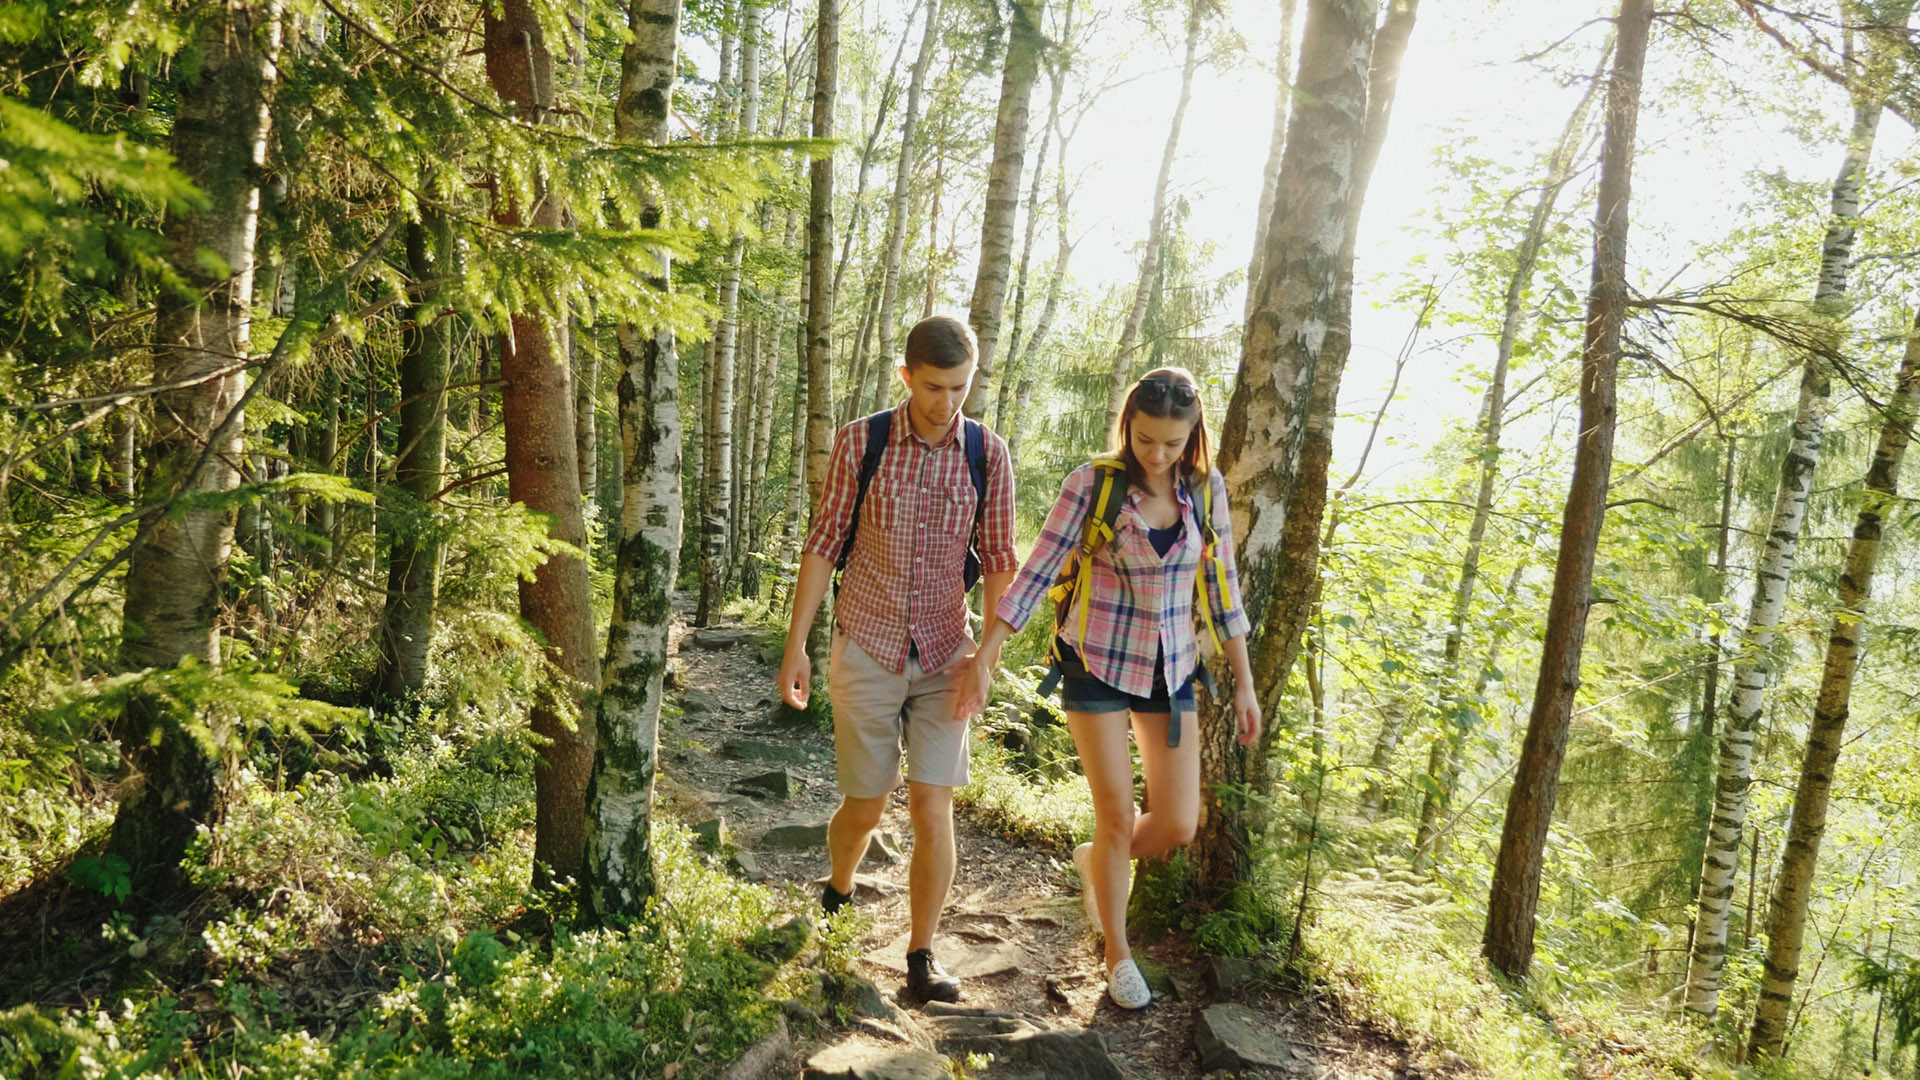
Filming in a forest offers a number of creative opportunities, but there are a few tricks to getting it right.
I must admit: I enjoy a good forest shoot (filmmaking, of course). Maybe it’s because forests surround my county, and I spent my childhood in and out of these woods, making the area familiar to me. Or, it could be that, just like the golden hour, filming in a forest presents an opportunity for beautiful footage presented freely to us by nature.
The natural beauty, lighting conditions, and unique surroundings offer endless possibilities for creative shots. However, unlike the golden hour, which can sometimes be a free pass to great shots, filming in a forest requires more creative input for the best results. Therefore, in this article, I will cover four essential cinematography tips to help you make the most of your forest filming endeavors.
Light Direction
Again, referring to the golden hour, the general idea for that magical time is to position your subject directly in the path of the sun for some luscious, golden light. However, in the forest, we will take a different approach. It’s not so much about where our subject stands — although that’s still important; rather, it’s about where the camera is in relation to the sun.
We want to position the camera toward the sun for more visual depth. In doing so, you will be inundated with organic shapes throughout the composition. This is because when we face the sun, the shadows are projected toward us from the trees and the foliage. If we change our camera positioning to the side, the compression from the focal length may negate the shape of the shadows that create interesting lines across the screen.
Now, you may ask, why face the sun? Why not with your back against it? Well, nothing is stopping you; however, when facing the sun, we can also capture star streaks. Typically, when the sun is in full view of the sensor with no obstructions, we will get a washed-out image or, at the very least, an overexposed area. However, when the sun hits an object, like the corner of a building, an open window, or in this case, a tree, we can capture aesthetically pleasing star streaks.
This effect is brought about by a phenomenon known as optical diffraction. The appearance of sunbursts or stars results from light bending around an object. When set at the suitable aperture, your camera’s lens can seize this enchanting visual spectacle.
“Diffraction spikes” is the formal term for sun stars, and the analysis and understanding of these spikes is significant in fields like meteorology and astronomy.)
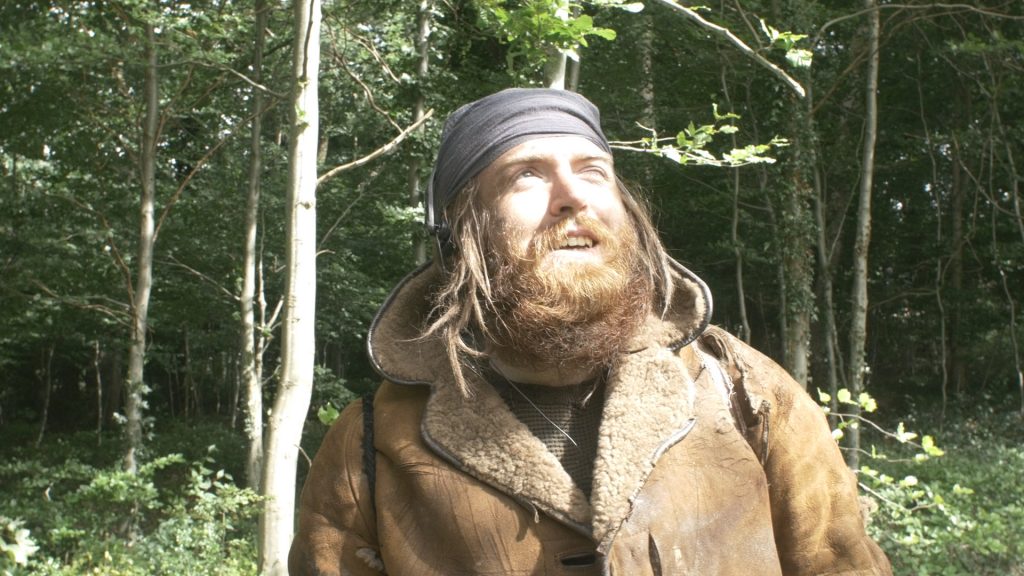
Additionally, with the subject facing away from the sun, we can let the backlight hit them and then use a bounce board to illuminate their face.
However, if the sun hits the subject directly, we would be more inclined to diffuse the light. This is typically more work than bouncing the light. And if you don’t have diffusion material, you would end up with a shot like this.
Before arriving at the forest, it’s important to study how the sunlight interacts with the forest environment at different times of the day.
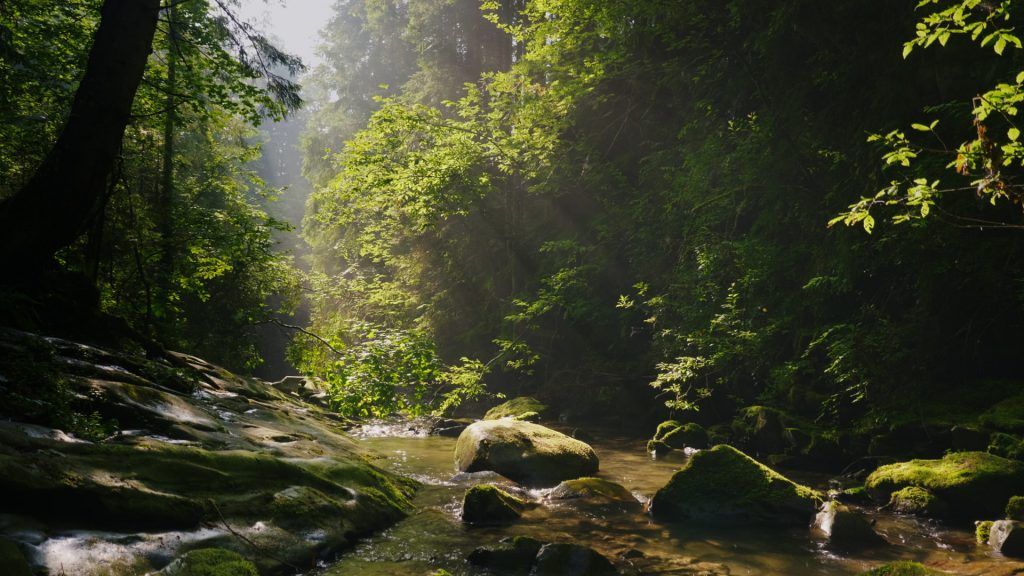
Pockets of Light
Regarding light, let’s discuss another great feature to look out for, as one of the most enchanting aspects of a forest is the presence of pockets of light breaking through the foliage. As my example below shows, these natural spotlights can add drama and visual interest to your shots.
Compare the tonal differences between the above shot vs. the one below. There’s a stark difference.
Much like with light direction, you will want to do your homework on the location to find where these pockets exist and at what time (and for how long). It’s important to note that these pockets of light will move quickly.
The goal isn’t necessarily strategically positioning your subjects within these pockets of light but using them for background interest. Just as interior scenes with an abundance of lamps, you can use these pockets of light to the same extent.
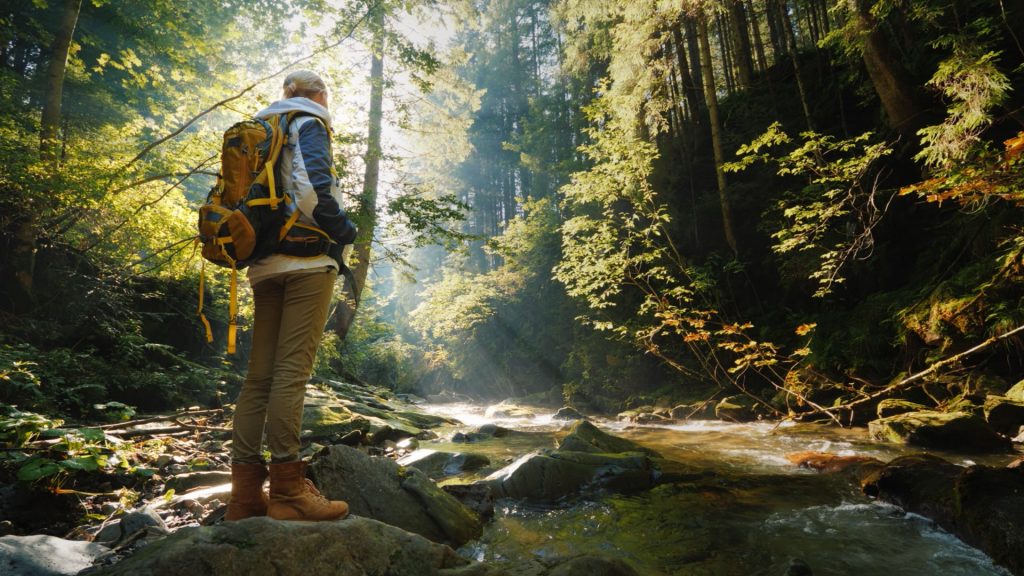
However, be mindful of exposure settings when working with pockets of light. You’re not going to want to let the pockets of light overexpose, so it may be wise to expose the light in the background and use a bounce board to lift the shadows of the subject, as seen in the example below.
Focal Length
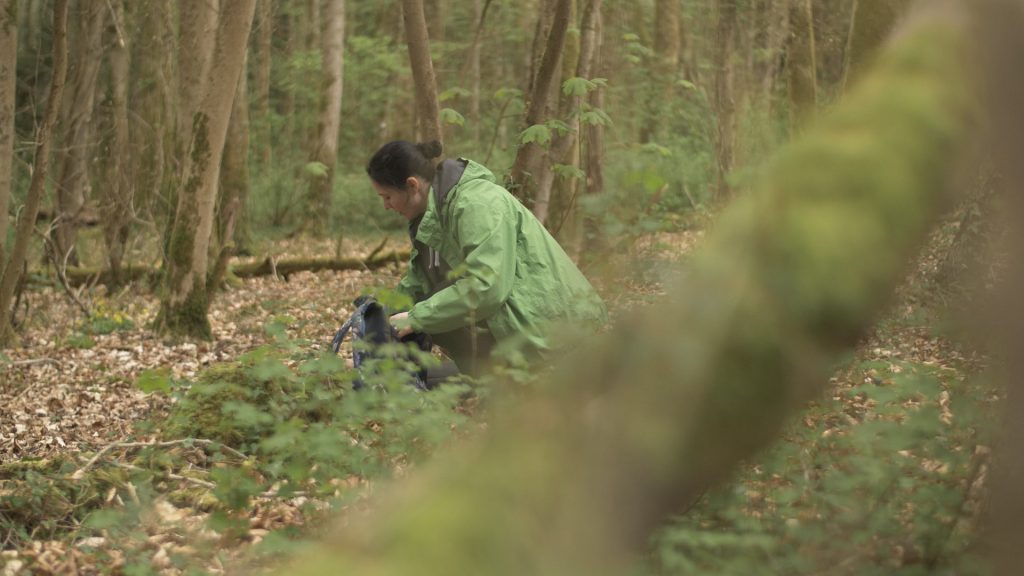
The choice of focal length can significantly affect the visual dynamics and movement within a forest scene. You’ll want to forego the use of standard focal lengths, e.g., 35-50mm, and instead opt for either wide or telephoto lenses.
Wide-angle lenses are perfect for capturing the enormity and magnificence of the forest, giving viewers a sense of immersion in the environment. Use these lenses to display panoramic landscapes, vast canopies, and the sheer expanse of the woods. In a thematic sense, a wide-angle lens allows the location to evolve into a fully developed character. This is because the viewer can appreciate the intricate details of the environment, emphasizing the location and its encompassing influence on the character.
Furthermore, a wide-angle lens can help underscore the isolation or insignificance of a human figure within the vastness of the natural world, thereby highlighting themes of man versus nature. It can also be utilized to create a sense of scale, contrasting the grandeur of towering trees with human figures, thus putting the character’s journey into a larger perspective.
We see this effect used well in The Revenant.
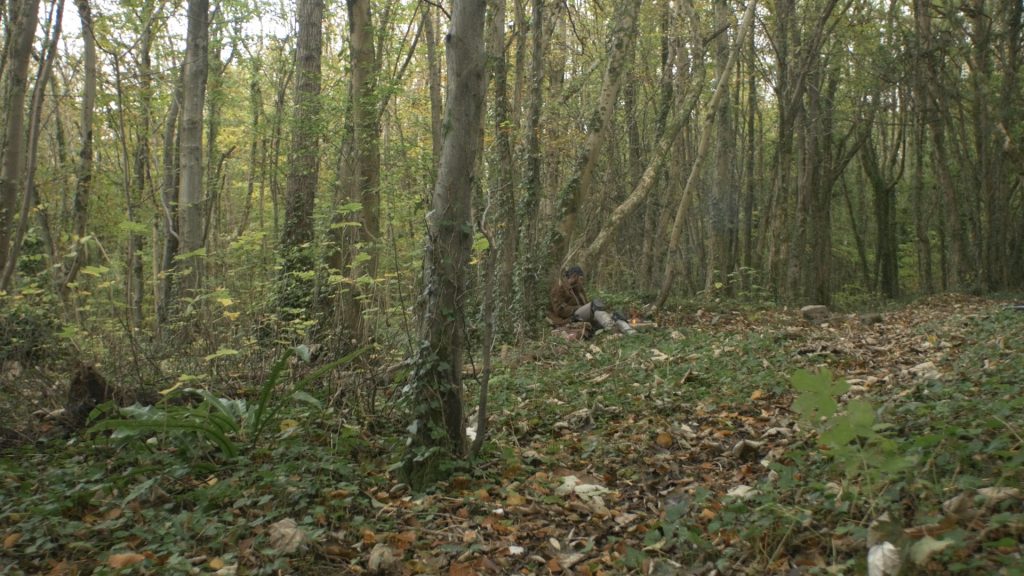
On the other hand, telephoto lenses serve to focus on specific details or subjects within the forest. These lenses condense the scene, accentuating textures and allowing you to capture distant subjects without intruding on the natural ambiance. Using a telephoto lens fosters a sense of intimacy and intrigue. When it comes to capturing movement, a telephoto lens can introduce a sense of dynamism, which is particularly useful if you’re short on actual mobility equipment such as a Steadicam or a dolly. Given the high degree of zoom, the foliage will appear to speed past during camera pans.
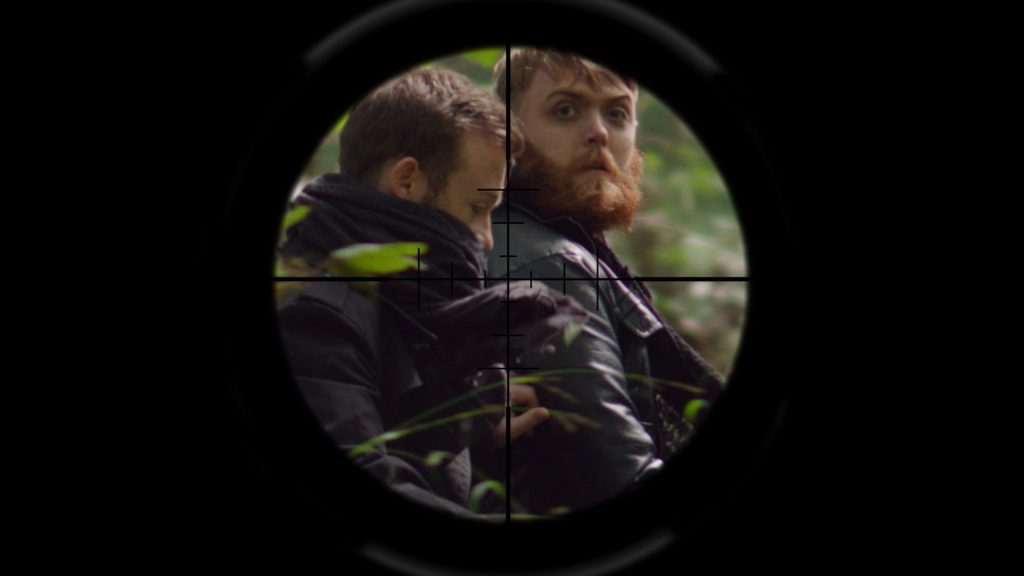
As we see in the example throughout the video, although I’m locked off on the tripod because I was using a 150mm lens, as I follow the characters running throughout the forest, there’s a strong sense of kinetic energy within the scene.
Clothing
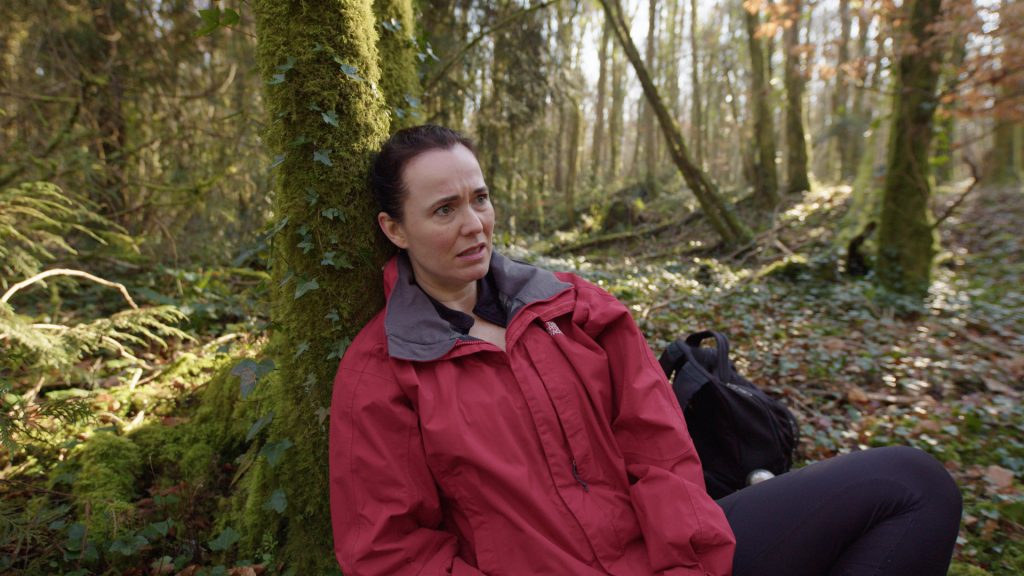
It would be great if we all had enough funds and enough helping hands to carry lighting equipment wherever possible. However, that often isn’t the case. Still, we can draw attention to our subject with what they wear. Choosing the right colors for your subjects’ clothing can significantly affect how they visually interact with the forest environment.
For example, if the foliage is predominantly green, choose contrasting colors such as orange or red for your subjects’ clothing. This contrast will make them stand out and draw attention, as we see in the example earlier in the article with the actor in the red coat. However, in a previous project where the same actor wore a green coat, we can see she becomes lost within the composition, allowing the audience’s gaze to wander.
Ideally, you want to avoid clothing that matches the surroundings too closely, as it can diminish the visual impact and make it harder for viewers to focus on the subjects.
Filming in a forest offers cinematographers a rich and visually captivating setting. By considering the direction of light, choosing the right focal length, utilizing pockets of light, and paying attention to the contrast in clothing colors, you can enhance the visual appeal of your forest scenes.
Looking for filmmaking tips and tricks? Check out our YouTube channel for tutorials like this . . .


