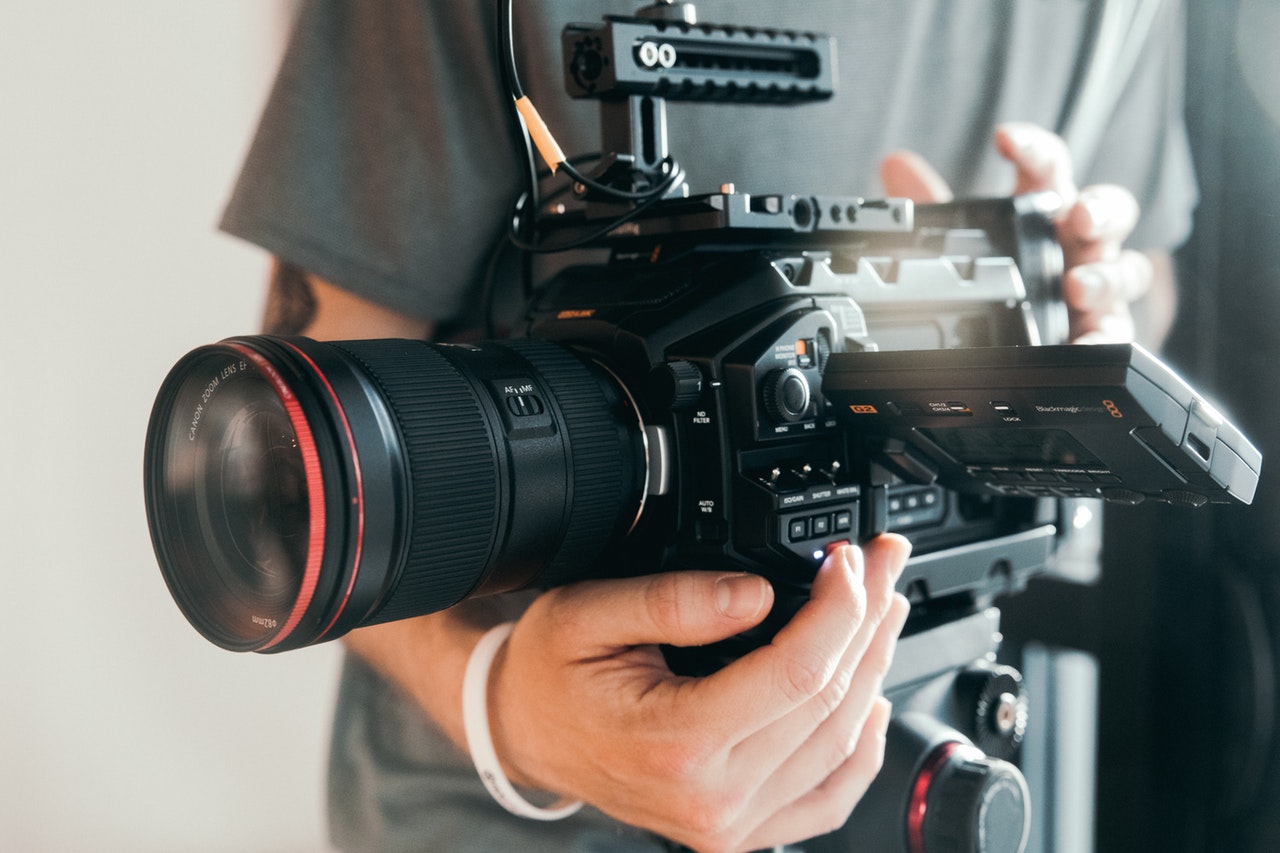
Like photography, aesthetics matter a lot in videography too. No videographer out there would settle for mediocre footage and try ways and means to improve the quality of their work. However, exposure is one essential aspect that we need to keep in mind when it comes to the aesthetics of any given footage.
Most modern video cameras have impressive image sensors and excellent optical capabilities. But despite this, we end up with underexposed or overexposed footage, which we fret over later. But what if we tell you that there’s a feature that would help you nail the exposure of any given footage before you capture it? Introducing – the Zebra Pattern!
Zebra pattern is a unique feature found in most video cameras. Videographers, especially beginners, are not aware of this fantastic feature. But once you get to know this feature and witness how beneficial it is, there’s no turning back. Now that we’ve got you intrigued, let’s help you understand the zebra pattern feature and how you can use it to enhance your video footage. Let’s get started.
What is the Zebra Pattern?
The Zebra pattern is an exposure tool used to identify and highlight areas of any given video footage exposed beyond the defined threshold limit. With a striped pattern, it helps you control exposure, as it quickly indicates areas close to getting overexposed. However, you need to know that the zebra pattern feature is only a highlight warning indicator. It does not in any way control exposure by itself; instead, it just warns you that your highlights are out of proportion. Nevertheless, the Zebra pattern is an excellent tool that helps avoid accidental overexposures in videos.
How Does the Zebra Pattern Function Work?
Every camera has an IRE level, which can be set as required. IRE level stands for Institute of Radio Engineers level and measures the video signal level used as a basis of brightness. The IRE level ranges from 70 to 100 and can be set as per the brightness level required. If you’re looking for a pure white, overexposed sensitivity level, the threshold can be set to 70%, 80%, 90%, or even 100%. A lower threshold (ranging from 70-80%) is perfect for skin tones. It helps detect exposure levels in many skin tones. The higher range (from 90-100%) helps to see overall screen exposure.

Once you set the IRE level to, take for example – 100, you can enable the zebra pattern feature. The Zebra pattern function will then help you check the extent of brightness the subject has been exposed to. Certain image areas that do not fit the brightness criteria you have set will be filled with a striped or cross-hatch pattern. These highlights will instantly and clearly bring to your notice the areas where too much light falls on the image sensor. You can then adjust the exposure according to the results shown to balance the exposure in the footage. The feature also helps detect shadows – it allows you to gauge your shadows quickly and how black they are.
Another essential aspect to note is that not all cameras come with the zebra pattern feature. A couple of cameras such as Canon, Sony, and Blackmagic Design come with this feature. We will now be discussing where you can find the Zebra pattern features in these cameras.
Sony
Step 1
In Sony cameras, you can easily access the Zebra Pattern feature on the MENU Screen. Once you tap on MENU, choose the Custom Settings option. Here, you will find the Zebra feature.
Step 2
Now you have to set the Zebra value to 100+ and observe the screen. You will notice some parts of the image have zebra stripes, while the rest is even. Now you have to adjust the exposure so that the zebra pattern does not appear on the screen.
Step 3
Once the zebra pattern and the flare have drastically reduced, you can move to capture your footage.

Things to Remember
You need to adjust the Zebra settings according to the subject and the brightness you wish to capture. Unfortunately, there are no standard rules for the perfect zebra range, and it would vary according to the footage you are capturing. But yes, here are a couple of pointers that would help:
· To avoid underexposed footage, set the Zebra feature between the 90-95 range. Within this range, the Zebra pattern appears on the white subject you want to shoot.
· Likewise, for bright images, the Zebra range of 70 to 80 is apt. In this range, the Zebra pattern appears on the subject’s face.
Canon
You also have to set the threshold limit in Canon cameras before you activate the Zebra pattern feature. The available Zebra pattern settings in Canon cameras are 70 IRE, 75 IRE, 80 IRE, 85 IRE, 90 IRE, 95 IRE, and 100 IRE. Let’s have a look at the steps to activate the Zebra pattern feature in canon cameras:
Step 1
Navigate to the Menu and select the Display Setup option. Next, choose Zebra Level and then select the setting option that would best suit the requirements of your footage. After you have chosen this, close the Menu.
Step 2
Here, you have to activate the Zebra pattern feature. Open the Menu, select Display Setup and then choose the Zebra option. Set it to On and close the Menu. The Zebra pattern feature is now ready to use.

BlackMagic Design Cameras
Step 1
On your LCD monitor, you need to select the Monitor icon towards the top left of the screen. The Monitor icon would give you access to a whole range of features, one of which is the Zebra pattern.
Step 2
To adjust the exposure threshold, you need to tap the Switch icon at the bottom left of the screen while in the Zebra tab. You will then see a slider, dragging which you can adjust the exposure levels as required. The Zebra level in Blackmagic cameras is adjustable in 5 percent steps, starting from 75 to 100%.
Step 3
Once you have adjusted your Zebra threshold, look at the monitor and correct the exposure as required. You can now proceed with capturing your footage.
Summing Up
The Zebra pattern is an incredible feature which you can use to ensure the quality of your footage is consistent and picture-perfect. Modern-age cameras have this feature built-in; we only have to figure out how to access the feature and use it.

Most cameras have a set of hidden features, which we know about only when we explore the capabilities of these cameras. And even if your camera doesn’t offer the feature, you can always choose to use an external monitor. Almost all external monitors have Zebras built-in in them – but not many photographers are aware! If you have one, you can instantly connect it to your camera and use the Zebra feature. It is a great tool, so ensure you try it out the next time you’re out shooting a video.


