“MidJourney,” the generative AI image creation tool, took the internet by storm last year, and with its recent advancements, there are no signs of it slowing down—for better or worse . . .
Recently, we’ve seen a number of viral videos from the likes of Curious Refuge that present trailers of AI-generated video footage, mimicking famous films in the style of renowned directors, often like Wes Anderson. However, the video footage isn’t actually comprised of video clips; more often than not, it’s just AI-generated imagery that has been slightly edited in After Effects to create a semblance of movement. Today, we will go over a number of simple animation methods you can use to create compositions similar to your generated images.
Animating a Midjourney Exterior
For this tutorial, we will use two exterior-generated images and one portrait image. It’s important to note that the tips shared for one part of the video can also be applied to the other images. Stay tuned for our final composition at the end of the video.
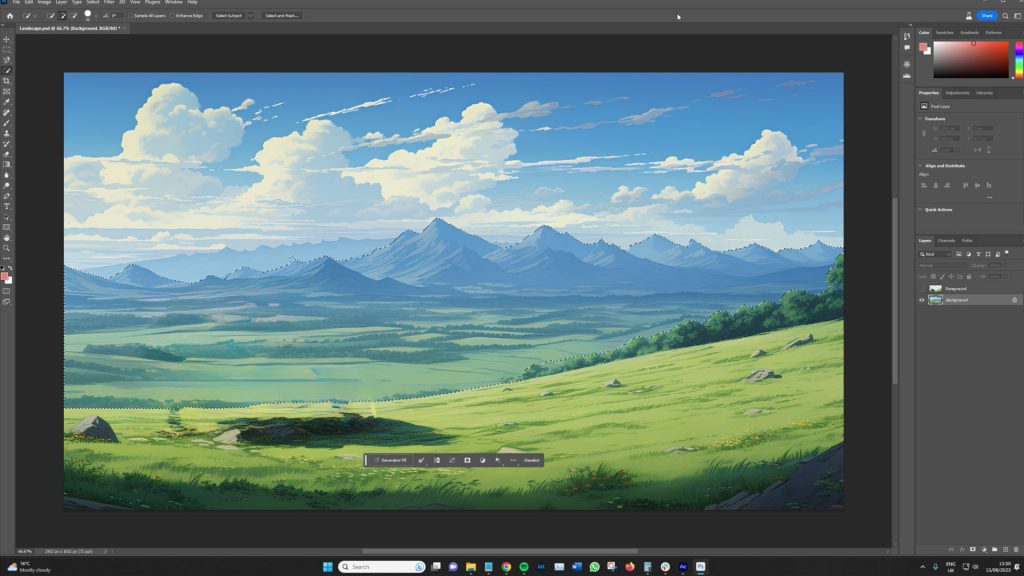
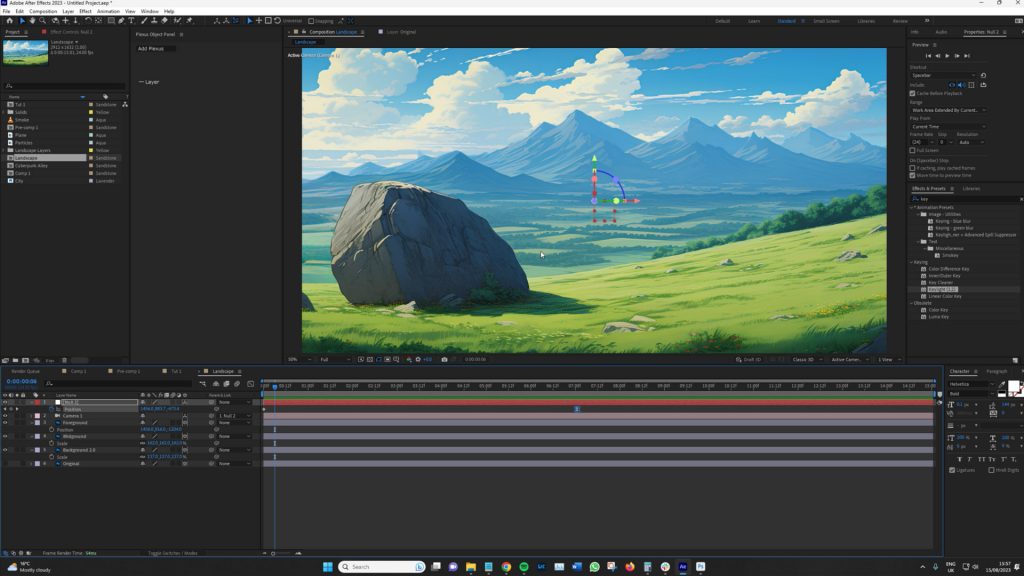
First, let’s explore adding parallax to an exterior-generated image to simulate depth within the shot. It’s crucial to have multiple layers in your still image. In this example, we have foreground, midground, and background layers that we can separate. Make sure you generate an image with these features before proceeding.
We will start by importing the still image into Photoshop. Carefully cut around the three layers with precision.
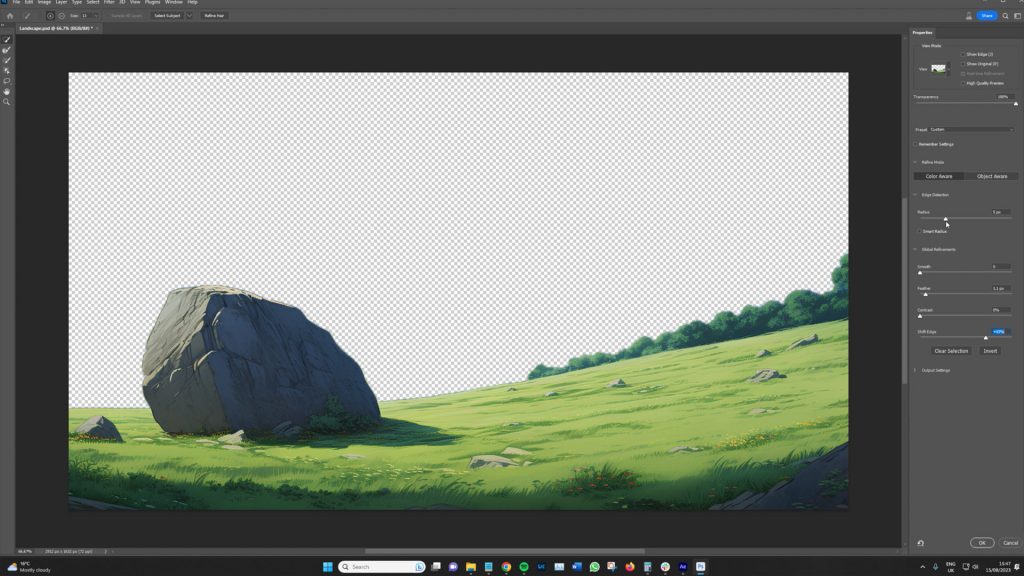
Although this step could be accomplished in After Effects, using Photoshop offers greater accuracy. Once this is done, we can use Photoshop’s generative fill feature to recreate the information from behind the object. For instance, in the foreground, we have a rock that has been lifted as the foreground layer. Behind it lies an empty space; Photoshop’s generative AI can fill this gap.
Now that our layers are prepared, let’s move on to After Effects. We will create a new composition with a specific frame rate and duration. This is where we introduce the concept of parallax—a visual effect where the position or direction of an object seems to change when viewed from different angles, such as through a camera lens. Imagine the effect when you’re on a train; objects closer to you appear to move faster than those in the distance. We will replicate this effect by separating layers in terms of z-space. The layers in the front will move faster than those in the back when the camera moves, creating a sense of 3D depth.
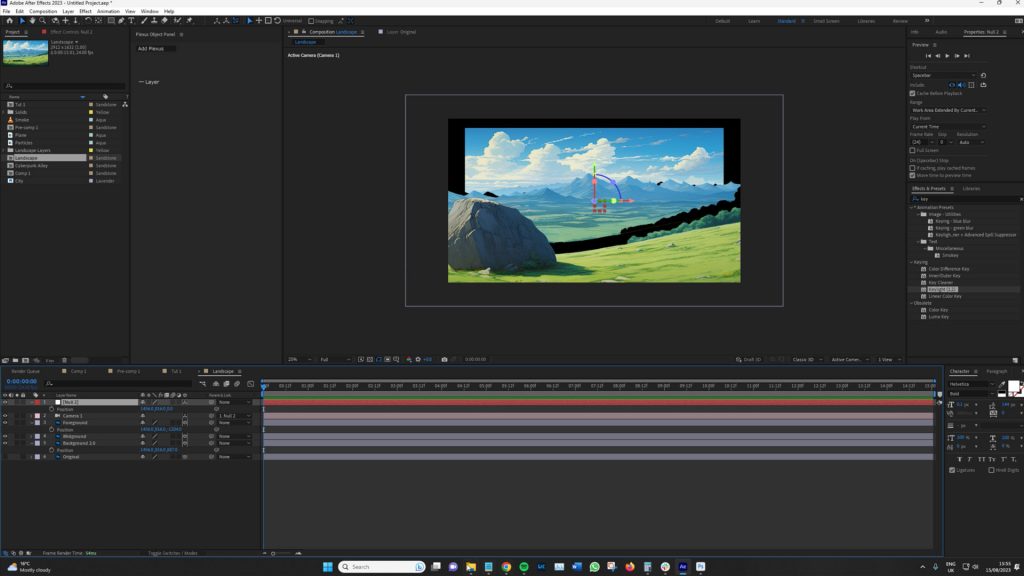
Next, let’s proceed to the technical steps. First, ensure that the layers are set to 3D. Then, adjust the layers’ positions in z-space, pushing the background further back and bringing the foreground object forward. Introduce a camera with a specific lens and a null object, and then parent the camera to the null object. You might notice that the proportions are off; adjust the scale until they match the original still image.
With the layers and camera settings in place, let’s animate the camera. For instance, we’ll slightly track it to the right. Adjust the camera’s position over time using keyframes. And voilà! To take this a step further, you could also mask the grass and gradually animate them over the course of the sequence. Be sure to check the video for the final result!
Animating Midjourney City Elements
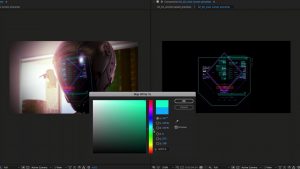
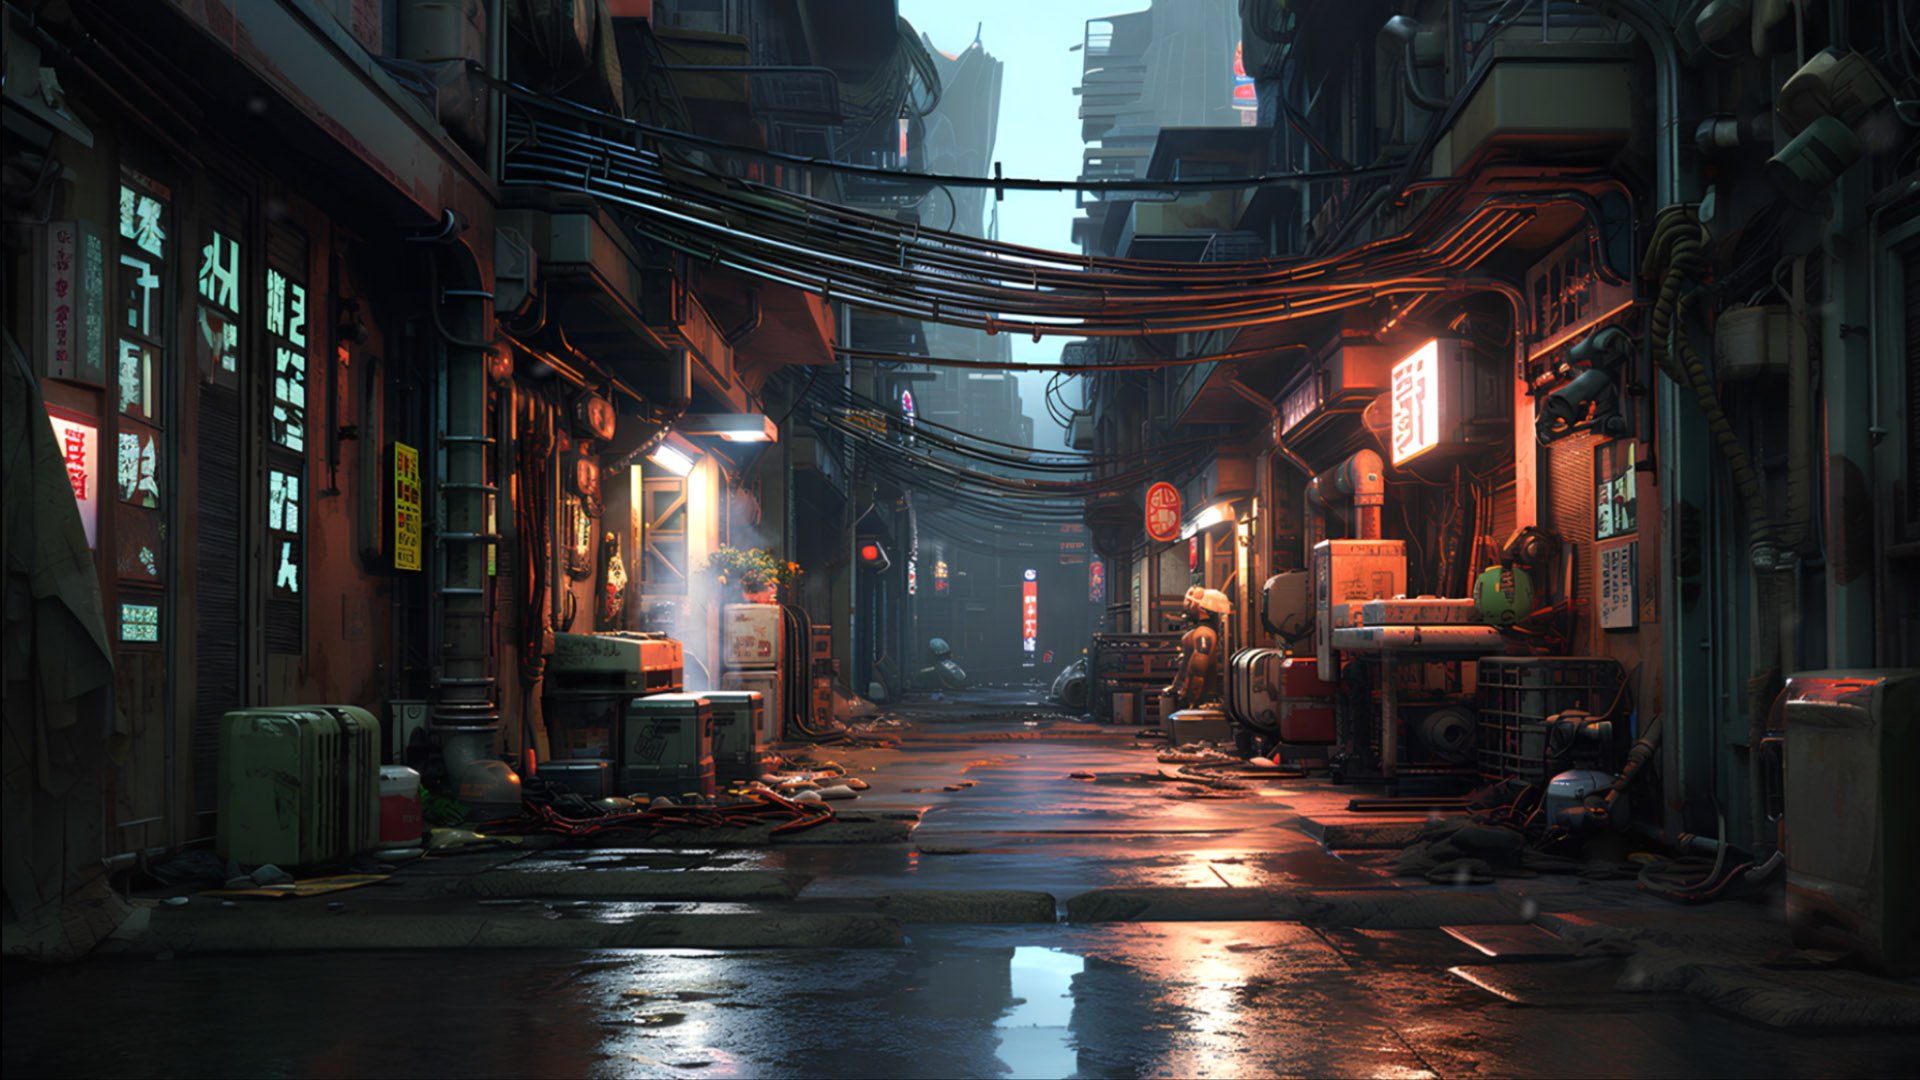
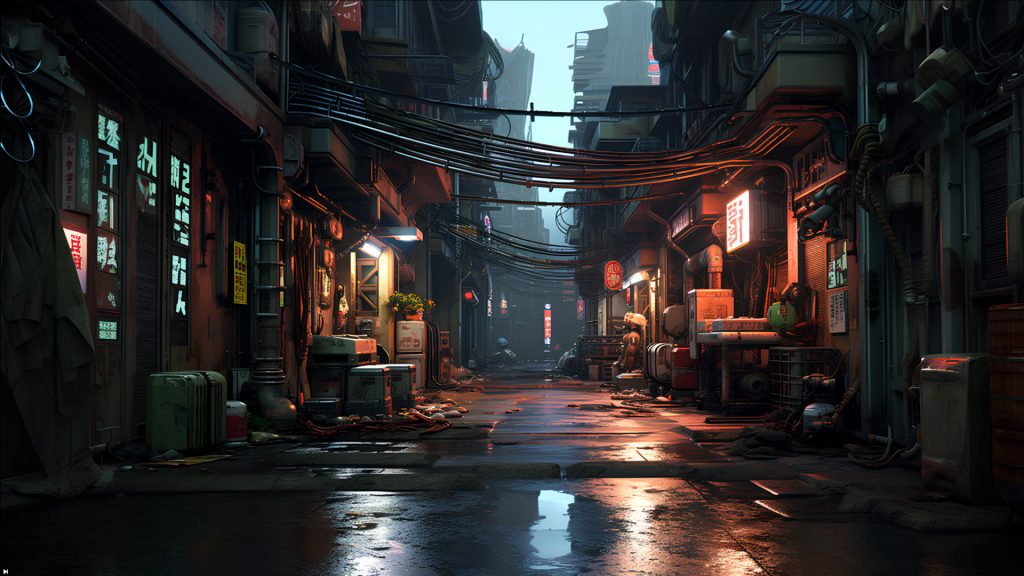
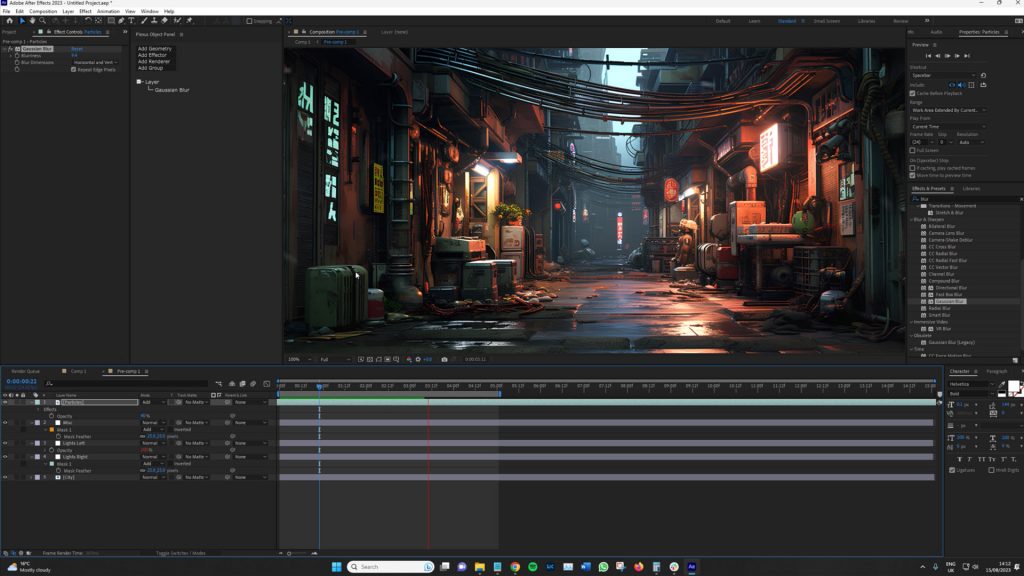
Now, let’s move on to our third and final setup. It’s a wide shot of a sci-fi cyberpunk city bar area. There are no people in this shot—nor do we have a lot of foreground elements. So, instead, we’ll look to animate elements within the scene, such as the neon lights, and also incorporate a number of stock elements from the Videvo library.
Let’s look at how we can animate the neon lights first.
Layer Enhancement Steps:
- Add an adjustment layer and access the “Effect” menu.
- Navigate to “Stylize” and choose “Glow.”
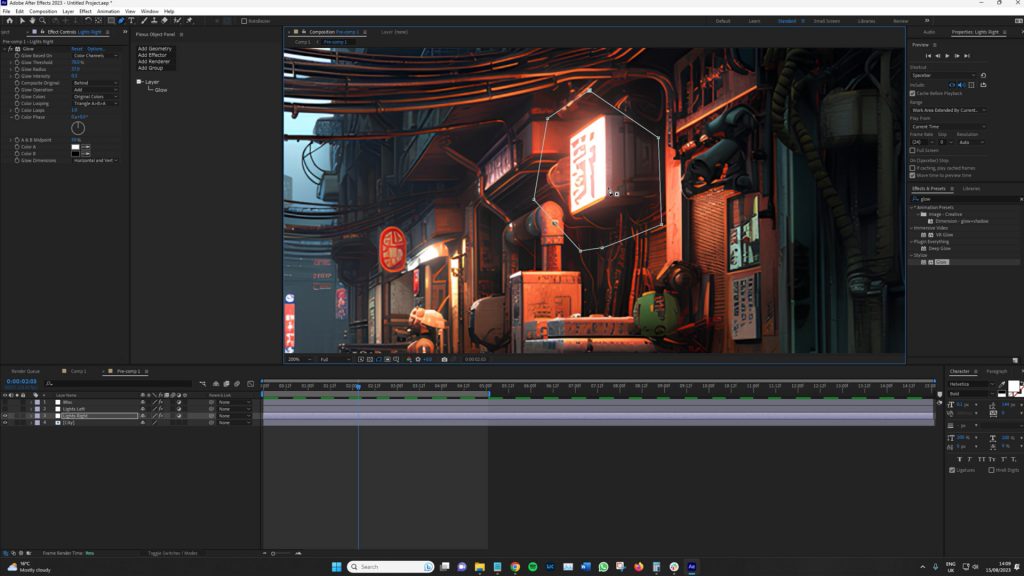
Adjusting Glow Settings:
- Within the Effects Controls panel, locate the Glow settings.
- Modify the parameters for the intended glow effect:
- Adjust the “Glow Threshold” to define the areas for glow application. Raise the threshold to affect only the most luminous portions of the elements.
- Modify the “Glow Radius” to manage the extent of the glow.
- Tune the “Glow Intensity” to control the glow’s strength.
Experiment with “Glow Colors” alternatives for glow color variation. Optionally, activate “A & B Colors” for further color customization.
Refinement of Glow Effect:
- Create a mask around the regions targeted for the glow for a more authentic appearance.
- Adjust the mask’s feathering to ensure a smooth transition between illuminated and non-illuminated regions.
I would also be poised to create a few different adjustment layers under different masks so the flickering is not in-sync across the entire frame.
Incorporating Flicker Effect:
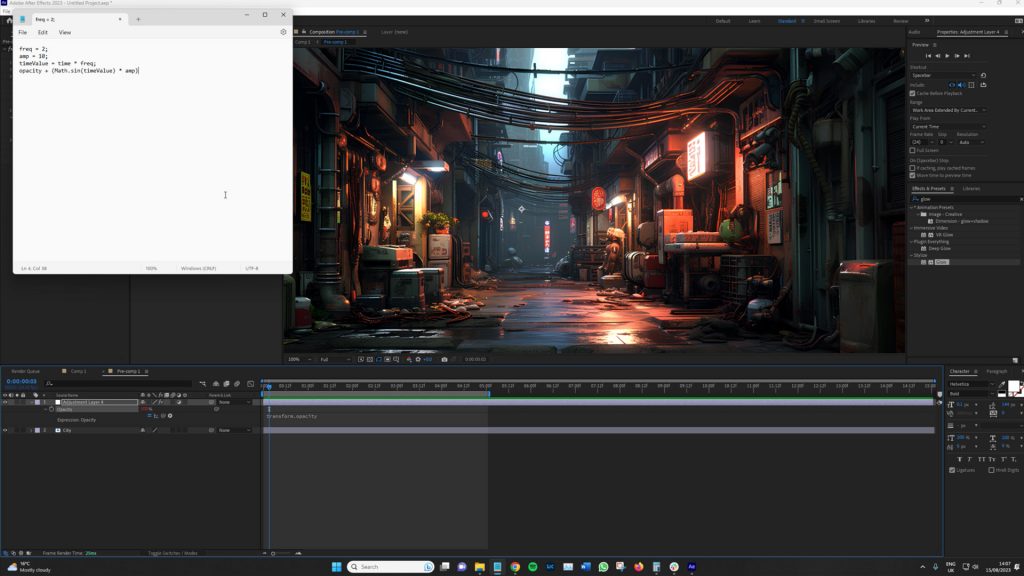
Open the opacity settings of the glow layer and alt-click the stopwatch to access the expression panel.
Integrate the subsequent expressions to introduce a flickering effect:
freq = 2;
amp = 10;
timeValue = time * freq;
opacity + (Math.sin(timeValue) * amp)
(You can copy and paste this.)
Customize the freq (frequency) and amp (amplitude) values as necessary. Increasing the amp value amplifies the visibility of the flickering outcome. Upon hitting play, our neon lights look great.
Next, we will go to the Videvo library and download stock elements. This includes snagging a dust overlay, a plane video with a green screen background, and some dry ice spurting onto a black background. Once we have these, we’ll return to After Effects to finish this segment.
Working with Stock Elements
For the dry ice stock video, we will use this to mimic smoke coming out from one of these steel pipes. As the Videvo library is chock full of these great clips, we don’t have to do much other than changing the blend mode to overlay, decreasing the size, and maybe adding a bit of blur to seal the effect in place.
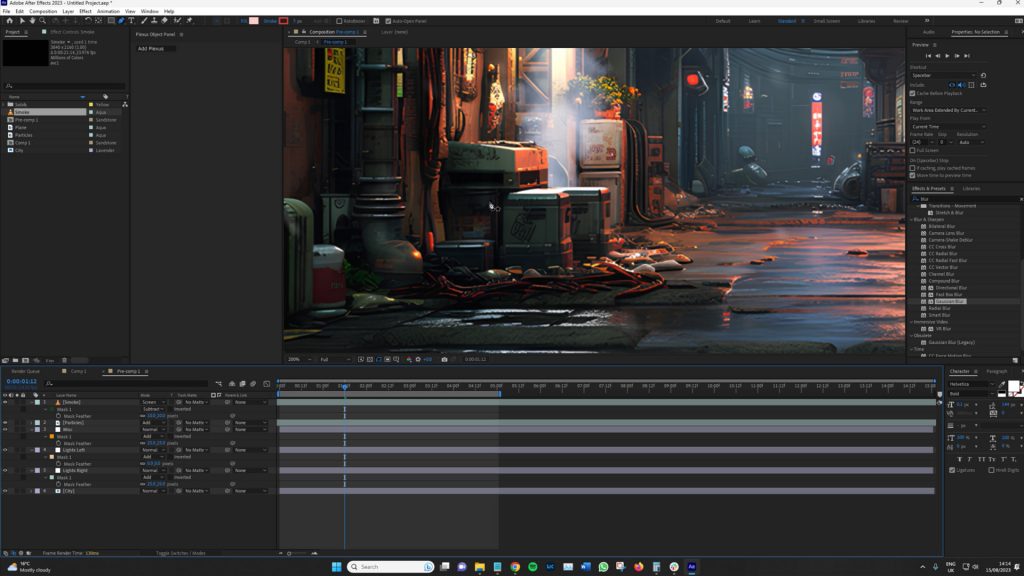
Now, the dust overlay comes into play. We’ll layer it on top, tweak the blend mode to seamlessly blend it in, and dial down the opacity a notch to keep it subtle but impactful. This infusion of dust adds a dynamic vibe to the whole scene.
With everything set, we’ll group this setup into a pre-comp. That’s where the 3D camera enters the scene. We’ll inject movement into the scene by employing a simple push-in technique.
Again, be sure to watch the full video for the final result!
Final Scene
Now, the trick is to attempt to use all these subtle elements in one big scene in order to create a real sense of environmental motion to deceive the viewer into thinking that the scene is very much alive. When in reality, it’s nothing more than a generated still image. Be sure to check the video for the final result.
Looking for filmmaking tips and tricks? Check out our YouTube channel for tutorials like this . . .