Room tone improves any audio project, solves problems, and gives depth to the soundscape. Here’s how to use it.
Ambient noise. It can be a hindrance for recording, but it can also be a saving grace for your audio, especially for dialogue. In the filmmaking world, this is known as room tone. This very important piece of audio can bring back reality to your scenes and ease the dialogue editing process — and it has some great benefits when working in sound effects. Let’s learn what exactly room tone is, and why it’s important to consider.
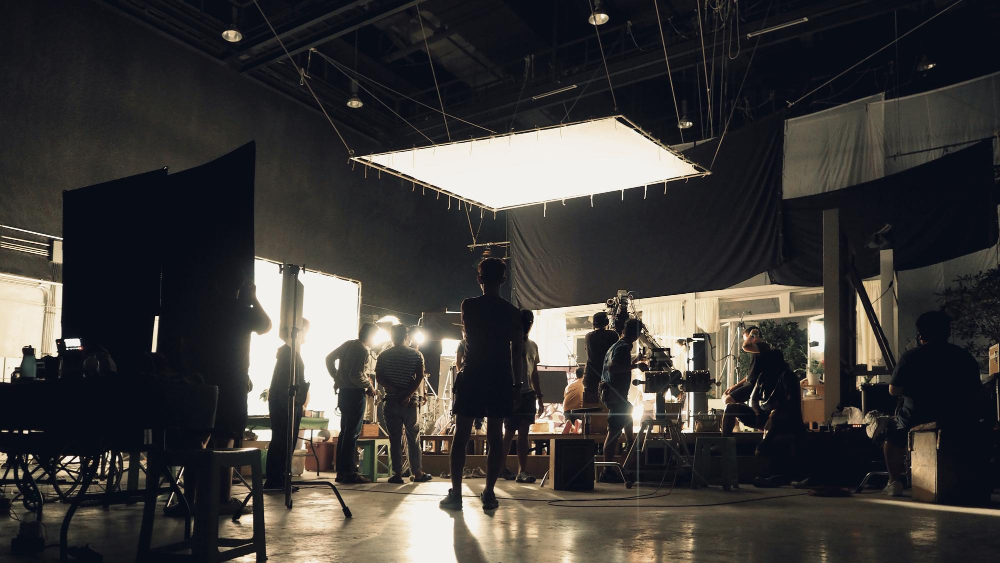
If you’re a newbie to the filmmaking world, you may have heard of the term room tone. When filming a scene, you may hear the instruction of wanting some silence from the actors and the rest of the crew in order to record the noise of the room. But why do we need this?
What is room tone?
Every space is unique, based on the walls, dimensions, and materials it’s made from. With that, any existing background noise that naturally occurs will give that space an ambience that will inevitably be heard in a recording. This is what we call room tone.
Room tone is used in visual media to create a more realistic-sounding scene when there is dialogue in any given space. If a scene had dialogue with no background noise present, and just the clean audio of the dialogue, it would sound unrealistic. Room tone brings back that reality to the audience, hence why in every shoot, the sound crew has to capture some room tone, a little something like this example…
Other than being heavily used for dialogue, room tone can be highly beneficial when recording sound effects or foley. It works differently as the ambient noise acts as a noise profile to help eliminate any background noise that has been picked up initially in the recording.
Why do we need room tone?
There is no such thing as dead air when it comes to filmmaking. It can be unnatural to the scene and sound amateurish. Room tone is an essential type of sound that is needed in the post-production stage, especially when there is dialogue present.
The room tone can act as a sound bed for other sounds to be layered upon. This is particularly useful when there is dialogue that is re-recorded (ADR). As it’s typically recorded in a studio that is acoustically treated, there is virtually no background noise. So when editing this re-recorded dialogue in post, having the room tone provides consistency, replicating the sound that’s heard on-set.
Viewers can recognize when the room tone is missing. Without room tone, the scene loses its sense of space, very much like going into outer space where there is no atmosphere. With the room tone present, we don’t think about it as it’s simply a naturally occurring element of our reality. This makes it essential when filmmaking as it successfully places the dialogue in its given place.
Using room tone to eliminate unwanted noise
While room tone is used specifically to add a natural atmosphere, room tone can also be used to eliminate unwanted background noise. This is useful if you are making recordings for sound effects and you don’t have access to a sound-proof space. In this case, room tone can be used as a noise profile, which can be used as a reference for software to recognize unwanted background noise. This can be from traffic noise or electrical humming.
Sound effects are usually useless when combined with those unwanted sounds. Thus having a noise profile can help eliminate them in post. There are plug-ins that are specifically designed to eliminate the noise (a de-noiser); however, these aren’t always as accurate and may incorrectly detect noise from your original sound source. Having a noise profile is a much more efficient way of dealing with noise.
Best practices to record room tone
So what’s the best practice to obtain room tone? It’s actually pretty self-explanatory, you just need to remember to do it! Here are some essential steps when recording room tone.
- It’s important to capture the room tone before the first shoot of the day. Once all of the microphones have been set up, instruct everyone in the room to keep quiet and still and hit record on all microphones present. It’s recommended to obtain around 10-30 seconds of audio.
- When moving to different locations, it’s important to obtain the room tone of each one. Sometimes if you are recording from a different area within the same building or room, whilst the change of angles may not be obvious, it’s always best to cover all bases.
- Once recorded, keep this file safe as this will be vital in the post-production process.
- Gain levels should be kept consistent. Keeping them at the same levels when recording dialogue or other sounds is imperative. It may be a habit to raise them as what’s being recorded is essentially silence or just incredibly quiet. However, this can be a huge disadvantage further down the line as the noise floor will be too difficult to manage, causing a lot more noise than expected.
- If you want the best recording possible, having high-quality microphones will provide the best sound as well as better accuracy. When working on a large-scale production, this isn’t something to worry about, but if you’re a solo filmmaker for example, ensuring you have the correct microphones that perform well will enhance your recordings later down the line.
Difficulties of recording room tone
On the surface, it seems quite simple to capture room tone. As long as you have complete control of the environment, then recording the room ambience should be a clean process.
But there can be difficulties along the way. Other than room tone, you can get air tone. This denotes spaces outdoors. The problem when recording air tone is that you are more susceptible to capturing invasive sounds that you cannot control, such as airplanes, heavy traffic, pedestrian noise, and more. This is vastly different to capturing room tone as the outdoor environment is much more unpredictable.
Another difficulty is that while it’s recommended to record room tone on all microphones that are used on set, this can become a hassle. This is more to do with sets that are much larger. As there is more space to cover, obtaining the room tone from each microphone must be done for a more realistic ambience in post.
Lastly, keeping everyone in the space quiet can be an obstacle, especially when there is a much larger crew. Having good crowd control can help get those crucial seconds of clean room tone.
Tools for room tone
Luckily, there are tools and plug-ins out there if you aren’t able to get any room tone.
iZotope have a plug-in called Ambience Match that allows you to match the noise floor of one recording with another. Steinberg Spectralayers is also another ambient matching software, as well as Chameleon, which can source reverb content from any recording.
Plug-ins can come with a hefty price tag. iZotope’s Ambience Match is only available through purchasing the RX 10 Advanced bundle, which is a whopping $1,149. Your best bet is to remember to record your room tone yourself without having to purchase anything!
Capturing room tone is a small step in the creative process, but it can create a better sense of realism in the final product. Who knew that obtaining ambience can make or break the atmosphere of your scenes?! Plus it has the perks of being rid of background noise for voiceovers or sound effects. Room tone is a necessity for the post-production process.
Cover image via Freepik.
Looking for filmmaking tips and tricks? Check out our YouTube channel for tutorials like this . . .


