In this video tutorial, we’ll show you how to create the effect of a cloudy day for an interior shot.
In this video tutorial, we explore the intricate art of replicating soft, overcast daylight in an interior setting using simple-yet-effective lighting techniques. The focus is on how to mimic the gentle illumination of a cloudy day, which is particularly useful when the ambient light from a window isn’t sufficient for your scene
Setting The Scene
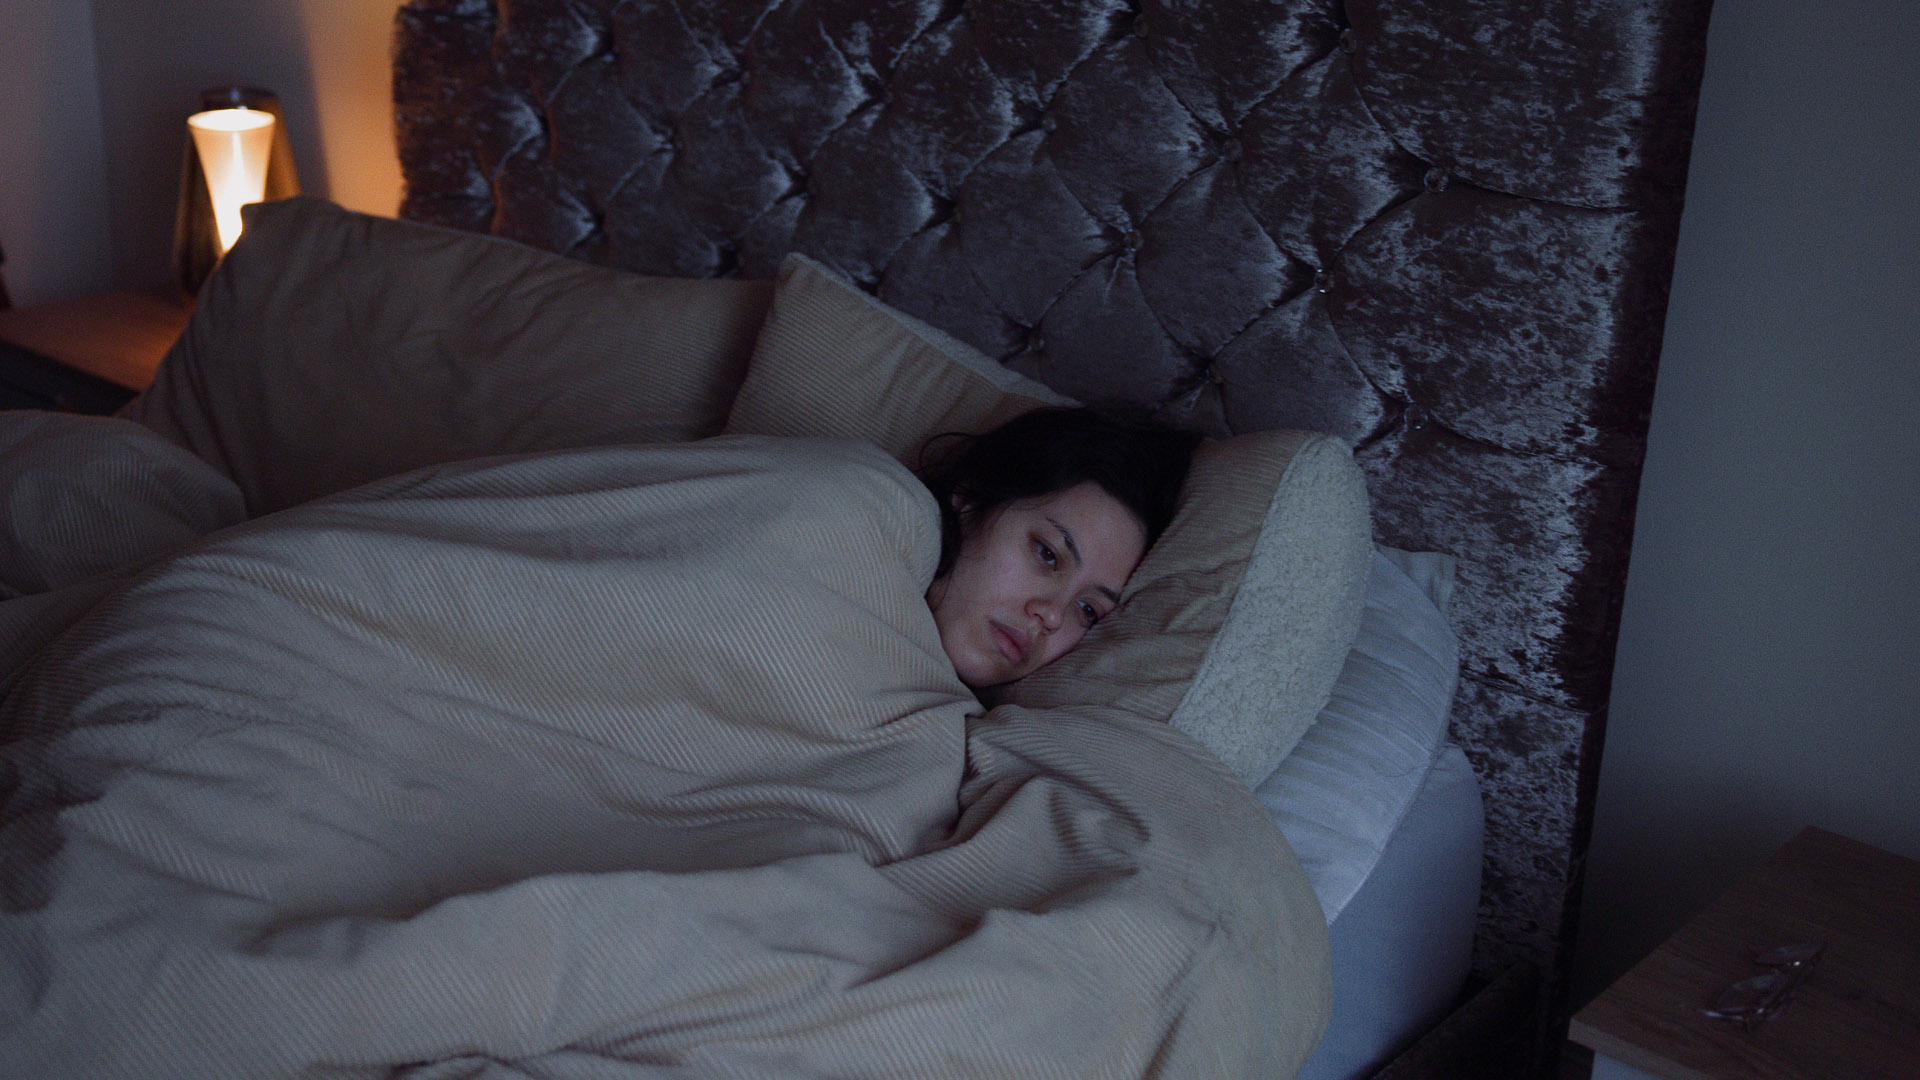
Filming close to a window is a great way to illuminate your subject without additional lights. This effect is further enhanced on an overcast day, when the light becomes softer. But what happens when the overcast nature is actually part of the story, displaying the rainy and grey atmosphere outside? The scene changes dramatically the moment your subject steps away from the window.
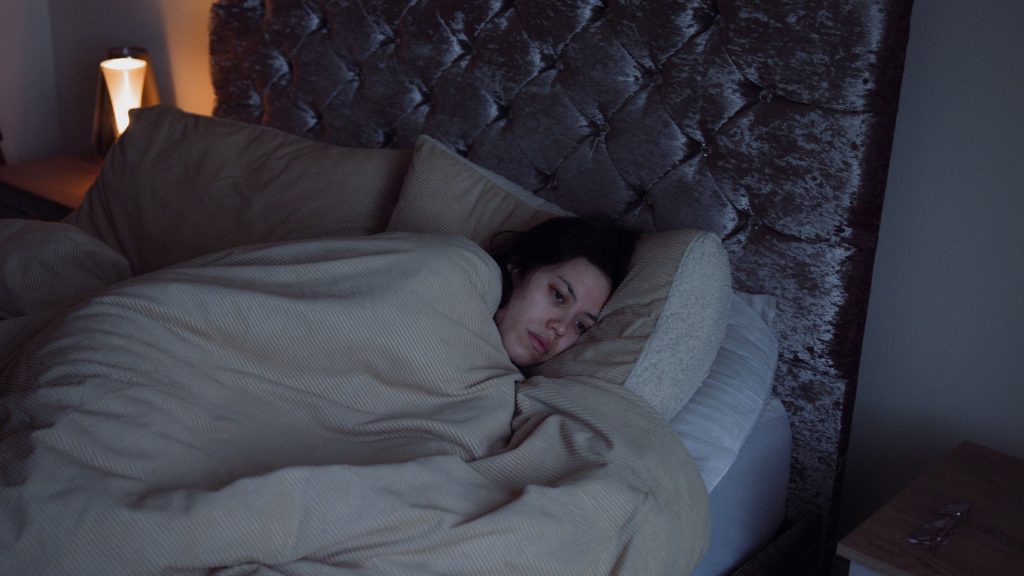
It looks like this:
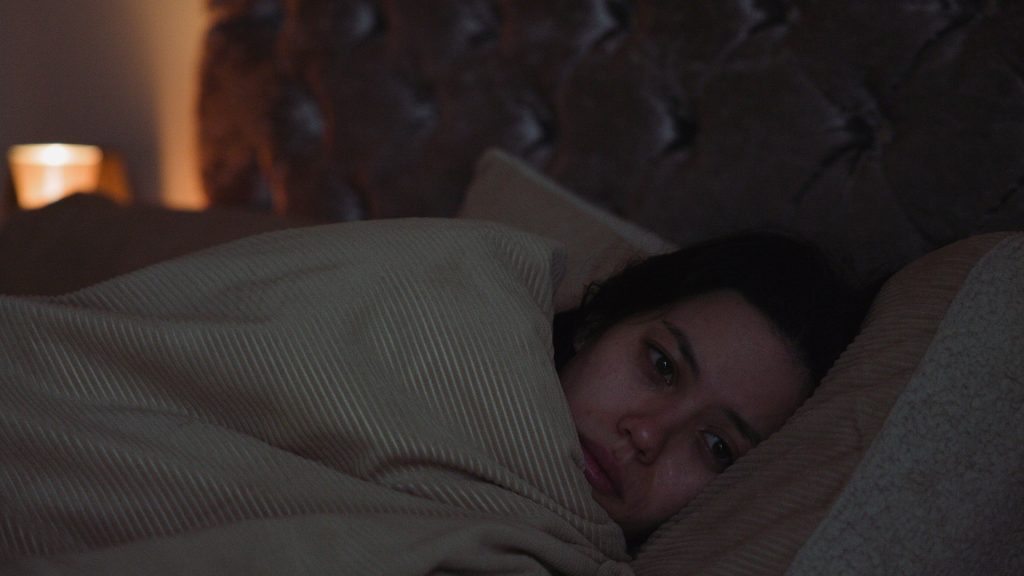
In this scene, our subject has just received some bad news, and although we’re using the same ambient light that we saw in the opening shot, the entire scene has become dark. This is because the ambient light by the window starts to fall off very quickly due to its soft nature and lack of directionality. If you wanted to position them near the window, fine, but several feet away, the light loses steam in a dark room with only one window.
You might initially consider using a softbox. However, the way its light impacts the scene can feel unnatural. Often, it illuminates too much of the bed, whereas we’re aiming for just a patch of soft light, similar to that creeping in from the window.
Well, this is how you do that.
Replicating Gloomy Lighting Indoors
The first step is to set up some bounce. I’m using a Westcott Fast Flag, which is the 2-stop diffuser variation. Then, I’m going to attach the diffuser to a C-stand, position it so it’s flat, and raise the flag up high until it hits the ceiling. This is one of the most significant factors for this technique. The further away the bounce material, the softer the light, and we’re just really looking to raise the levels a touch.
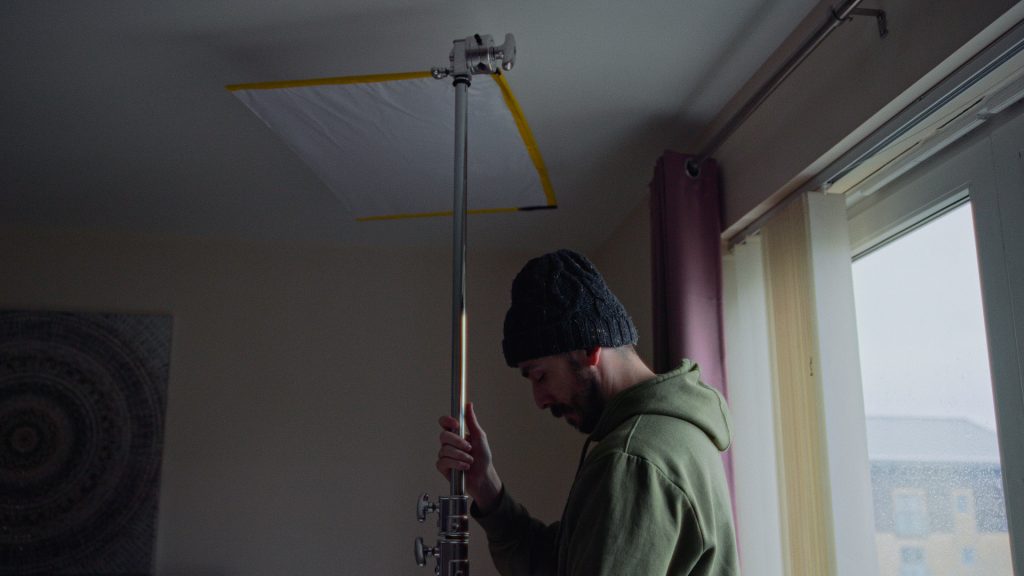
The positioning of the C-stand is also pivotal. You don’t want the bounce material to be directly over the subject but off to the side, so the bounced light only falls to the front of the area, and of course, ensure this is the area nearest to the window.
Next, I’m going to set up a turtle base. But instead of adding another central column, we will add a baby pin so I can attach my light to the base rather than a stand.
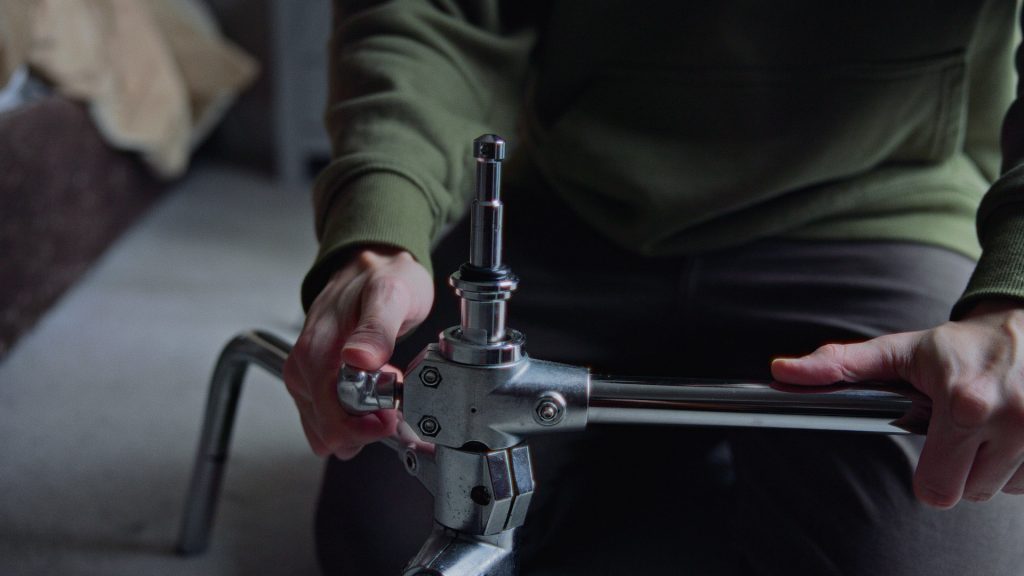
This is because we want to aim the light from a low standpoint. If we set it up on a C-stand, the light will be too close to the bounce; it will increase the intensity of the bounce light; again, we want this ultra-soft.
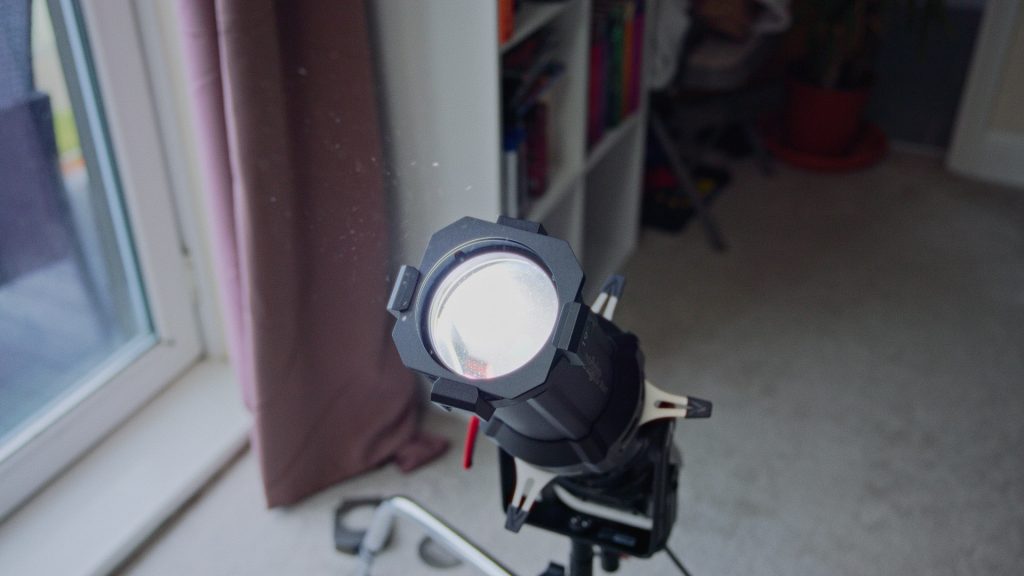
Now, you can use any light, but it should have barn doors to control the spill. To offset that, I will use an Aputure spotlight, which highly focuses the beam. We have previously created a tutorial on using the spotlight mount, so check that out below.
With the light now attached, you’ll want to direct it to hit the bounce material. Using a 2-stop diffuser also reduces the light reaching the ceiling, which is one of the main factors of selling the overcast weather.

We want the bounce to be minimal and only affect a small portion of the room. If we were to direct light to the ceiling, the spread would become too large.
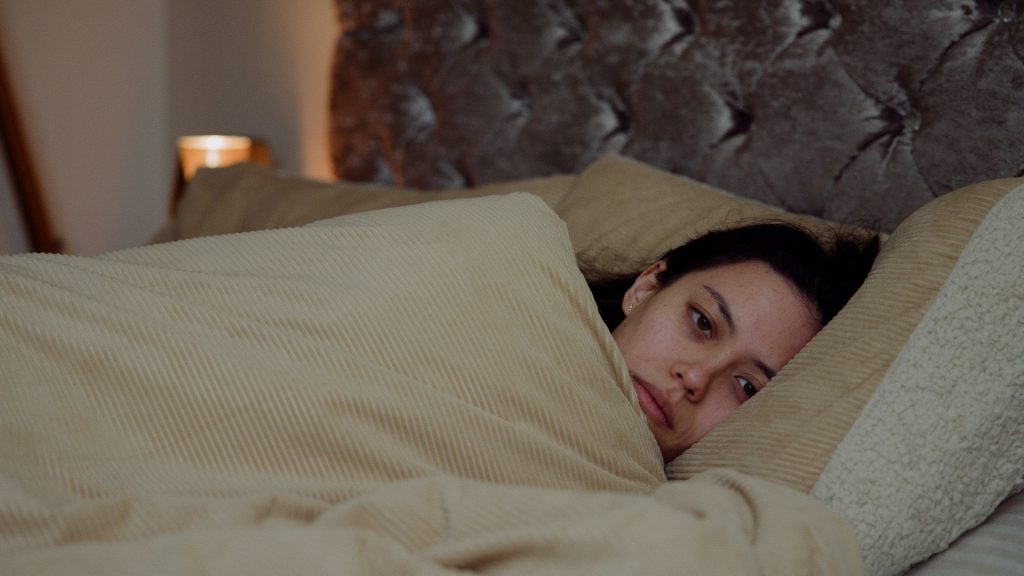
This is the result.
There’s a stark difference between the before and after, even though the difference is quite minimal. But that’s the goal of replicating overcast lighting in an interior location; you don’t want to see it.
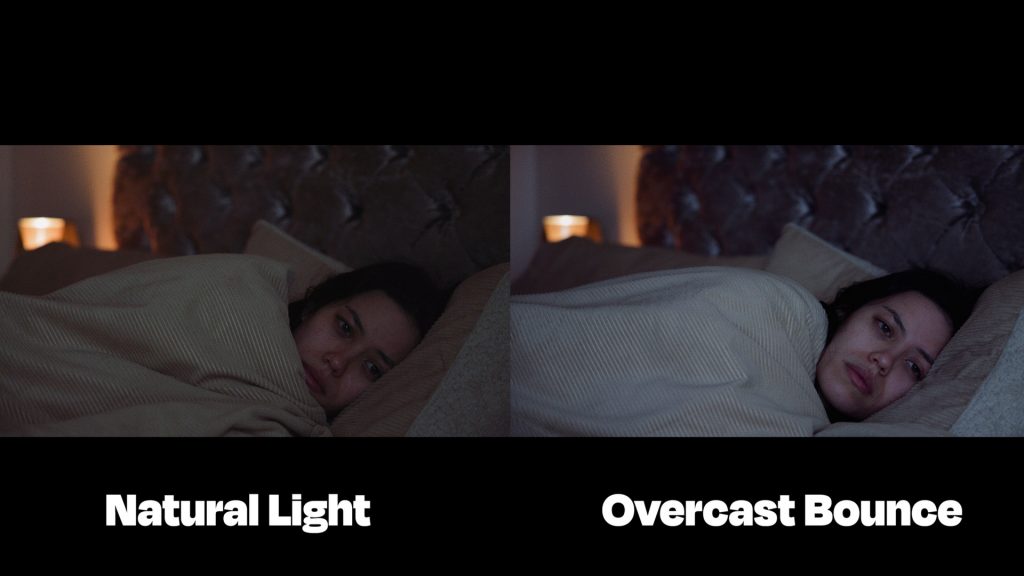
With this setup, the scene looks great. Only a touch of light was really added, but it’s been enough to raise the overall levels. Due to the positioning of the bounce light, it’s only reaching the front of the actor; the light doesn’t fall off into the background. This method is a great way to incorporate a cloudy and grey day into an interior scene.
Looking for filmmaking tips and tricks? Check out our YouTube channel for tutorials like this . . .