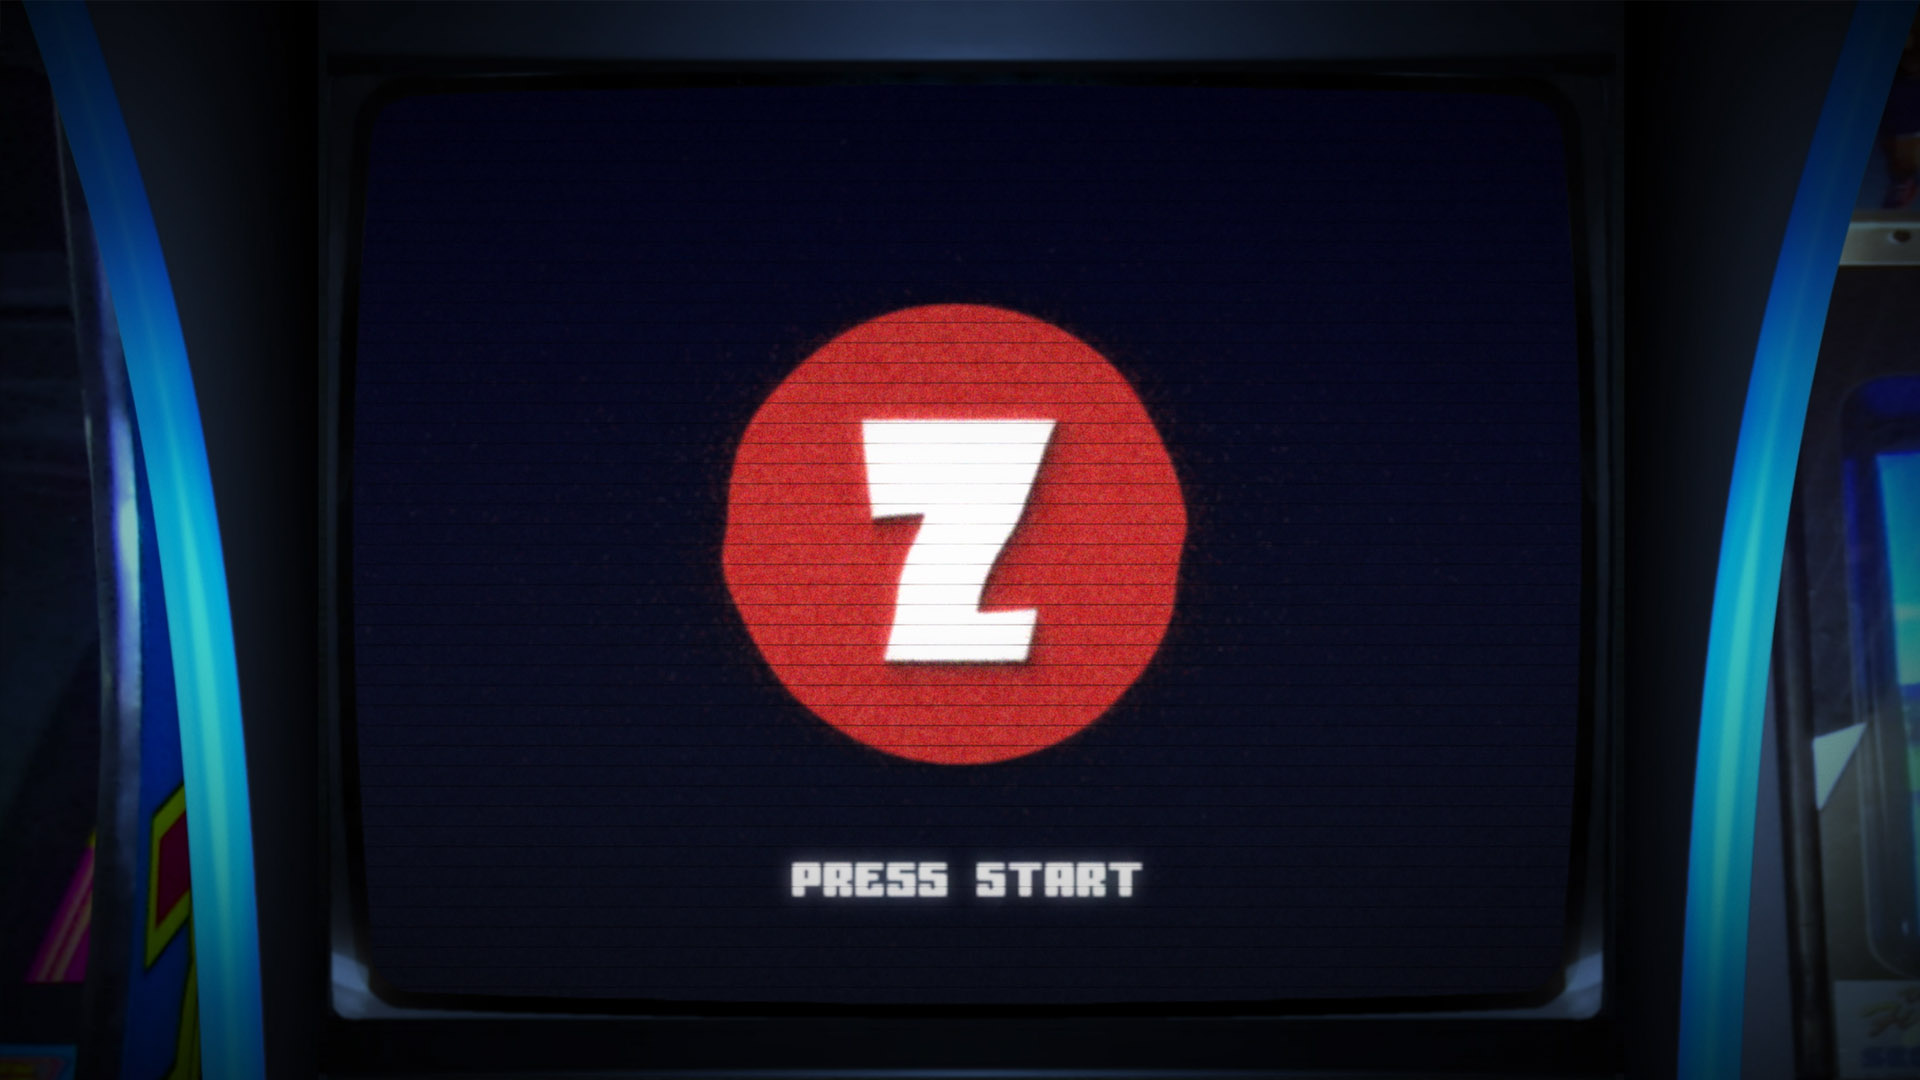
All-white suits, synth music, sexy guitars. There’s just something about the ’80s and early ’90s media that hits the right chord for me. So, it is no surprise that I tend to gravitate toward including those elements within my animations. Today, we’re going to look at creating an arcade-style logo in After Effects, using a clean and elegant animation as our starting point.
As a forewarning, the written guide below is to be a direct companion to the video. You may find yourself in difficult waters if you try to follow the steps without watching the video.
Creating the Background
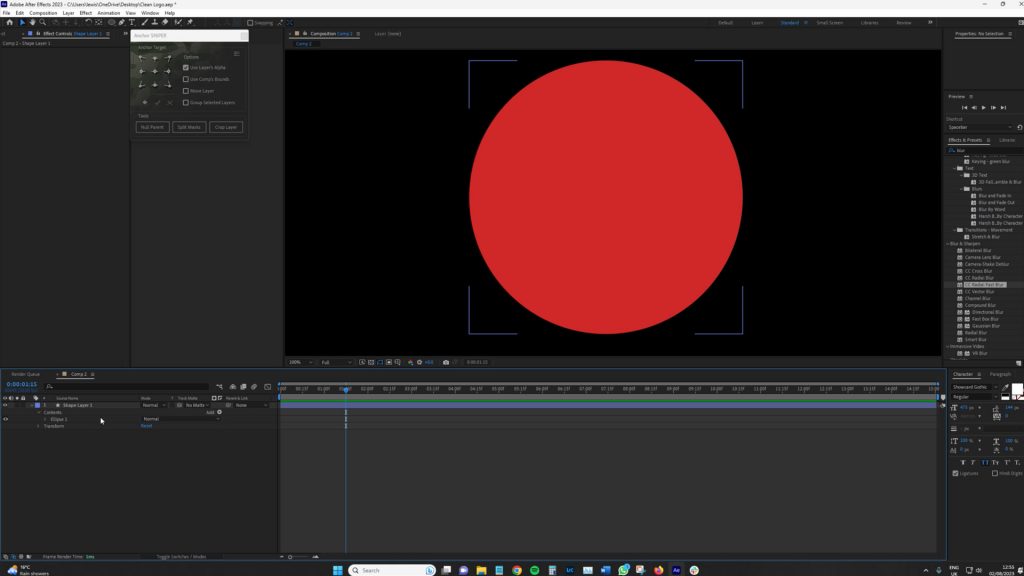
I’ve created a new project with a 15-second composition. Let’s start by using the shape tool to create a shape of your choice for the basis of the logo. It can be any shape you like, and you can even import a PNG. For simplicity, I’ll use a circle. Drag the mouse to create the shape, and holding Shift will ensure equal proportions.
Positioning and Styling the Background
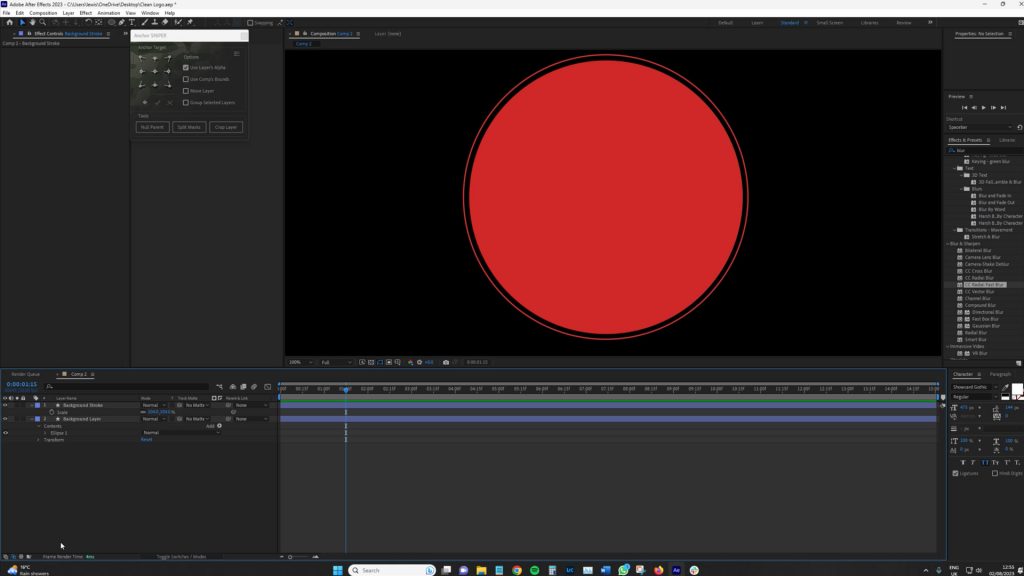
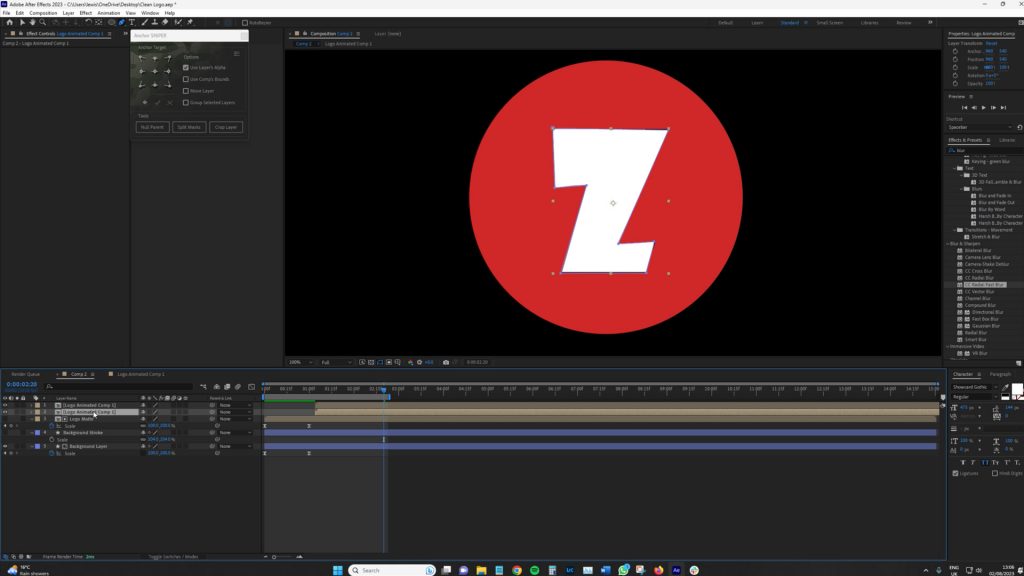
Position the shape at the center, change its colors to your liking, and turn off the stroke if active. Label this layer as “background.” Now, duplicate the shape, turn off the fill, and turn on the stroke. Increase the scale to about 102 for a bit of distance around the circle. Rename this layer to “background stroke” and then turn it off.
Creating the Logo
Next, use the letter of your brand, company, or gaming tag. Let’s call it “Zach’s Gaming” for this tutorial. I will use a cool “Z” font for the animation. Align the letter Z to the center. Duplicate it, then pre-compose it as “Logo Effects” and “Logo Animated.”

Animating the Logo Effects
With the background layer selected, change the matte to “Logo Effects,” and click to invert it.
To animate the logo, we’ll use a different technique for rotation. Instead of 3D layers, we’ll mimic rotation by adjusting the scale. For instance, with the scale proportions link deactivated, decreasing the scale along the x-axis gives the illusion of rotation.
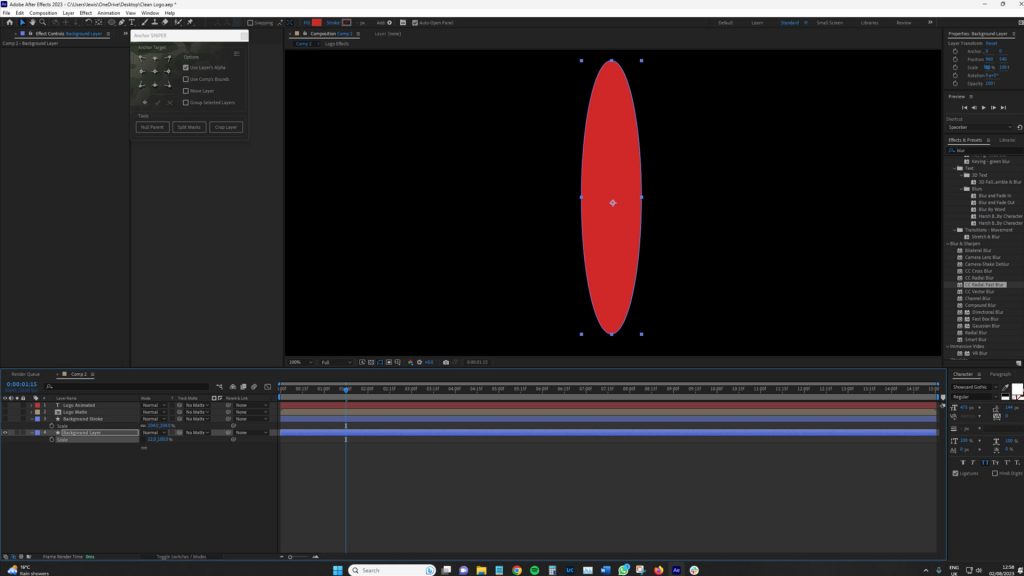
I will set a keyframe at the start of the timeline and change the x-axis scale to 0. Then, I’ll move a few frames ahead and increase it to 100.
Animating the Letter
Now, let’s animate the letter. Open the “Logo Animated” pre-comp, and convert the text layer into a 3D layer. Choose the anchor point at the top. If you don’t have an anchor sniper script, press “A” to bring up the Anchor Point, and place it wherever you want.
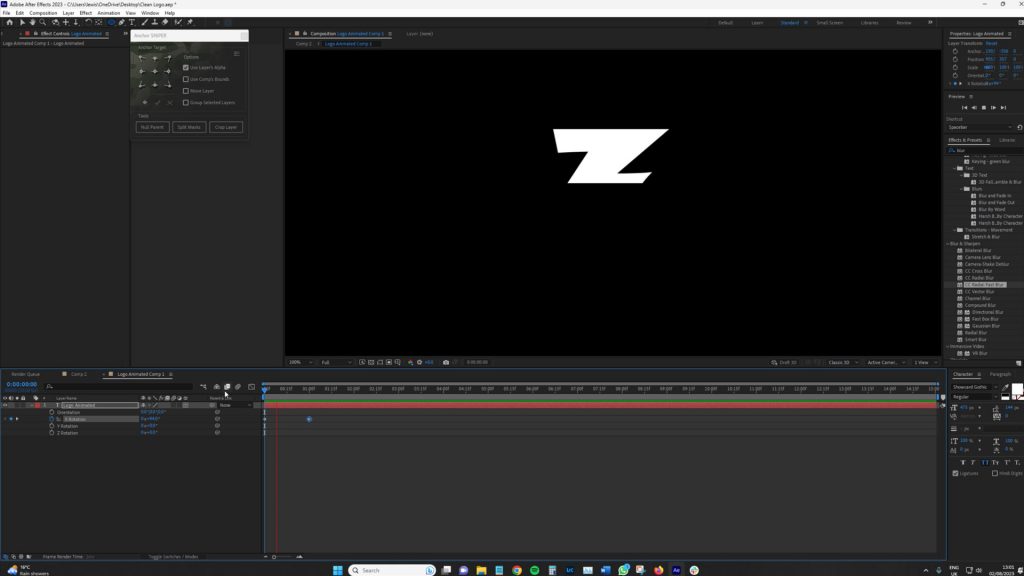
Now, let’s focus on rotation, specifically the X rotation. Bring it up until it’s out of view, set a keyframe, advance one second, and then bring it back down to zero. Increase the speed a bit and ease it out. This will make it fall down naturally, but we’ll fine-tune this later.
Shaking Animation for the Letter
Next, we want the Z to come down and shake a little bit, following the speed of the drop-down. Add keyframes: +20, -15, +11, -4, +3, and then back to zero. As we progress, it gets slower and slower. We need to space these keyframes out as if we’re letting gravity do its thing. We’ll adjust the speed of this drop-down later, focusing on the basics of the animation for now.
Adding Shadow and Motion Blur
Let’s return to the primary composition and review. It looks great, but the Z letter animates over the background layer, which is visually wrong. To fix the Z appearing while the logo forms, you only need to use the pen tool to create a mask, masking the “Z” behind the logo.
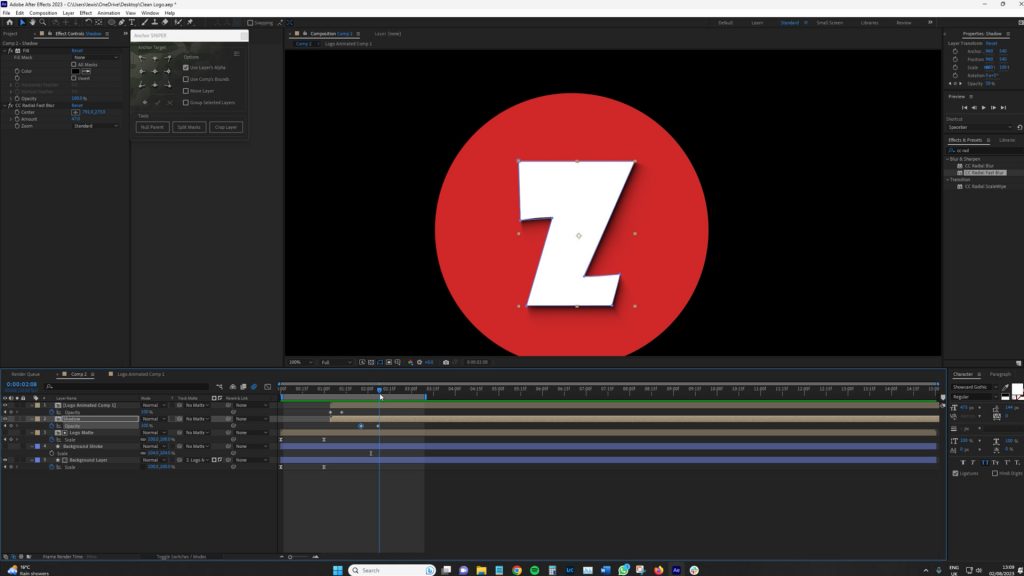
Now we’re going to add a shadow and blur to make it feel 3D. To do this, duplicate the animated logo pre-comp, and rename it ‘logo shadow’. Then add the fill effect to the logo shadow, and change the color to black. Next, apply the CC Radial Fast Blur effect.
Adjust the center point so the shadow points downward, and set the amount to around 50.
Turn on motion blur for both layers and create a fade-in for the first few frames.
Background Stroke Animation
With that done, return to the “background stroke layer,” and add the radial wipe effect. Change this effect to occur counterclockwise, and set a keyframe for the transition complete parameter.
Duplicate the radial wipe effect so we have a secondary layer, and as it starts catching up to itself, we want it to start chasing its tail. Now, go to where it’s about 5 p.m. or five o’clock on the clock. Set the transition completion stopwatch keyframe at 11 p.m. Adjust it until it reaches there, and then go to 100.
Creating the Arcade Screen Effect
The next part is the arcade screen to give it that retro vibe. Instead of adding a VHS overlay, let’s create a pre-comp of all of these layers and then add a new adjustment layer (Ctrl or Cmd + Y).
Adding Primary Effects
We’re going to add quite a variety of different effects. First of all, I’m going to add Wave Warp to the top adjustment layer. Let me rename this layer as “Primary Effects. The goal here is to create an old-school arcade CRT screen. Let’s look at just about where the animation ends, and we’ll merge the animations together. Change this to Smooth Noise, and set keyframes for Wave Height and Wave Width. The logo shouldn’t last more than four or five seconds, so we’ll end the keyframe at 5 seconds.
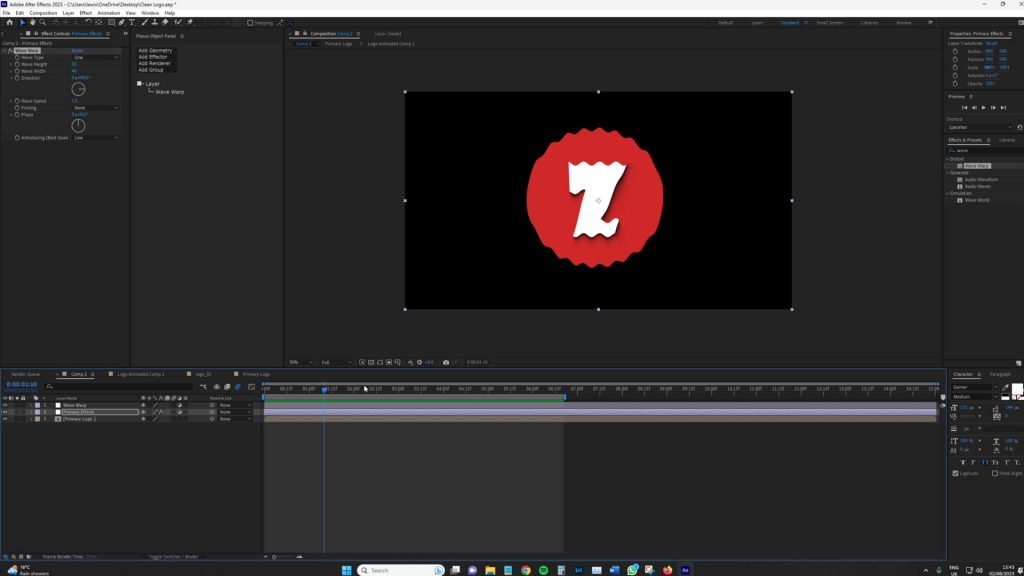
Now, let’s go back to where we set those keyframes for our endpoint. Slightly adjust the parameters. It has that old-school “tally Jell-O” effect, like an arcade machine.
Adding Box Blur and Noise Effects
Next, add the Box Blur effect. Change it to 3, very minimal, and go halfway with this one, changing it down to 1.5 and then back up to 3.2.
Now, add Noise. Bump it up to 13 percent. Go to the middle and slightly adjust – say 22.6, then go to 26.
Applying The Venetian Blinds Transition
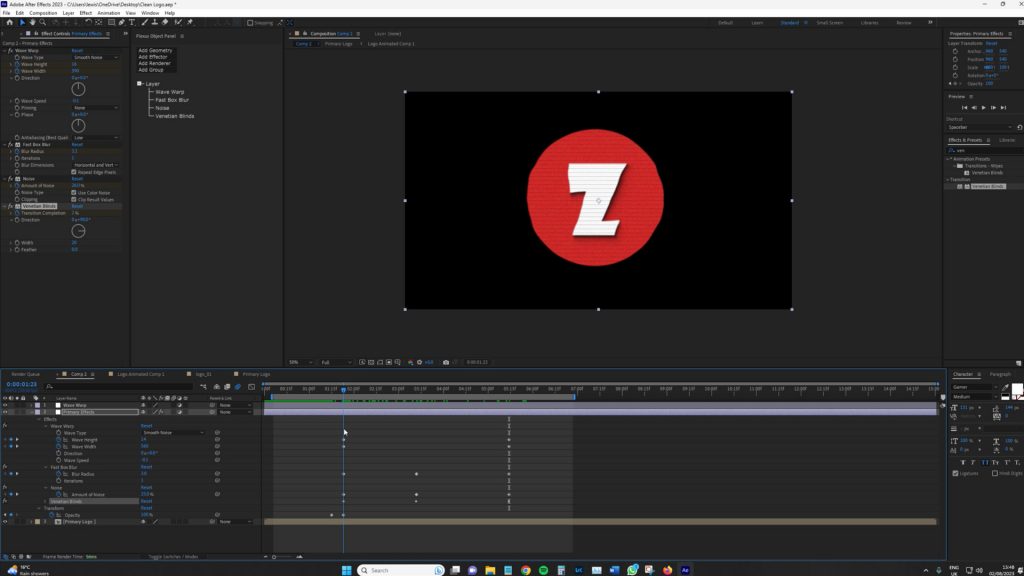
The next effect is the Venetian blinds, a transition. Set the direction to 90 degrees.
Adding a Glow Effect
Finally, add a Glow effect and bring the threshold up to 100 for a minimal effect. Bring the Glow Radius down to 6.
Setting Up the Camera
Next, create a new camera. Bring in the overlay that I picked up from Free Pick Screen. This is where the screen is going to be.
Adding “Press Start” Text
Now, type “press start” and position this underneath Wave Warp. Then, go to Primary Effects, copy Wave Warp, and adjust that to the Wave Warp adjustment layer.
Making Layers 3D and Adding Motion Blur
Make the black solid a 3D layer, the screen a 3D layer, and the primary logo a 3D layer. With the camera, zoom out only slightly until the logo is not as large on the screen. Then, move the Press Start and Screen to be a lot quicker.
Add motion blur to all of this, and change the keyframes to easy ease. Adjust the pulleys in the speed graph to get a sharp pullout and a nice slowdown at the end.
Organizing the Layers
We put the Wave Warp on a different adjustment layer because we don’t want it to affect the text too much. Having the primary effects on an additional adjustment layer and sandwiching the text in between is a great alternative.
Final Touch — Adjusting the Frame Rate
One more thing to do to this composition for the final touch. Change the frame rate from whatever it is to 15 or 12fps. This gives it an animated stutter, similar to the effect from the Into the Spider-Verse movie. It works well for this kind of element.
The end result, as seen in the video, is pretty solid. As noted in the tutorial, you don’t have to use a circle, nor do you have to use the letter Z, but the key to creating interesting animations is to take the information here and do your own thing with it!
Looking for filmmaking tips and tricks? Check out our YouTube channel for tutorials like this . . .


