We’ve already covered diffusion filters to a degree in our presentation on highlight roll-off. The TL;DR of that video is
We can somewhat mimic highlight roll-off with a diffusion filter. It’s known for creating a hazy glow around the brighter objects within your image. It’s able to do this down to etched imperfections of the glass. When the light rays hit these imperfections, they’ll redirect, scatter across the uneven surface, and create a hazy glow that these filters are known for. It’s this tool that may help you obtain a more filmic image if you find that your camera just isn’t capable of gradually rolling into the highlights and it clips too fast.
One core issue with diffusion filters is that they are expensive. The one in the video was £500, and screw-on filters can be easily over the £150 mark. The issue with trying to replicate it in post is that a number of the default plug-ins do not behave similarly to a diffusion filter.
Adding glow, for example, blooms out the white parts of the image, which isn’t what a diffusion filter does. However, today, we’re going to look at a new DaVinci Resolve plug-in that seeks to do the same thing as a diffusion filter
FlexiMist, is a diffusion plugin designed specifically for DaVinci Resolve that effortlessly emulates the characteristics of physical optical diffusion filters such as ProMist and CineBloom.
The plug-in requires a bit of setup to get started, so let’s jump in.
- Download the FlexiMist.dctle file.
- Copy and paste this file into the “LUT” folder within your DaVinci Resolve Studio directory.
- Restart DaVinci Resolve Studio to apply the changes.
Creative Grading with FlexiMist
Once installed, open your project, navigate to the Color Page, and drag and drop the DCTL from the library onto your node.
DCTL stands for DaVinci Color Transform Language, a scripting language designed for crafting custom color transformations and effects within DaVinci Resolve. It allows users to author custom code to precisely adjust color data at the pixel level, facilitating detailed image modifications.
This plugin is particularly effective when working in a Wide Gamut Workspace, promising the best results, though it also performs admirably within the REC709 Color Space. As such, you will want to set up the node like this.
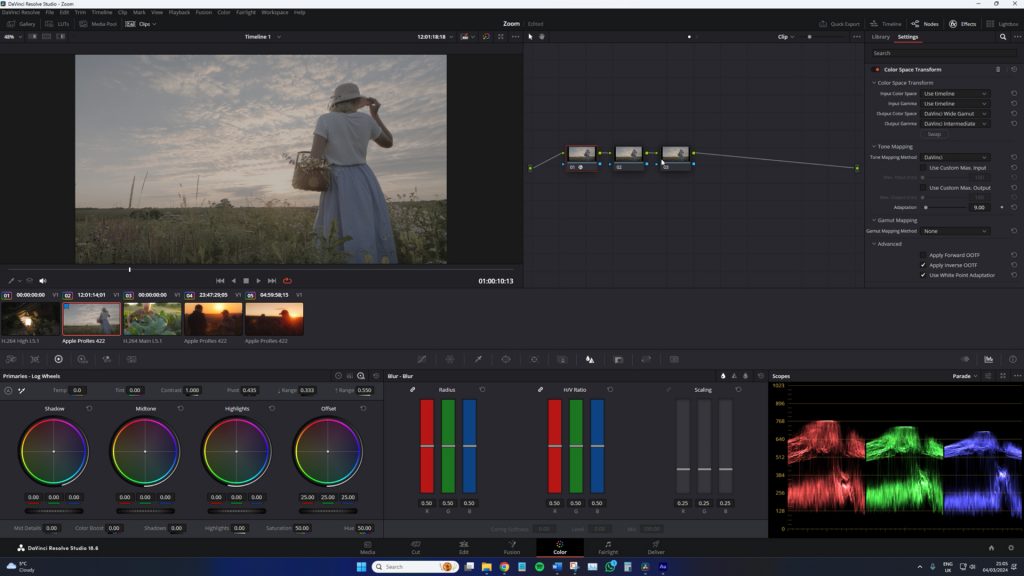
- 1st node — Color Space Transform: Ouput Color Space > Davinci Wide Gamut. Output Gamma > Davinci Intermediate
- 2nd node — DCTL
- 3rd node — Color Space Transform: Input Color Space > Davinci Wide Gamut. Input Gamma > Davinci Intermediate
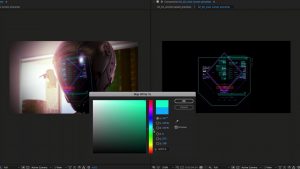
Intuitive Interface
With the setup complete, let’s look at the interface, which is incredibly simple. We have the following:
- A slider controls the overall diffusion in the image, allowing for subtle nuances or more pronounced effects.
- An option to add glow to the diffused image.
- A fall-off control for the diffusion allows you to fine-tune how the effect blends across your image.
- A highlight limit ensures the diffusion effect enhances your image without overpowering it, maintaining a natural blend with the original footage.
And then, of course, a global blend to reduce the node’s overall intensity.
FlexiMist in Action
Admittedly, it’s not practical to give you a run-through of the plug-in via text. In fact, you really need to see it in action, so I urge you to watch the tutorial. However, here’s the in-action segment transcripted.
Taking this image of a lady in a meadow during a summer’s evening, we’re going to apply FlexiMist to create the illusion that a diffusion filter is used.

I’m just going to increase the glow first. Obviously, pay attention to the scopes; we are adjusting the illumination. Now, I’m going to increase the diffusion, maybe up to around four or five. Instantly, that gives a nice, diffused look. It gives off the impression that I’ve got some half-strength Pro-mist filter on the front of the lens here when, in fact, it’s just a nice video clip downloaded from the Videvo library with Fleximist added on top of it!
Again, just on the outer parameters of the woman’s arm, we can see that subtle hazy glow usually associated with Pro-mist filters. This plugin is really selling me on the fact that, yes, we were filming with a diffusion filter.

As you know, there’s not a lot to say about it. It’s really given that dream-like quality. Over the last few years, diffusion filters have become popular for somewhat emulating celluloid. It’s not necessarily the same thing, but it does get you closer.
I’m not the biggest diffusion filter fan, even though, as noted in our older video, I did have an incredibly expensive one. But I think in the future, I won’t be inclined to get another filter. This plugin is worth saving money on a tool that can provide nearly similar results.
Looking for filmmaking tips and tricks? Check out our YouTube channel for tutorials like this . . .