Good audio recording is part art and part science — here are the fundamentals to master to capture truly amazing sound!
Learning about audio recording can be an endless process. As amazing and captivating the world of audio is, the many processing and arrangement possibilities you can pull off with sound require knowledge of some crucial fundamentals. In this article, we’ll look at sample rates and bit depths, the theory behind these elements, and how they contribute to audio quality.
Fundamentals of Digital Audio
Sample Rates and Bit Depths are factors we find in digital audio. Digital audio is where sound waves are converted typically through numerical values in a continuous sequence, allowing for proper storage, transmission of audio information, and manipulation.
This differs from analog audio in that sound is represented through a continuous wave with infinite amplitude values. This is where sample rates and bit depths come into play.
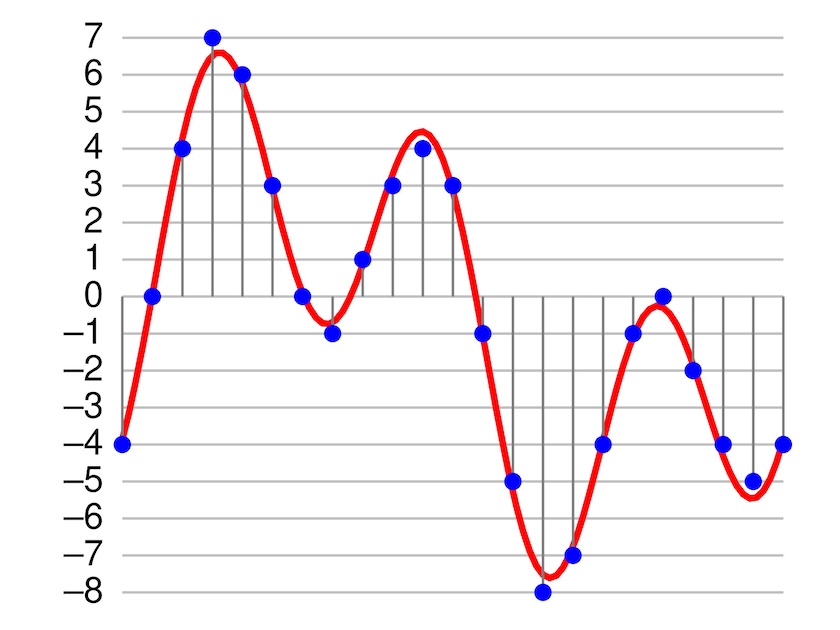
What Is Sample Rate?
Sample rate denotes the number of samples of audio taken per second which is measured in Hertz (Hz). From this, each sample represents a snapshot of the amplitude (the strength or loudness of a soundwave) of an audio signal.
When editing or recording audio, you can select specific sample rates. The higher the sample rate, the more accurate the digital audio will be, resulting in higher fidelity.
Common sample rates include 44.1kHz and 48kHz which are pretty standard for any means of audio. Some applications allow sample rates as high as 192kHz; however, this requires much more processing power, which ultimately slows down the rendering process. Additionally, larger file sizes are a consequence of higher sample rates. Plus, when it comes down to it, it’s barely noticeable to the human ear.
Sample Rates in Context
Sample rates are a part of recording audio as well as editing and rendering. Remember, the higher the sample rate you are working with, the larger the file size will be due to more data being generated per second.
If you’re dealing with audio only, such as music streaming, 44.1kHz is a standard and suitable sample rate. Audio that’s used for video typically uses a sample rate of 48kHz. This includes any dialogue, sound effects, and music that are used as part of the video.
Higher sample rates such as 96kHz and 192kHz are used for archival audio (historical, cultural and informational purposes). As these are much higher, as mentioned, be sure you have the appropriate storage space!
You may think, “Well why not use higher sample rates for music or sound effects regardless?” Keep in mind that these types of audio will be distributed or streamed. Higher sample rates will essentially slow down this process due to larger file sizes, as well as the need for more processing power. This can become impractical for some users, so it’s always best to stick to something that won’t be a nuisance down the line. Plus, the quality is not overly noticeable!
What Is Bit Depth?
Understanding bit depth comes with a little more theory and math, so buckle up! However, once you come to grips with the inner workings of bit depth and how it works with audio, it will help you understand the different bit depth options you have when recording or editing audio.
As established with sample rates, a sample is a snapshot of a soundwave’s amplitude. The amplitude uses “bits,” which influence the louder and quieter parts of a sound, in other words, the dynamic range. Bit depth is the number of bits within each sample, and it contributes to the resolution of the audio.
You’ll find bit depths of 16, 24, and 32 in most audio devices and applications. To break it down, each bit depth represents a number of possible values:
- 16-bit has 65,536 possible values.
- 24-bit has 16,777,216 possible values.
- 32-bit has a whopping 4,294,967,296 values.
So, the higher the bit depth, the more the available values. As mentioned, an analog sound wave is continuous, so having more samples to play with means the accuracy in digitally representing the sound is much higher. When you increase the sample rate, too, this provides more points to reconstruct the sound wave to a T.
Quantization and Dithering
Reconstructing the analog signal can, however, not perfectly line up with the original audio due to its continuous nature. There is a process called quantization that occurs, which is a result of the last bit in the data being rounded to 1 or 0 (bit uses binary information). This randomization results in very low white noise, also known as noise floor. Further, quantization errors can occur as a result of using lower bit depths due to fewer possible values to work with.
If you’re working with lower bit depths like 16 and 24, there is a process called dithering — the introduction of deliberate but controlled low-level noise before the quantization stage to reduce any distortion. If you’re making sound libraries, or working with dialogue, it’s always a good idea to use dithering when reaching the rendering stage. You’ll have the option to select which type of dither to apply. The safest option is to stick with a triangular dither as this is a great all-around option for any type of audio.
Bit Depth in Context
Bit depths are a part of both the recording stage and the rendering stage. You’ll most likely have the option to either record in 16 or 24-bit. The difference is rather minimal; however, recording in 24-bit has an improved signal-to-noise ratio, resulting in cleaner recordings.
If you’re recording ambience, which is much quieter than recording dialogue, choosing a higher bit depth is more ideal. Some recording devices offer 32-bit float.
This works slightly differently than the standard 32-bit. Why? Because bit depths like 16, 24, and 32 have a fixed number of bits. Float refers to the floating point representation, which allows for a much wider dynamic range.
A recording device has a single audio-to-digital converter (ADC) that handles the entire dynamic range, hence why you need to configure the input level so the audio doesn’t exceed the range, otherwise clipping occurs. With a float, two ADCs are working together: a low-level ADC for handling quieter sounds and a high-level ADC for handling louder sounds. In simple terms, louder sounds are safe from distortion, and quieter sounds are above the noise floor. If clean audio is something important to you and your project, opting to use a 32-bit float setting means you won’t have to worry!
In Conclusion . . .
Phew! That was a lot of information. Who knew that digital audio could be so complex?! While sample rates and bit depths are small details in the overall picture, these are elements that crop up and can streamline the process of recording, editing, and rendering audio.
If you’re on the hunt for a new field recorder or interface, sample rates and bit depths are part of the specifications and can contribute to the overall quality of audio recordings. Rendering audio also takes into account sample rates and bit depths. Depending on whether the audio is being streamed, is part of a video project, or will be used as archival and informational audio, there are recommended settings to take into account.
Cover image via Freepik.
Looking for filmmaking tips and tricks? Check out our YouTube channel for tutorials like this . . .