In this article, we cover what you need to know to get the most out of your studio rental.
Filming in a studio with a white backdrop might initially strike you as a walk in the park, and to a certain extent, that’s true. Just like capturing scenes during Golden hour can deliver great shots merely by being there, the simplicity of a studio backdrop also holds the promise of stellar outcomes with minimal fuss.
But, as with any aspect of filmmaking, there’s always a deeper layer to it. From my experience, adopting certain best practices can drastically elevate the final output of your studio sessions. If you’re a new filmmaker who has just hired out a studio, I recommend that you watch the video tutorial or read the article to learn these game-changing tips.
1. Embrace Soft Lighting
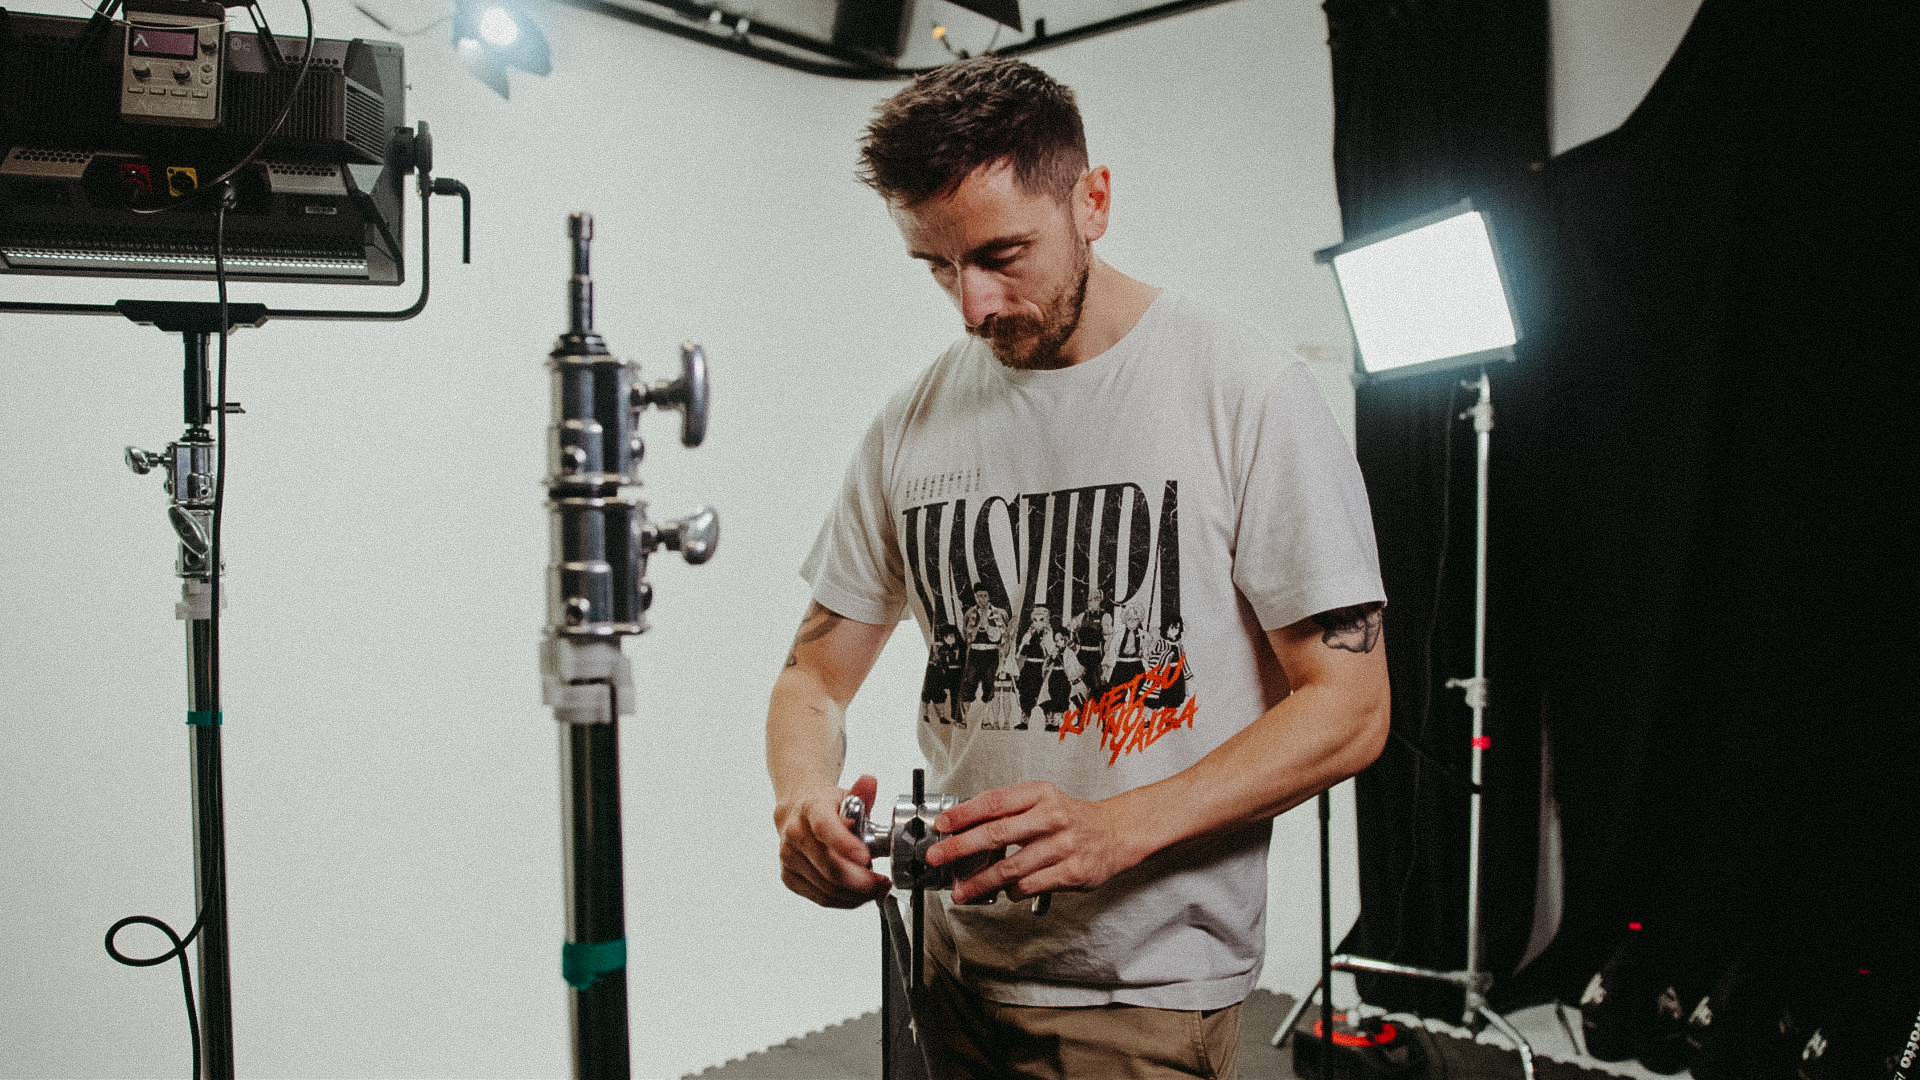
In a studio setup, lighting is pivotal. Most studios you rent should have basic lighting to illuminate the backdrop. If you find yourself in a situation without this provision, you’ll need to light both the background and the subject. In this instance, you really need to avoid hard light since it casts shadows that can disrupt the continuous white background illusion. Moreover, hard light typically has a limited falloff area, complicating the task of achieving uniform white background lighting.
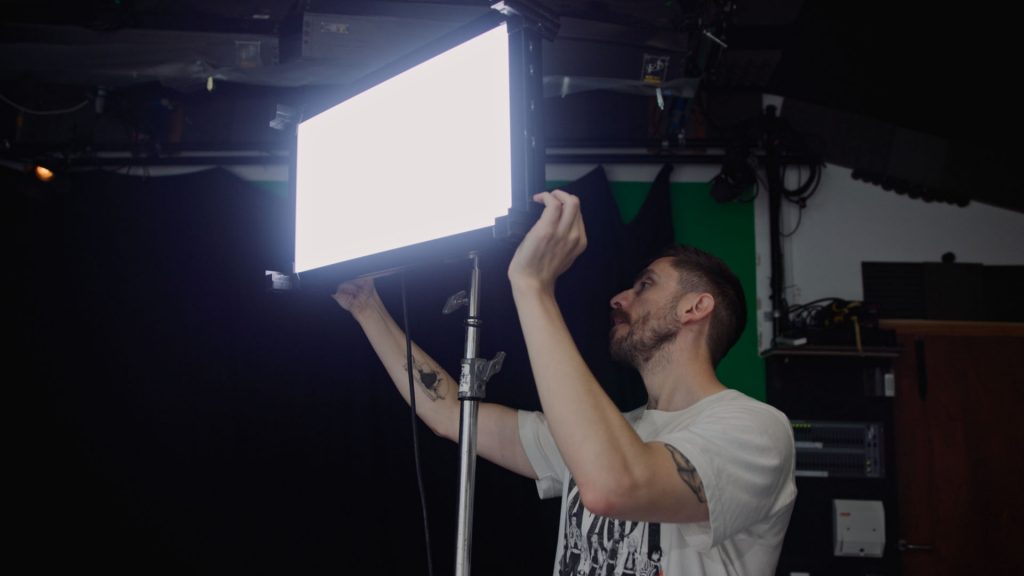
Always opt for soft light. It reduces shadows, maintaining the backdrop’s consistency. Many LEDs with a large source offer soft light (remember, the larger the source, the softer the light). If you only have hard lights at your disposal, consider using modifiers like soft boxes (we have a video on that). DIY solutions, such as a makeshift shower curtain, can also suffice. Essentially, maintain soft lighting for both the background and the subject. (Note: even soft light can sometimes cast shadows on a subject, so that leads us to tip 2 . . .)
2. Subject Distance
The objective when filming against a white backdrop is to preserve the illusion of an infinite white expanse. Shadows from your subject or imperfections like scuffs or dirt on the backdrop can disrupt this illusion, making post-production challenging.
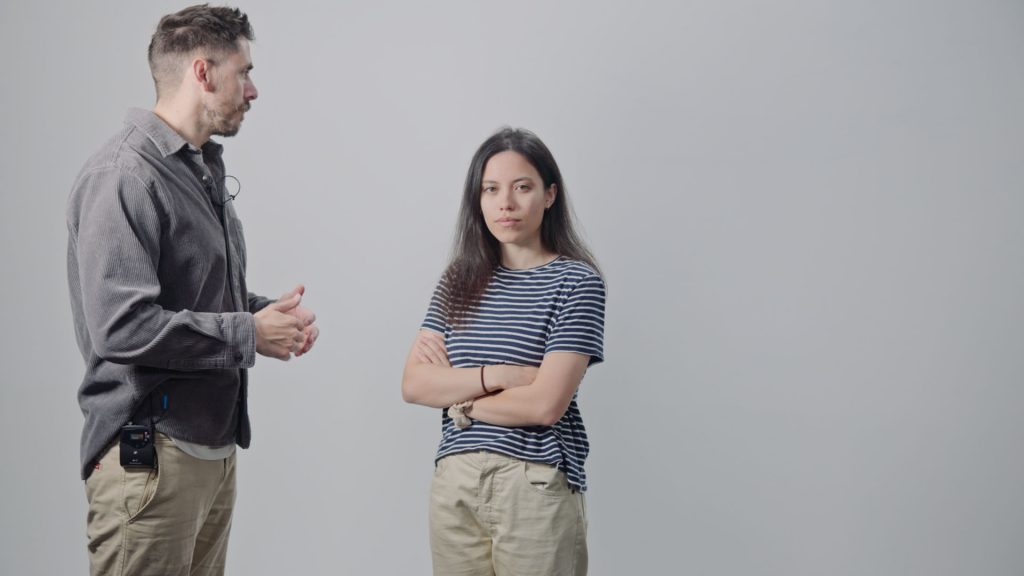
So you will want your subject to step forward so we can throw the white background out of focus slightly, even if it doesn’t drastically change the image. Those imperfections are now lost in the blur, and the subject is too far away to cast soft shadows. Shooting at a focal length of around 50 mm or higher, based on your studio’s size, can be advantageous. Remember to position your lights strategically.
3. Position Your Lights Strategically
While the instinct might be to place your brightest light sources directly against the white canvas for a vivid white finish, practical experience advises against it. The key is to distance the light. Moving the light further away allows it to scatter more uniformly, resulting in a softer, more even look. This approach guarantees consistent lighting, especially as subjects move.

4. The Magic of Contrast
While your aim might be an evenly lit background, you wouldn’t want your subject to appear excessively bright, reminiscent of a ’90s infomercial (or those old PC vs. Mac ads). Introduce contrast to ensure your subject looks stylish during interviews or presentations.
If utilizing lights, dial down the intensity to decrease the fill light’s strength. Or, to further enhance the shot, use a flag to block some light. This technique helps achieve a high-quality image for the subject, steering clear of an outdated infomercial aesthetic. And it also adds additional flavor to your skill-set. Having your subject slightly in shadow in a large white room looks oddly cool.

5. Why Isn’t My Background Pure White?
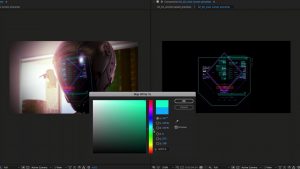
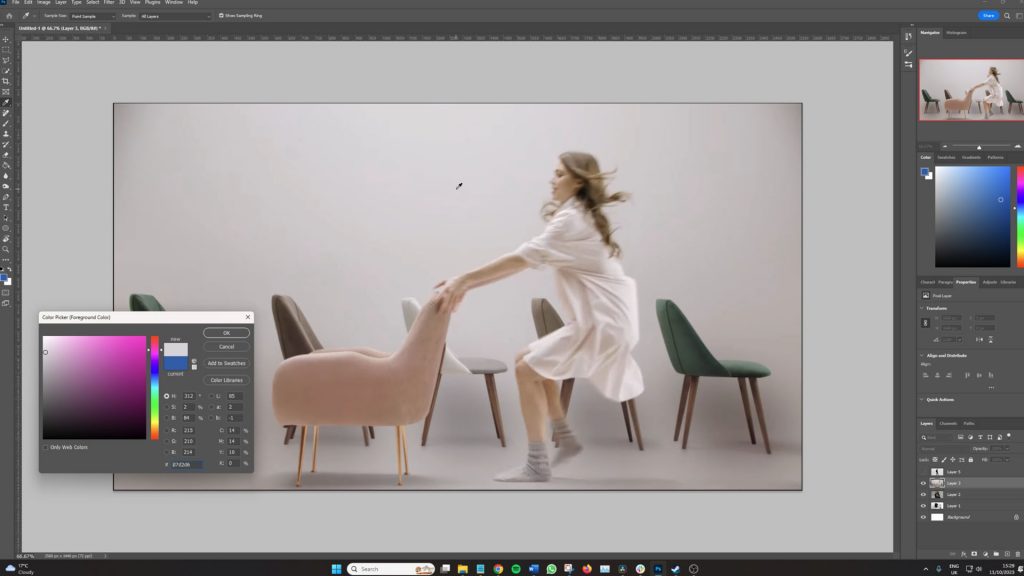
Don’t fret if your background isn’t stark white. Have a look at the adverts featured in the tutorial; you’ll notice they all feature models against a white backdrop. But, if we extract some stills and analyze them in Photoshop using the color selection tool, we’ll find that very few are genuinely white. Most exist in a realm between white and grey. This is acceptable, as viewers often perceive it as an infinite white backdrop since it leans more toward white than grey.
But if you did want a truly white backdrop, akin to what’s seen in Wired interviews, ensure that your contrast is well distributed over the scopes.
You can achieve this using the gain (highlights), lift (shadow) wheels, and the contrast slider. It’s important to note that this will result in a high-contrast, saturated subject, which isn’t always that visually pleasing. And you’d also need to make additional adjustments to ensure their skin tone doesn’t become overly red. It’s perhaps why, when we see these bright white backdrops in commercials, the footage is typically in black and white.
As I mentioned, filming in a studio with a white cyclorama isn’t rocket science. However, despite this, we still see tacky-looking studio footage. By implementing these tips, you can harness the full potential of a white studio backdrop and produce content that captivates your audience
Looking for filmmaking tips and tricks? Check out our YouTube channel for tutorials like this . . .