Day-for-night shots are popular with filmmakers, but results may vary. Here’s the best approach for your project.
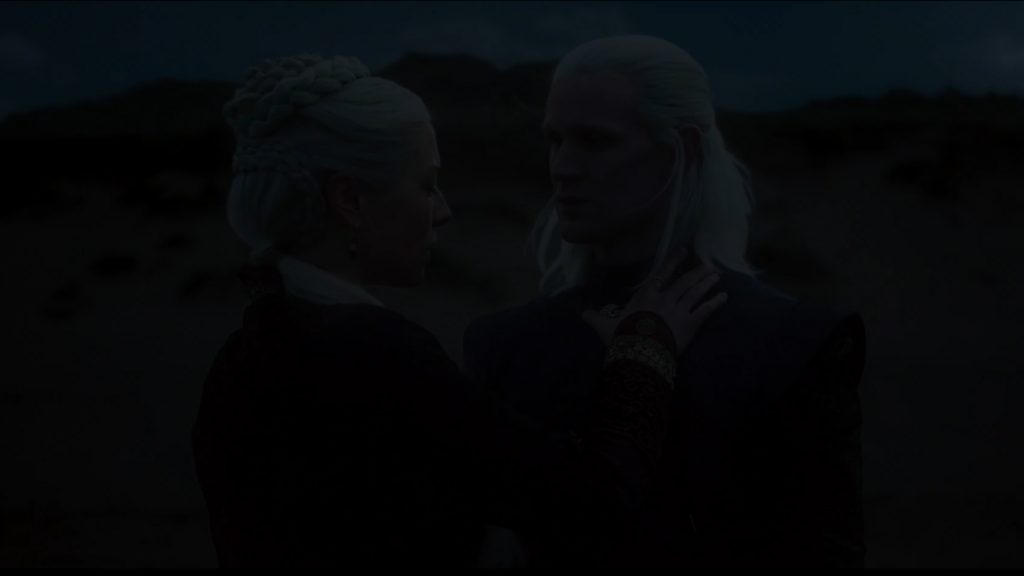
The day-for-night technique has a rich history in filmmaking, dating back to the early days of cinema during the Golden Age. Filmmakers have used this technique for decades to create nighttime scenes because filming at night presents many challenges. While there are many tutorials online that share tips on how one can achieve this in post-production, the results can quite often vary. If you want to ensure that your day-to-night shots are actually viewable *cough cough Game of Thrones*, check out the tutorial below.
Why Day for Night?
Filmmaking at night presents a variety of challenges and obstacles to overcome. Besides the technical aspects, there are logistical issues, including extended shooting hours, increased production costs, and the need for specialized equipment and crew members. Furthermore, nighttime shoots can be physically demanding for the cast and crew due to prolonged hours of work.
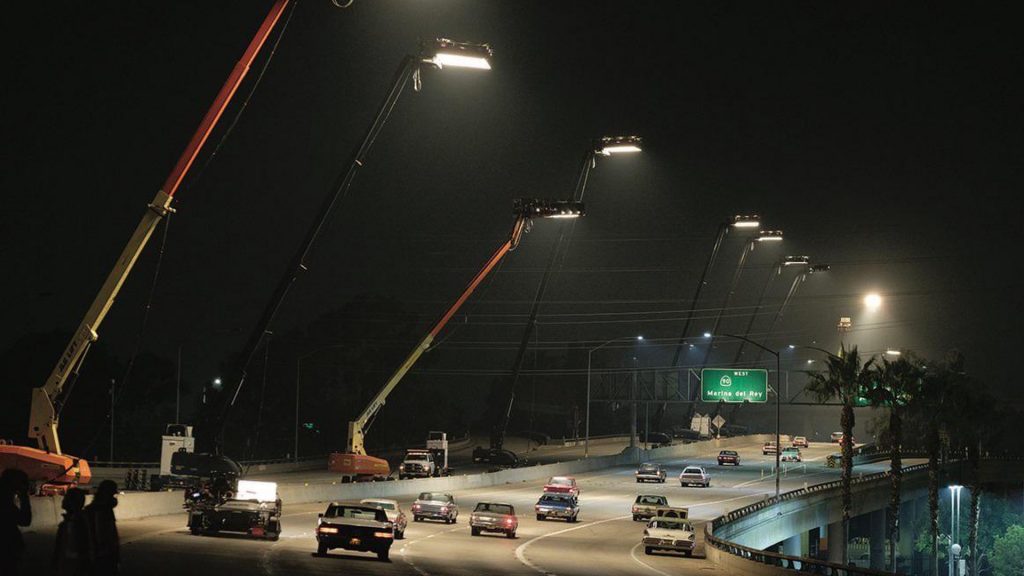
However, filming large exteriors at night or in moonlight is next to impossible as neither film stocks nor digital sensors have the sensitivity of the human eye. As a result, large exterior spaces would need to be vastly illuminated.
In a podcast video, esteemed cinematographer of The Batman and Dune Grieg Fresier says the following:
Ultimately, the problem is that you can light up a pool of light in the desert, but what happens beyond that goes black. So it looks like they are standing under a street lamp.
Therefore, for large, sweeping exteriors, filmmakers may opt for the day-for-night process. The day-for-night process involves shooting scenes during the daytime but under specific conditions. These conditions typically include avoiding harsh sunlight and deliberately underexposing the footage to mimic the darkness of nighttime. Likewise, close attention to details such as the quality and direction of light, the color temperature, and the interaction between characters and their environment also play a pivotal role. A specular highlight glimmering off a door handle could be enough to make the viewer think “That isn’t normal.” Then in post-production, the footage is given a nighttime grade to complete the transformation.
For years we have seen tutorial after tutorial on how to grade your footage so that it looks like nighttime when it was shot in daytime. Often, even when following the basic principles and also following the grading tutorial to a T, the end result can look off. It may appear too contrasty or perhaps you need to lower the exposure to the point where you’re going to get Game of Thrones-type criticism.
And honestly, even with a number of feature films and television shows, the use of day-for-night can feel off. The success of day-for-night scenes can significantly influence how audiences perceive and engage with a film. Well-executed night scenes can enhance suspense, drama, or romance, while poorly executed ones may distract viewers and disrupt the storytelling.
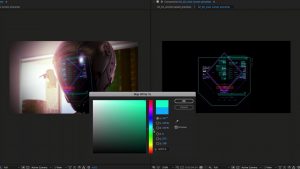
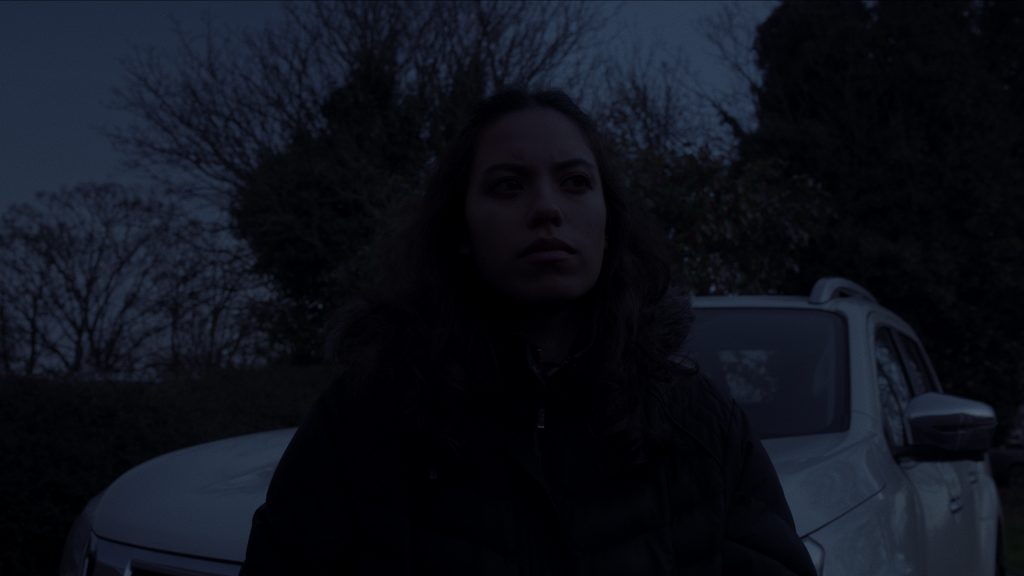
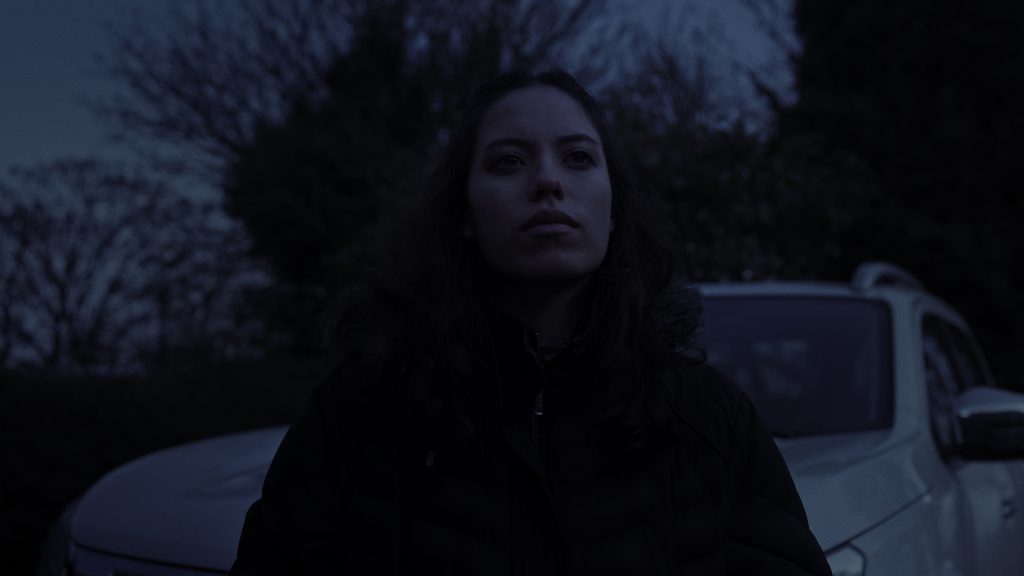
But on a lower-budget level, the issue often associated with the day-to-night transformation is blanketing the subject with a blue hue and lowering the exposure. For example, here, I have my talent in overcast conditions, which is perfect for day-for-night, but when I apply my day-for-night grade, it’s too much. The background looks quite convincing, but the subject has been Game of Thrones-ified.
Better Day-For-Night Shots
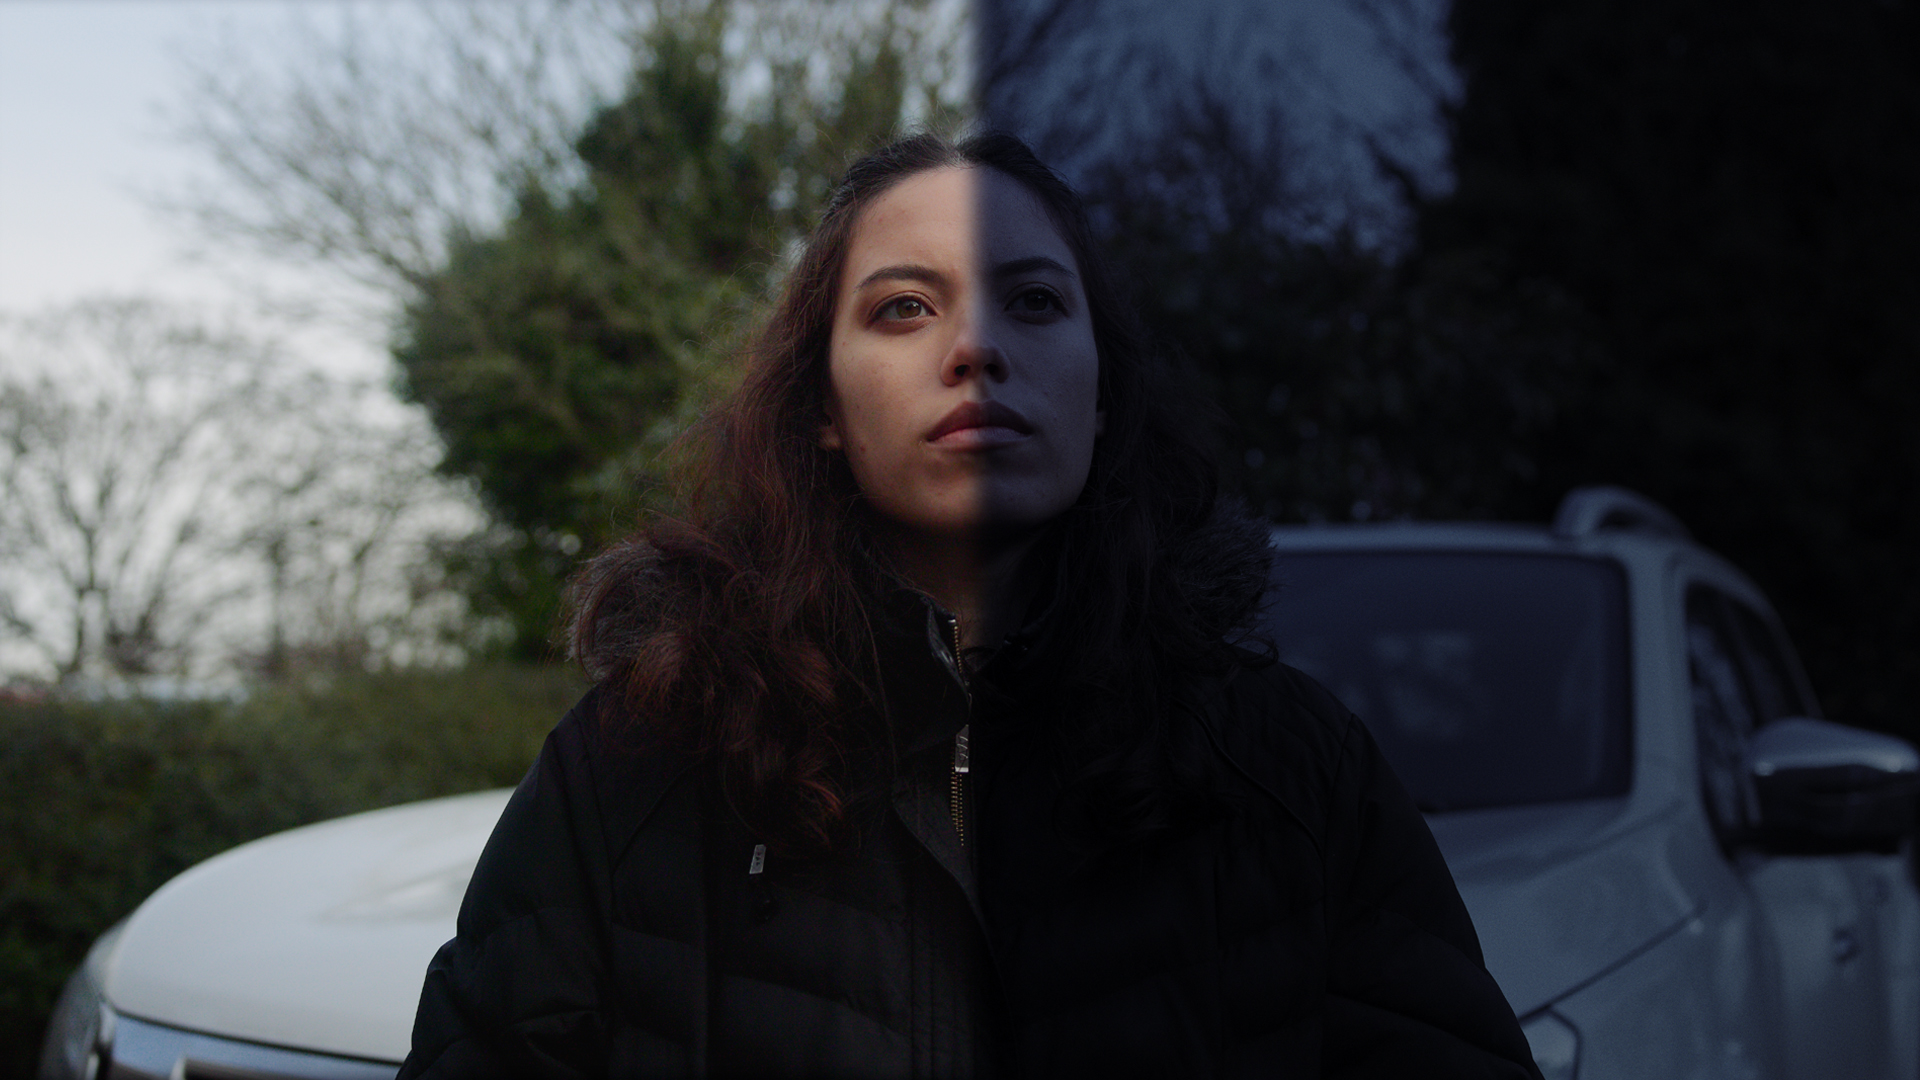
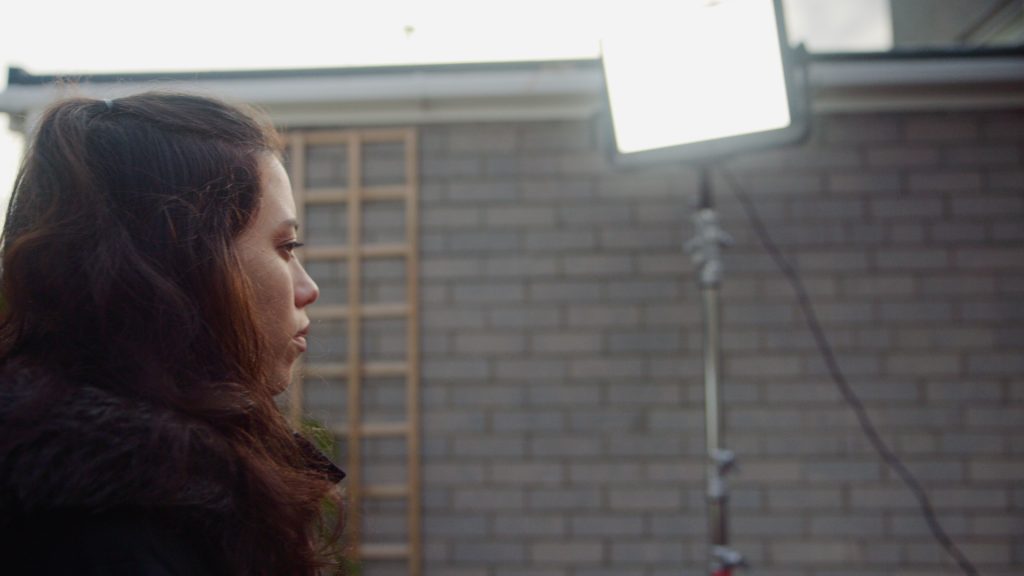
But I have a tip for you: a technique you can employ to get better day-for-night results . . . and that is . . . to use more light. Wait, what? Aren’t we trying to make it look dark? The answer is yes, but we also need our talent to be visible on screen, or at least, provide the talent with a level of soft contrast on their face for better visibility. It’s somewhat akin to how you expose to the right to protect the highlights and then reduce the exposure in post-processing. We’re essentially applying the same principle with light. So when we bring the exposure down, the additional light remains slightly stronger, ensuring that our subject retains identifiable contrast and edges on their face.
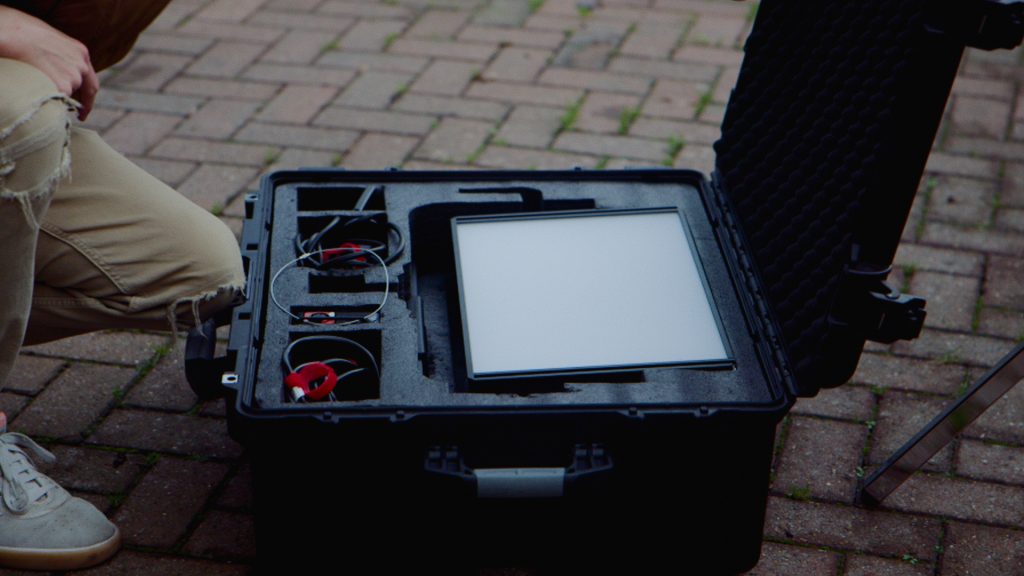
To do this, you’re going to want to use a soft light. I’m using the Aputure Nova P300, which is naturally soft, and position it on the side of the face that is receiving the most ambient light. This will raise those luminance levels up a touch more. You don’t want the light to be overpowering, just enough to make a small impact.
Now, when we apply our grade, we have the darkened environment. But because there’s that extra touch of soft light hitting our talent, the face remains more distinguishable in the new environment. In the video, I revert back to the original clip, and we can see a significant difference between the two, even though they have the same day-for-night grade.
Sometimes we actually need to do the opposite of what we’re trying to achieve for the better visual results. This is movie magic after all.
Looking for filmmaking tips and tricks? Check out our YouTube channel for tutorials like this . . .