In this tutorial, we’ll go over a few ways you can use slow motion and how to do it in Adobe Premiere Pro.
Using slow-motion effects can be a great creative tool to use within an edit. Whether you’re trying to slow down some action for dramatic effect or retime a clip to fit into your edit, slow-motion is a key tool in your arsenal. We’ll break down a few ways you can create some great slow-motion clips and tips on how best practices you can utilize within Adobe Premiere Pro.
What Is Slow Motion?
Let’s just pretend for a second you’ve never seen an over-the-top action movie or watched a live sports broadcast . . . slow motion is the effect of playing a clip or sequence of clips slower than real-time playback. This can exaggerate a punch, an explosion, or a reaction, or it can show the technicalities or details of an action, or replay an action for a closer look. There are many use cases for slow-motion.
How to Use Slow Motion in Premiere
Luckily there are a few ways to create a slow-motion clip in Adobe Premiere Pro. Each version has its own unique pros and cons, so we’ll break those down so you can determine which to use.
Speed and Duration
The quickest and easiest option is the “Speed and Duration” option. To access this effect, you’ll simply drag the desired clip onto an existing timeline. Right-click the clip, and find the “Speed and Duration” option from the menu. This will bring up a small menu with a few different options. The first option is the percentage function. The default will be set at 100%, or the clip’s normal playback speed. Adjusting this will change the overall playback speed of the desired clip. For instance, 50% will play the clip back at half the speed or doubling the play time, and 200% will double the playback speed, making it play twice as fast. As a general tip, slow-motion effects really become noticeable and effective at the 50% mark, anything higher may not read to the viewer as actual slow motion.

If you change the playback percentage, you may notice that the duration just below it also changes. This will show you the new clip length, but it can also be used in cases when you want a clip to match an exact length of time and let Premiere do the math as to how much it should be slowed down to. You may not want a full-on slow-motion effect, but something a little more subtle just to match the timing of an edit. This is where to do it.
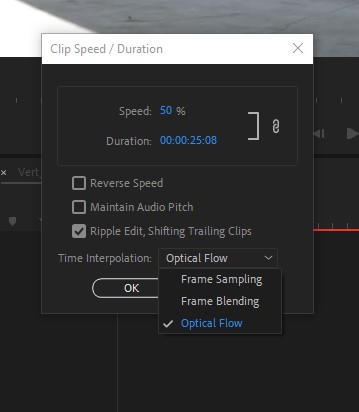
The next important option in this window is the “time interpretation” menu. This is how Premiere will make the clip playback in slow-motion. The different options have different effects based on the type of footage you’re using and the frame rate of your clips. The default option will be “Frame Sampling”. We’ll touch on this a bit later in our tips section, but this is a great option if the frame rate of your clip is higher than your playback speed (48fps in a 24fps timeline). This option will use every frame as it was recorded and play the clip back straight up, just slowed down. If it doesn’t have extra frames to sample, it will simply double the frames played. This isn’t usually desired, as the slow-motion will look stuttered and unnatural. This problem can easily be seen in many old movies that tried to make a scene slow-motion, although it wasn’t recorded that way. You’ll want to avoid this option if your footage wasn’t recorded with the intention of being played in slow-mo.
The next option is “Frame Blending”. When used on footage not intended for slow-motion, Premiere will essentially blend the two nearest frames together to make a better-looking in-between frame. The result can be less-than-stellar if used on very clear footage. The frames it produces are a bit blurry and still have a slight stutter effect found in the previous option.
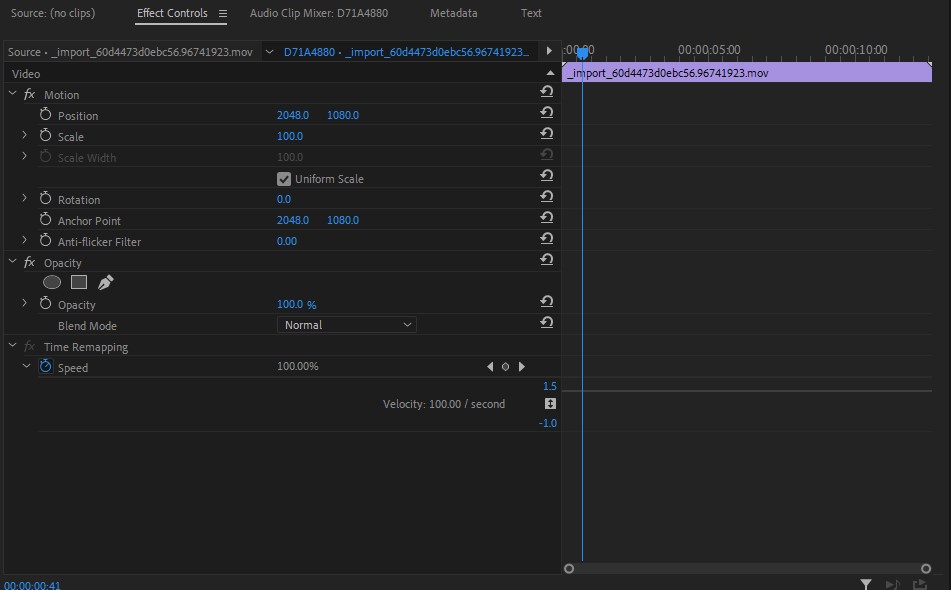
Luckily, there’s a possible solution (though your mileage may vary). The last option is optical flow. Optical flow is great when used on footage that wasn’t recorded for slow-motion purposes. Essentially, Premiere will create new frames between the recorded frames with what it thinks should be there. In a sense, its blending two frames together to make a new unique in-between frame. For simple actions, this can look almost perfect. For complicated shots, it can create frames that look a bit off and blurry in comparison to the real frames. If you’re stuck with no other option, this will be your way to go, though you may want to temper your expectations a little.
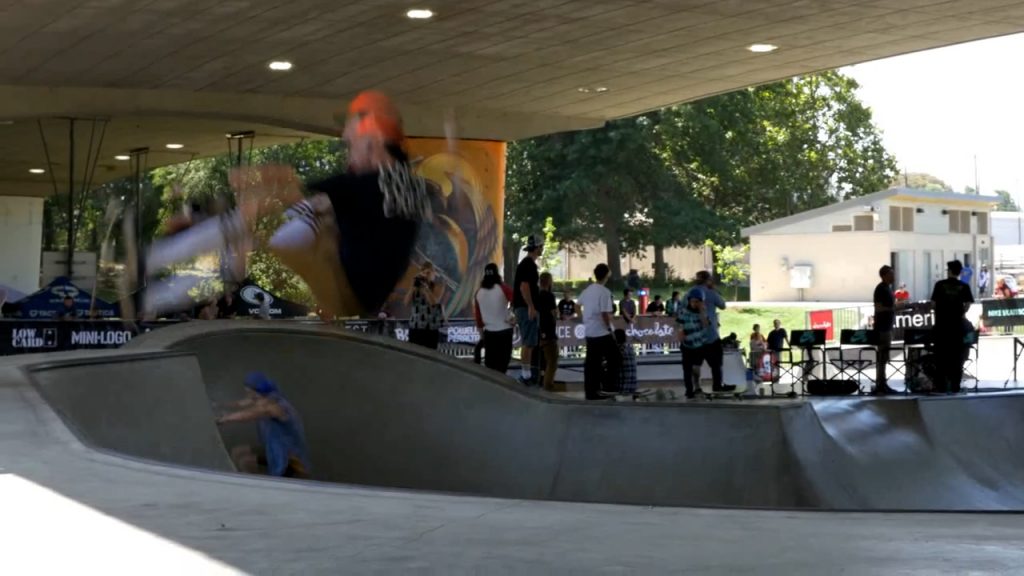
What Optical flow looks like on a non-native slow-motion clip.
Time Remapping
A second way to achieve slow-motion in Adobe Premiere Pro is through time remapping a clip. This is a great option when you’d like to adjust the playback speed of a clip multiple times in a single take. This effect is often referred to as speed ramping and was made extremely popular by the true cinematic masterpiece, 300. You can shift the playback speed from normal to slow and back to normal with a lot of control over how fast and when this all happens.
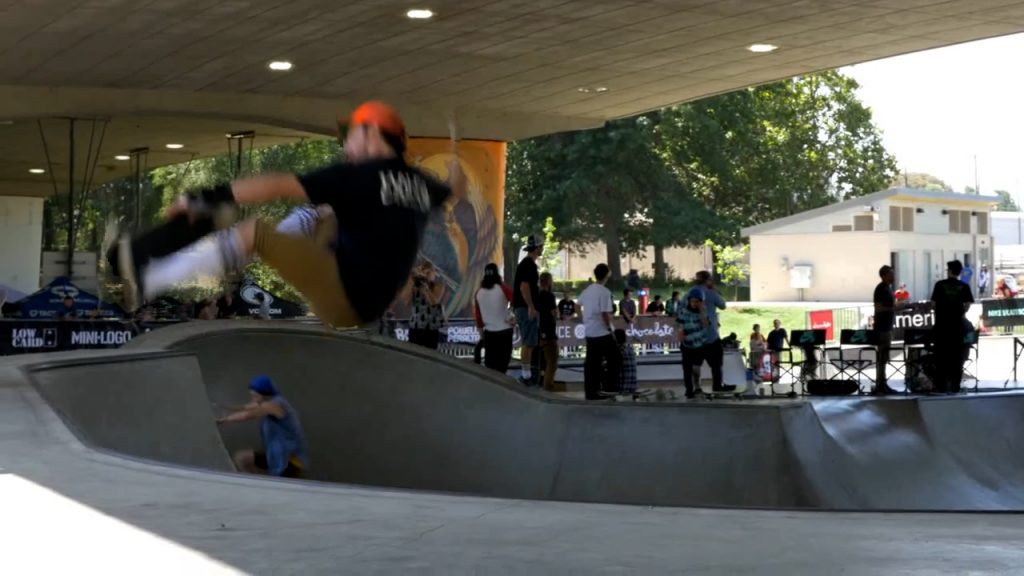
You can find the Time Remapping option within the effects panel of the specific clip you’d like to change. Unless you have other effects on a clip, it will be the last option just below Opacity. It may not initially be obvious how to make adjustments. Click on the little carrot next to “Time Remapping” to drop down the “speed” options. Next, click the carrot next to speed, and then click the little clock to enable keyframes. A little line should be viewable with the words “Velocity 100.00/second” next to it. Here’s where you’ll make the adjustments to the playback speed.
Click on the line itself, and as you move it up and down, you’ll see the Velocity change. Essentially, 100.00 is 100% playback. Anything higher is a faster playback and anything lower is slow, with 50.00 being 50% speed. Making the adjustments will also shorten or lengthen the clip accordingly.
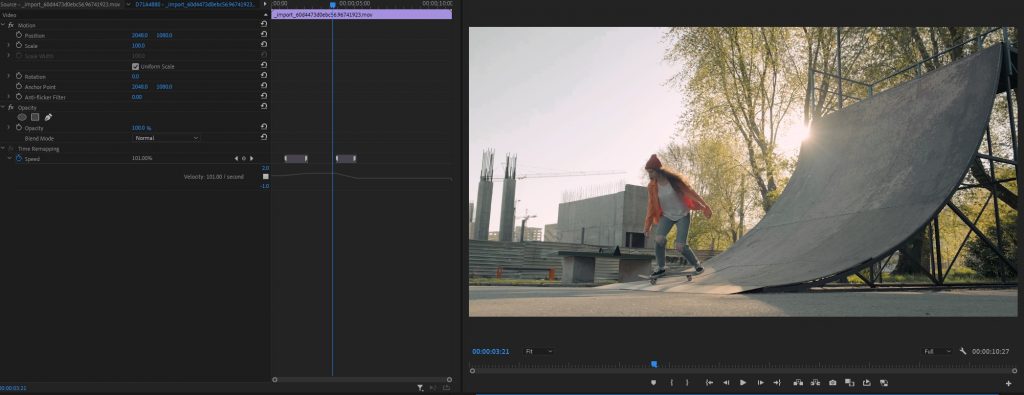
The real fun starts when you introduce keyframes into the mix. Click the “add keyframe” icon just above the velocity, and wherever it is placed in the clip, the playback speed will change. You’ll now also notice that there are a few markers above the line with a dotted line going down from them. These allow you to add a gradient to how fast the speed changes, so you’re not going from 100 to 50 to 100 in the matter of a frame. Allowing the speed to ramp (where it gets its name from) is a nicer and more finished effect.
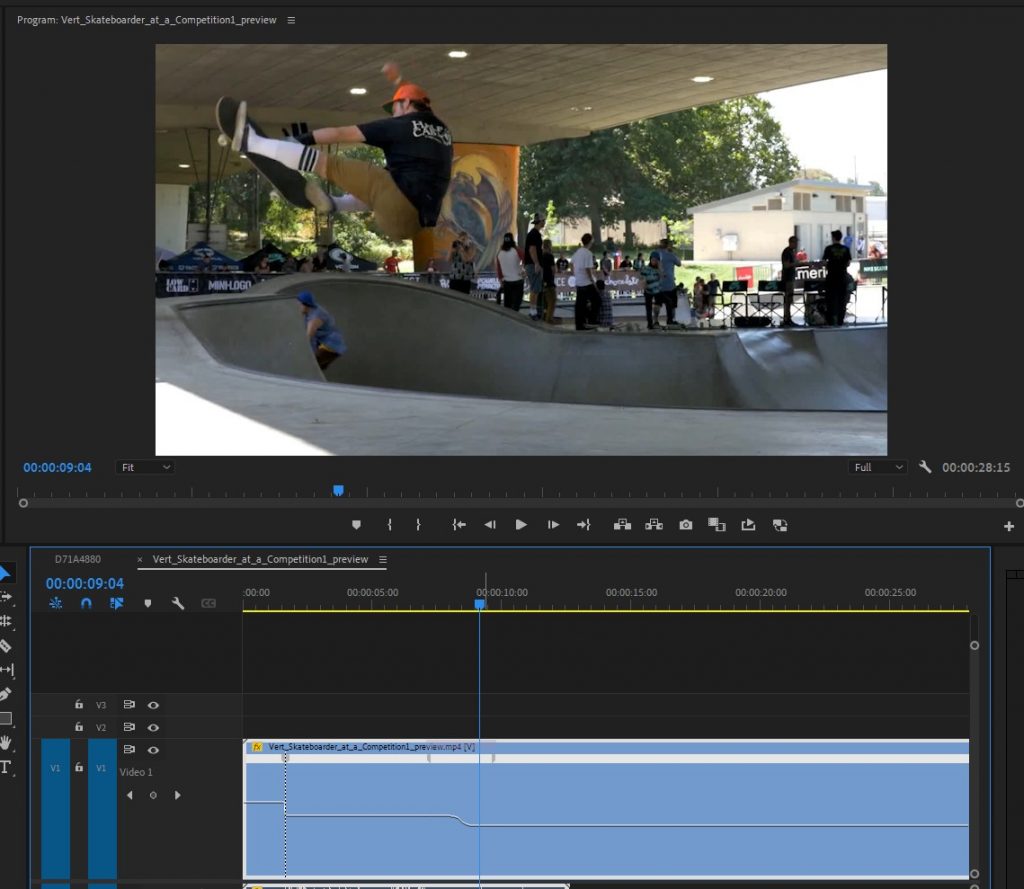
If making these speed-ramping changes within the effects panel seems a bit awkward for you, there’s another solution. Simply right-click the clip within your timeline, and go to the very bottom of all of the options “Show Clip Keyframes,” select Time Remapping, and then select “Speed”. Now you’ll be able to make these adjustments directly within the timeline and within full view of your other clips and audio.
Pro Tips
Knowing how to make a clip slow motion is one thing, but it does take some skill to make it all look great! Here are a few tips to help you get the most out of your slow-motion footage.
First and foremost, you’ll want to capture your footage with the intention of slowing it down. This means recording your footage at a frame rate much higher than what it will be played back at. If your final video will be 24fps, your slow-motion footage will need to be recorded at 48fps or higher. Many modern cameras and even phones have this capability. This will save you the headache later of trying to make a clip not recorded for slow-motion pass as slow-motion footage.
Similar to the previous tip, I have found the sweet spot for slow-motion footage to be double or higher than your intended frame rate. This means recording a minimum of 48fps for a 24fps video or 60fps for a 30fps video. Anything lower (48fps for a 30fps video) doesn’t play as well in the final product and can almost look not slow-motion at all.
If you find yourself in a situation wherein you have to fake slow-mo, spend the time tweaking and fine-tuning the parameters and speed of the clip. 40% speed may match the timing, but 50% may make the optical flow effect play a bit better.
Slow-mo can be a really great effect, but everything should be done in moderation. To really sell the effect, use it sparingly and only in the most influential moments. If everything is slow-motion, it’s almost as if none of it is.
When you’d like to use speed ramping, I have found that starting the slow-motion just a few frames after the cool action has started and going back to full speed a few frames before the action has stopped has the coolest effect.
Creating slow-motion effects in Adobe Premiere Pro is a great tool to have in your pocket and can help accentuate some great moments in your edits.
Cover image via Freepik.
Looking for filmmaking tips and tricks? Check out our YouTube channel for tutorials like this . . .