Need to take your audio recording to the next level? Here is a guide on how to build a boom microphone setup.
In the video production world, there is a dedicated sound crew. An essential role is the boom operator, for which, naturally, they would need a boom microphone setup. Sometimes, these can be expensive due to the microphone itself and other vital pieces of equipment that ensure the best sound and mobility possible. However, there are ways to create a professional boom mic setup that won’t break the bank.
1. Microphone
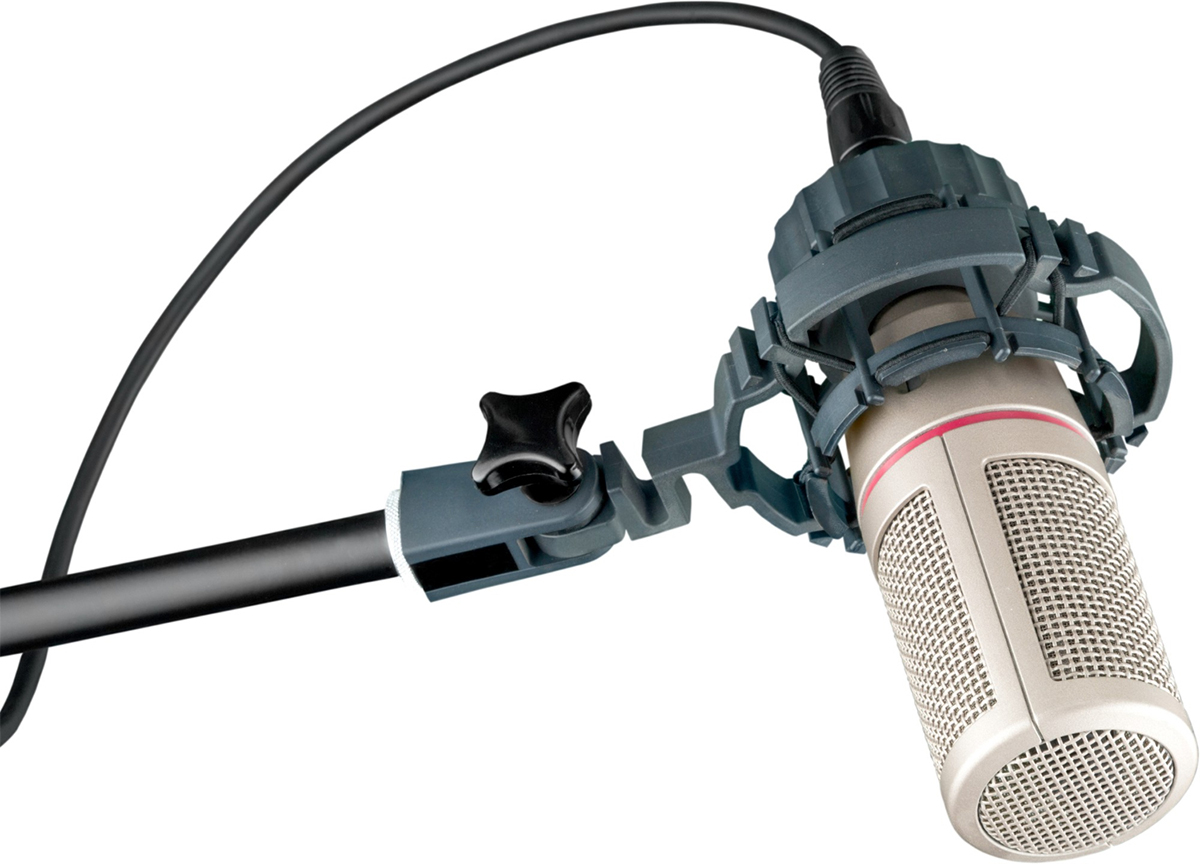
An essential part of the setup is the microphone. Specifically in a boom setup, we want to look for a small condenser microphone, better known as a shotgun microphone.
Depending on the work you’re doing, the type of microphone may differ. Microphones have specific pickup patterns that determine the pickup sensitivity. In this case, you want to be looking at either a hypercardioid or a supercardioid
Hypercardioid microphones are great for picking up sounds from the front and sides but do have some sensitivity at the back. Supercardioids have a much narrower pickup pattern, meaning that their sensitivity is much greater at the front and rejects sound better at the sides and back. This makes them great for situations when you want to capture specific sounds in specific directions while also rejecting background noise.
Microphone Recommendations:
- RODE NTG-2 (supercardioid) $269
- Sennheiser MKE 600 (supercardioid) $329.95
- Azden SGM-250H (hypercardioid) $299
- Audix SCX1 (hypercardioid) $599
- Audio-Technica AT875 (line and gradient) $249
The RODE NTG-2 is a highly popular shotgun microphone. If you have more leniency in your budget, then the Sennheiser MKE 600 will provide you with better quality.
You will also notice the Audio-Technica AT875 has a particular type of pickup pattern: line and gradient, which is perfect for capturing sounds from a longer distance away, such as a subject off-frame. It has interference tubes at the front of the microphone to provide an even greater rejection from the sides, while also combining a directional (the “gradient”) component in the interference tube to further reject sound from the back.
2. Boom Pole
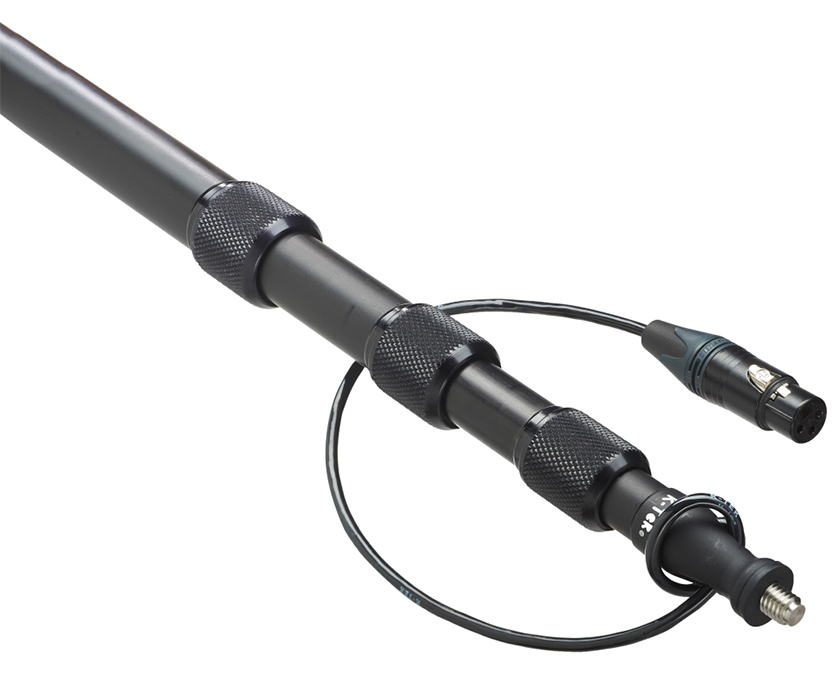
The boom pole is the next essential item. I mean, without it, the boom mic setup just wouldn’t be possible. However, boom poles do still come with some hefty price tags. You may think that you could probably just make your own pole!
Holding boom poles is going to exhaust your arms after working for hourson a shoot. The expense does come from its unique build of strong-yet-lightweight materials, as well as being silent and collapsible.
With that, cabled boom poles have built-in XLR inputs and outputs for efficiency, without the need of running an XLR cable down the pole itself. Models with outputs can either have them at the bottom or the side. If they are at the side, this makes it easier for you to set down the boom pole between takes without the cable getting bent or squished, like it would if the output was at the very bottom.
Boom Pole Recommendations:
- RODE Boompole (non-cabled) $149
- K-Tek KE-89CC Avalon (cabled) $204.90
- Auray BP-28 CN (non-cabled) $169.99
- K-Tek KE-79CCR (cabled) $294.90
- Film Devices Travel Boompole Kit (non-cabled) $183
- K-Tek KG-100CCR (cabled) $559.90
The RODE Boompole is notably one of the most favored in the video production industry and is a great choice for those looking for a good quality and value for money. The K-Tek KE-89CC is another reputable piece of equipment and is a popular cabled boom pole. Although, when we look at the most expensive on the above list: the K-Tek KG-100CR, this is due to its lightweight graphite design, great balance strength and versatility.
3. Shock Mount
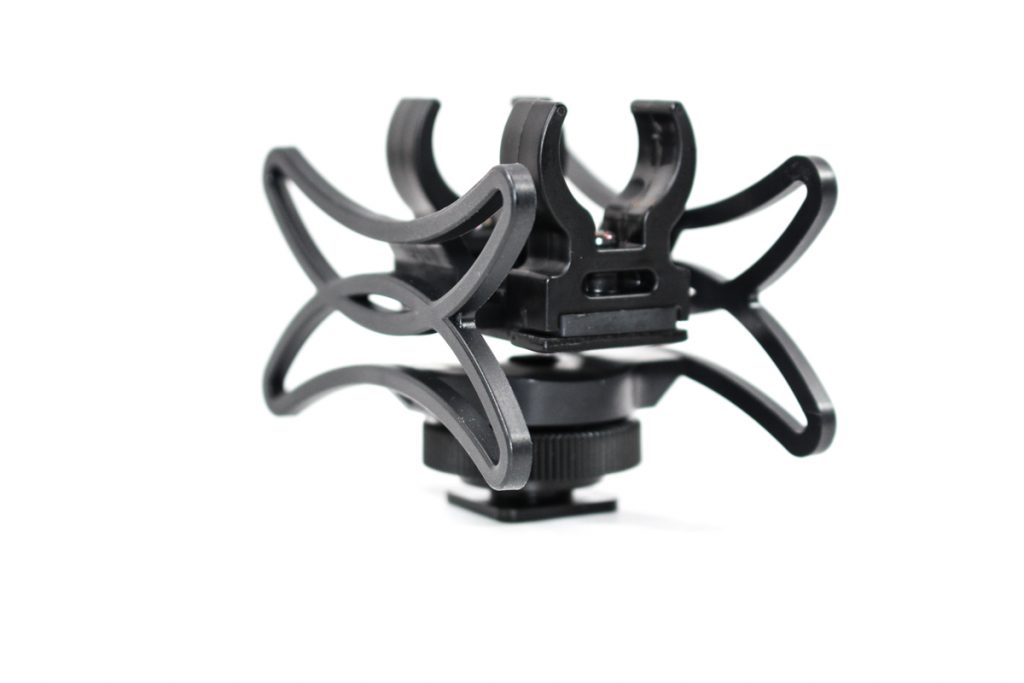
Another very important piece of equipment is the shock mount. These essentially join both the microphone and boom pole together. It also eliminates unwanted vibrations and noise using its built-in suspension. The design consists of rubber bands or silicone shocks, which help absorb any shakes.
Some microphones may come with their own shock mounts; however, before purchasing, check the diameter range of the shock mount and whether your microphone will fit.
Shock Mount Recommendations:
- Auray DUSM-1 $28.95
- Azden SMH-X $39.95
- RODE SM4-R $49
- Audio-Technica AT8415 $59
- Rycote InVision INV-HG mkIII $85
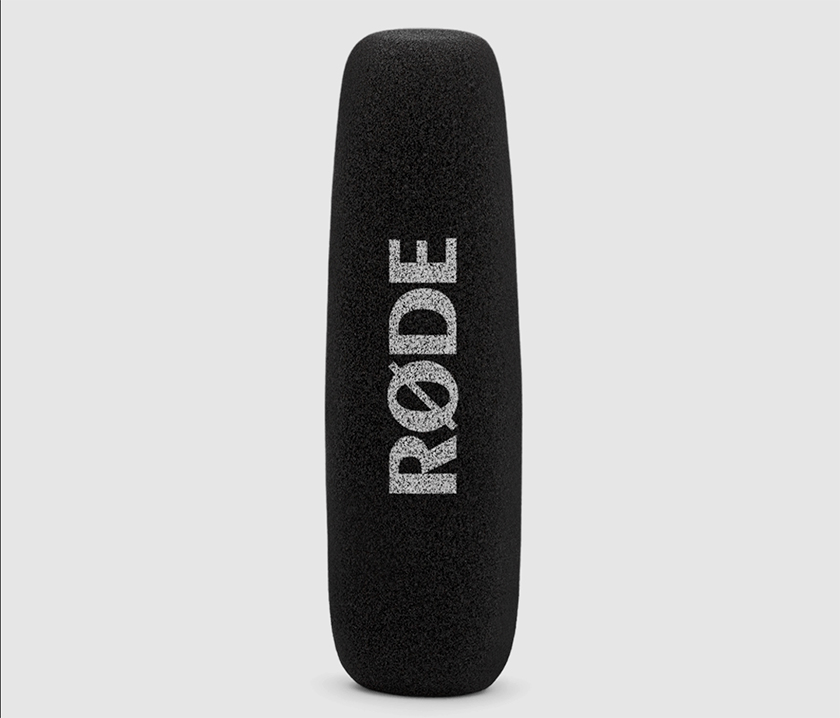
4. Windscreens
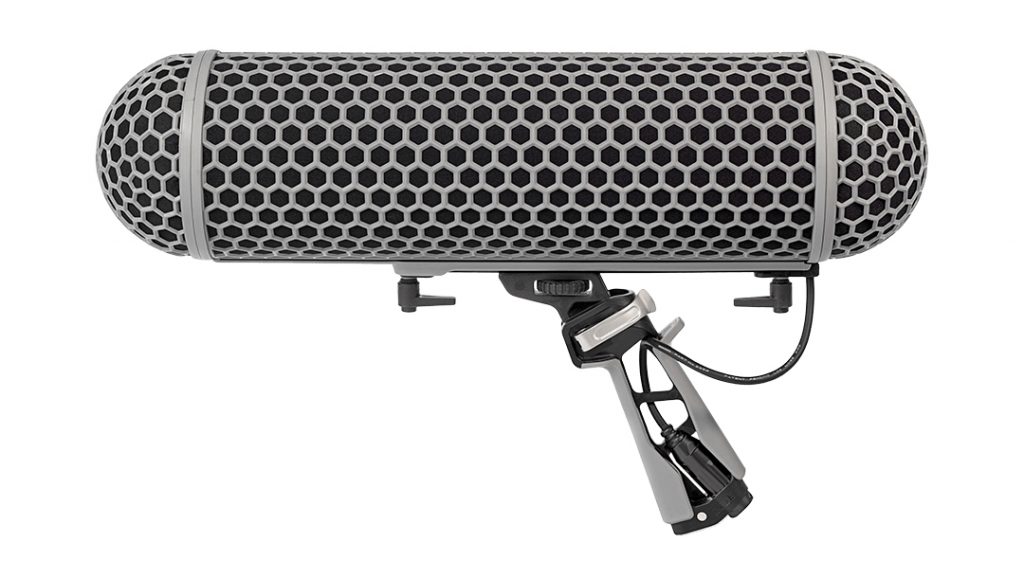
For those doing outdoor video work, something has to be done about wind noise! Windscreens fix this issue no problem. Most shotgun microphones will come with a windscreen (mostly foam); however, you can get a furry windshield that adds another layer of wind protection. Furthermore, you can get blimps, which usually come with a shock mount attached and provide full wind protection around the entirety of the microphone. This is a more popular choice for outdoor sound work due to its better quality.
Be mindful that windscreens will have different length options depending on the length of your microphone! Some windshields will be complementary to certain microphones but can also be used for other microphones.
If you’re interested in seeing how recording sound outdoors without a blimp can hold up against current AI voice isolation tools, check out our video here:
Windscreen Recommendations:
- Auray WSW-007MKII Windbuster $26.99
- RODE WS6 Deluxe Windshield $49.17
- Azden SWS 200 Windscreen $69
- Auray Professional Windshield $84.95
- RODE Blimp Windshield and Rycote Shock Mount $299
- Rycote Super-shield Kit $399
Boom Mic Example Setups
Let’s assemble some boom mic setups to get an idea of what price you may be paying.
When assembling a boom mic, we recommend using compatible equipment together. This makes the assembly easier and even before purchasing, you’re sure everything will fit.
Example 1
- Mic: RODE NTG 2
- Boom Pole: RODE Boompole (non-cabled)
- Shock Mount: RODE SM4-R
- Windscreen: Auray WSW-007MKII Windbuster (foam cover included with NTG-2)
TOTAL: $493.99 — This is a relatively good price point for a boom mic setup. When you factor in the expense of both the microphone and boom pole, I think just shy of $500 is a great deal!
Example 2
- Mic: Azden SGM-250H
- Boom Pole: K-Tek KE 89CC Avalon (cabled)
- Shock Mount: Azden SMH-X
- Windscreen: Auray WSW-007MKII Windbuster (foam cover included with Mic)
TOTAL: $570.84 — Here we are using the slightly more expensive microphone and a cabled boom pole, which adds a slight increase to the price. But just shy of $600 for a boom mic setup is still a pretty good deal!
Example 3
- Mic: RODE NTG 2
- Boom Pole: RODE Boompole (non-cabled)
- Windscreen: RODE Blimp (no need for shock mount as included with blimp)
TOTAL: $717 — This is an all-RODE setup, and you can see that the blimp does add a hefty $200 extra to the price in comparison to the first example. While it may be more expensive, the blimp adds a lot more quality and sound isolation in comparison to using a regular windscreen.
Other Recording Accessories
So, you have your complete boom mic set ready to go. But there’s always room for some extras to ease the audio recording process. If you find yourself not connecting the microphone to the camera, you will need an audio recorder.
Some recommendations include: Zoom H4N Pro, Tascam DR-40X, SoundDevices MixPre 6 II
You will also need long enough XLR cables if you are using a non-cabled boom pole. It’s always a good idea to have multiple on hand in case of faulty cables.
Final Thoughts
As you can see in the examples of boom mic setups, you will need to spend around $500 for a boom mic setup. The microphone and the boom pole must be carefully considered as these are where your budget is mostly going.
Additionally, if your work primarily takes place outside and you have the budget to spare, invest in a blimp as this is a far better method of reducing any sort of noise. But the foam cover that most microphones include, and a simple furry windshield over the top will do just fine.
Cover image via Freepik.
Looking for filmmaking tips and tricks? Check out our YouTube channel for tutorials like this . . .