Looking for a new take on text treatments in your videos? Check out this projected text trend.
As many of these tutorials have started over the past year, I was recently browsing Instagram when I came across the start of this music video by the rapper Erick the Architect.
Now, in the world of music videos, where every video is seemingly trying to out-flash the next one, this type of video is incredibly easy to do as a solo filmmaker. Technically, you should do this on a servo lens. However, if you’re shooting with a Canon R5, which shoots in 8k like this shot, you can zoom in an incredible amount without a loss of clarity.
The Tutorial
To get started, you first want to break down the lyrics of your song along with the time information that the words are spoken. Given that it’s 2024, I’m sure that there’s an AI tool available that can do this for you.
- Open your chosen AI tool for transcribing lyrics.
- Upload your song and wait for the transcription to complete.
- Note down the time stamps for each lyric line.
I’m not a rapper, so I’ll be using this shot from our recent tutorial about the G4.
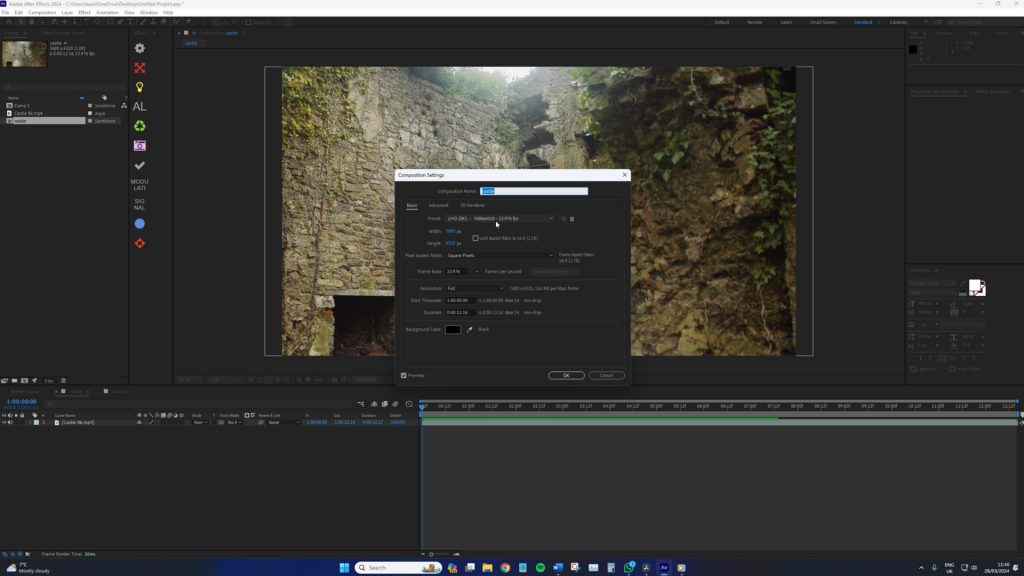
In After Effects, create a composition respective to the 8k resolution.
Import your footage, then, create a new text layer. Insert your first word. Then, select the source text keyframe, and move the playhead forward, and insert your second word. When doing this, it will allow you to change words between keyframes, instead of creating multiple text layers which would cause a massive headache.
Now, there are two ways you can do this. You can move forward with the playhead, click play, and find the moment the next word is spoken. However, given the audio workflow within After Effects isn’t great, you may find yourself pulling your hair out due to the tedious nature of the workflow. Therefore, I recommend just setting your keyframes a few frames forward, inputting your next word, and then referring back to your document where you have noted down the times. By doing this, you can adjust the keyframes as needed in correlation to the document.
- Insert your first lyric word into the text layer.
- Move the playhead forward to the next lyric timing.
- Select the source text keyframe and insert the second word.
- Repeat for additional lyrics, adjusting keyframes based on your documented timings.
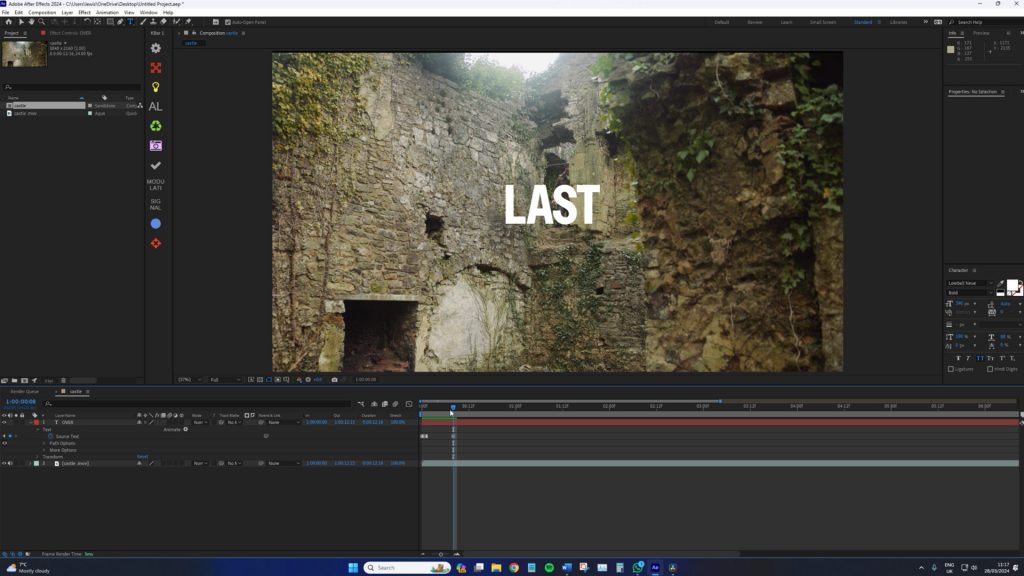
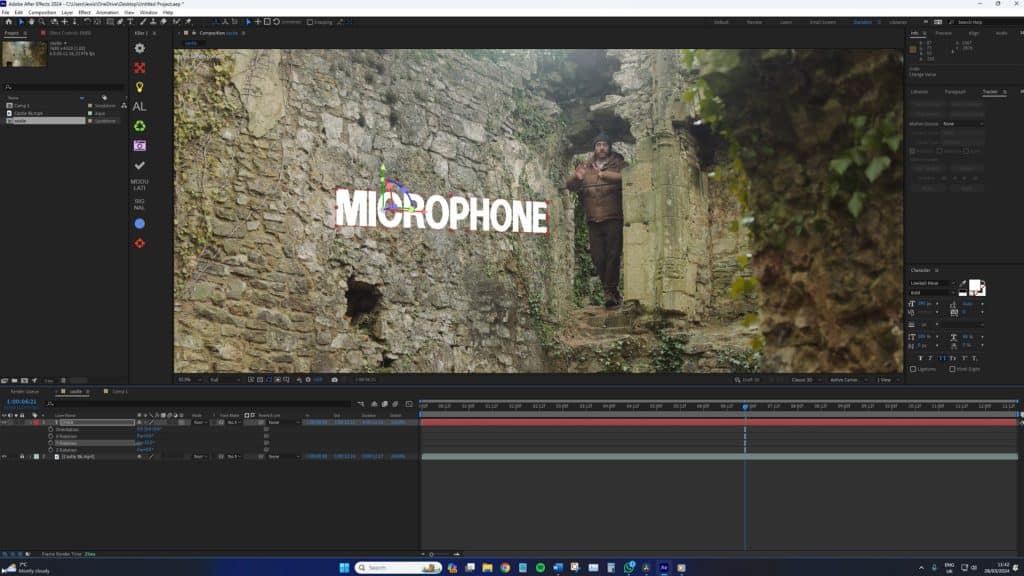
With that done, your video should now look like a 2010 lyric video. But we want it to be part of the scene. Now, if we were filming on a servo lens, we would need to 3D track the sequence because the camera is literally zooming in. In our case, it’s nothing more than a simple adjustment of the text’s position.
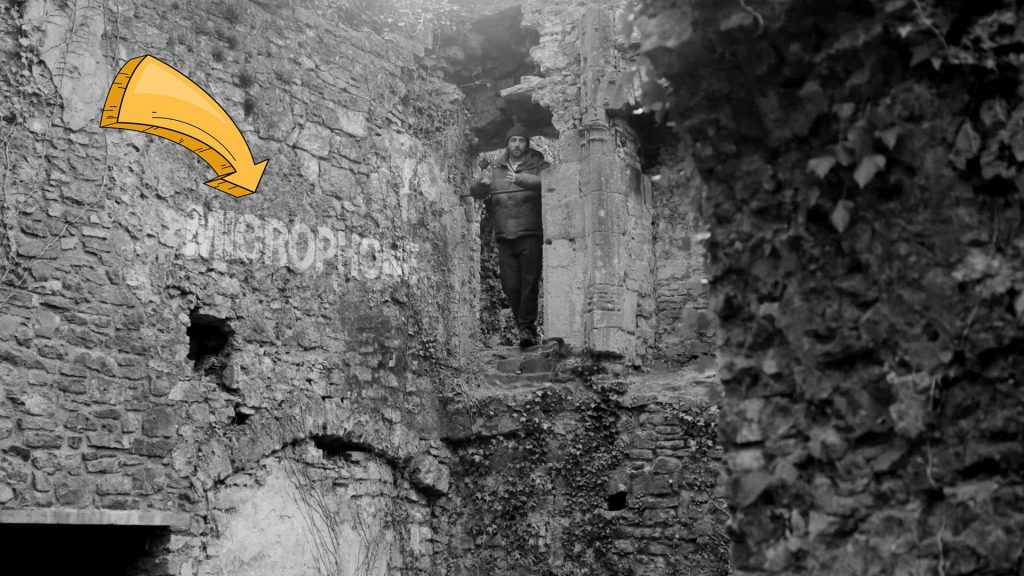
Now, everyone’s scene is going to be different, but let’s follow my steps with the castle so you get the basics down. Switching to first person, I’m first going to turn the text layer into a 3D object, then adjust the rotation of the text so it aligns with the plane of the brick wall.
This looks great. So next we need to add a displacement map effect to the text, and then change the source layer to the footage. Of course, if you’re adding text to a relatively soft surface with little texture, this might be slightly pointless.
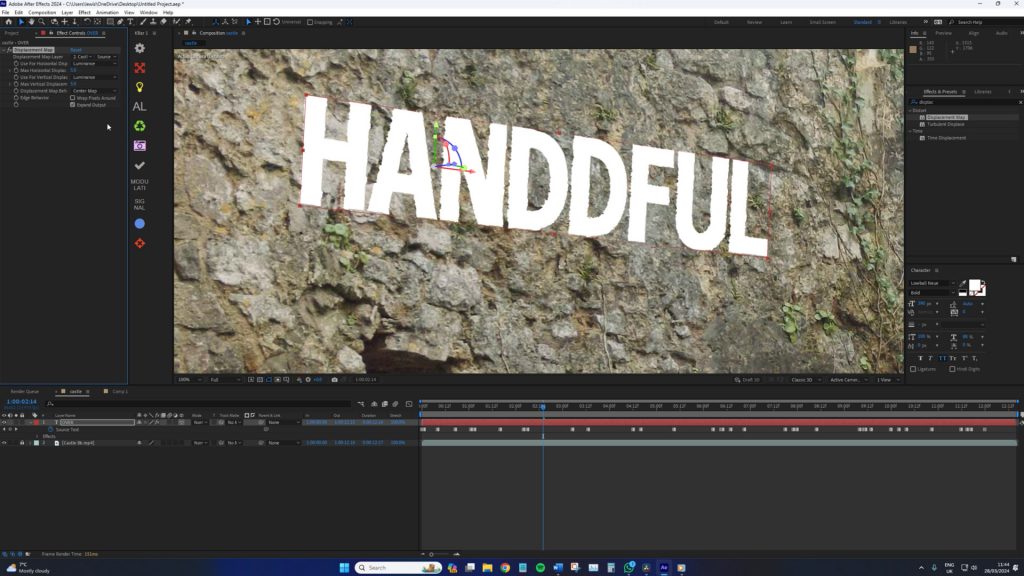
But in my case, it allows the letters to run along the surface of the wall. Next, you will also want to change the blend mode, I find overlay works best.
- Convert the text layer to a 3D object for better scene integration.
- Adjust the text rotation to align with your scene’s perspective.
- Apply a displacement map effect to make text follow the scene’s texture.
- Change the blend mode to “Overlay” for a more natural look.
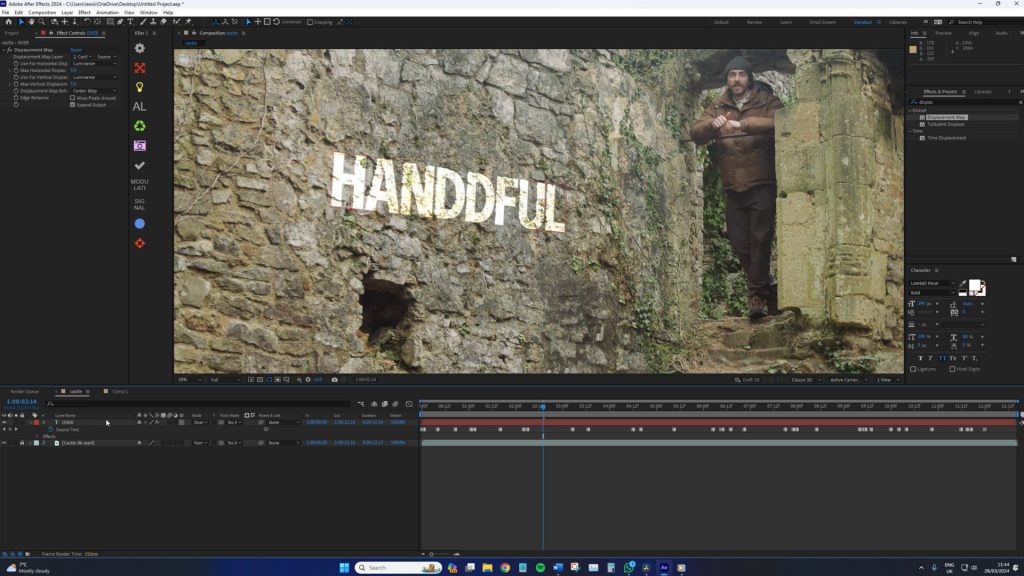
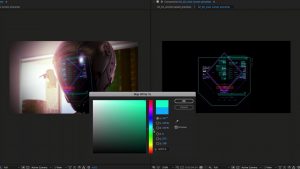
However, as you can see above, the text is slightly too bright. Now, we don’t need to change the brightness or the opacity, simply go to the effect pannel, add the Fill Tool to the text layer, and change the font’s color from white to gray. I would also recommend adding the slightest touch of blur too. Just to blend in with the surface a bit more.
- Adjust the text color from white to gray to reduce brightness.
- Add a slight blur effect to blend the text into the scene more naturally.
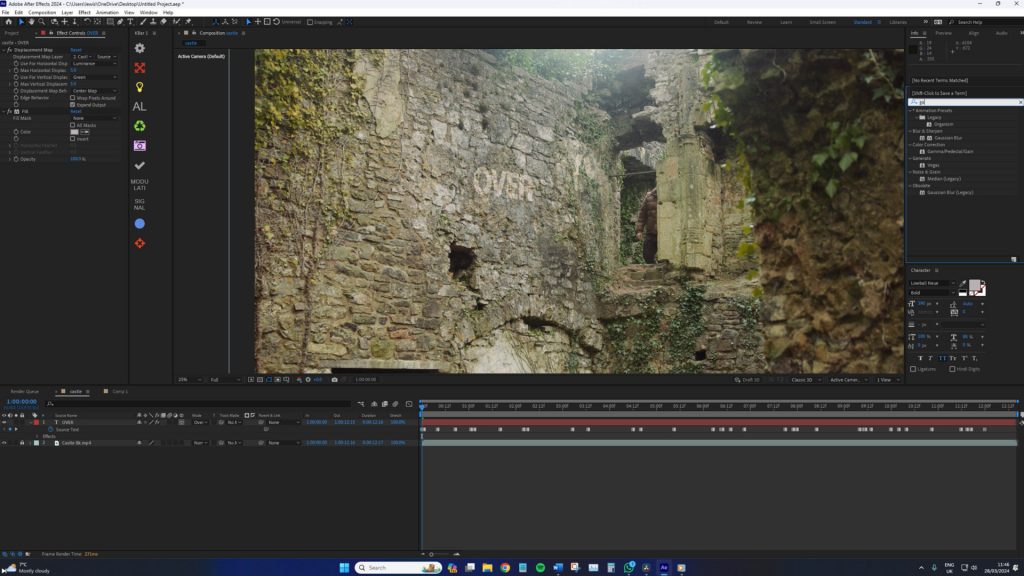
Okay, this is looking great. Now we need to export, and take this clip back to your NLE. When your clip has been inserted into its correct position on the timeline, you now need to simply zoom into the subject. This is the final result (see the video tutorial for it in action).
Looking for filmmaking tips and tricks? Check out our YouTube channel for tutorials like this . . .