Compositing, an essential technique in filmmaking. In visual effects (VFX), it’s the art of seamlessly merging multiple visual elements from separate sources into a single, cohesive image or sequence. While compositing often conjures images of epic blockbuster productions, it holds the power to elevate smaller-scale filmmaking endeavors as well. Learn more in the video tutorial below.
What Is Compositing
Compositing is one of the most used techniques in filmmaking. The composite process encompasses a wide range of filmmaking techniques, including green screen capture, computer-generated imagery, and rotoscoping. In visual effects (VFX), “composite” refers to the method of combining multiple visual elements from separate sources into a single image or sequence.
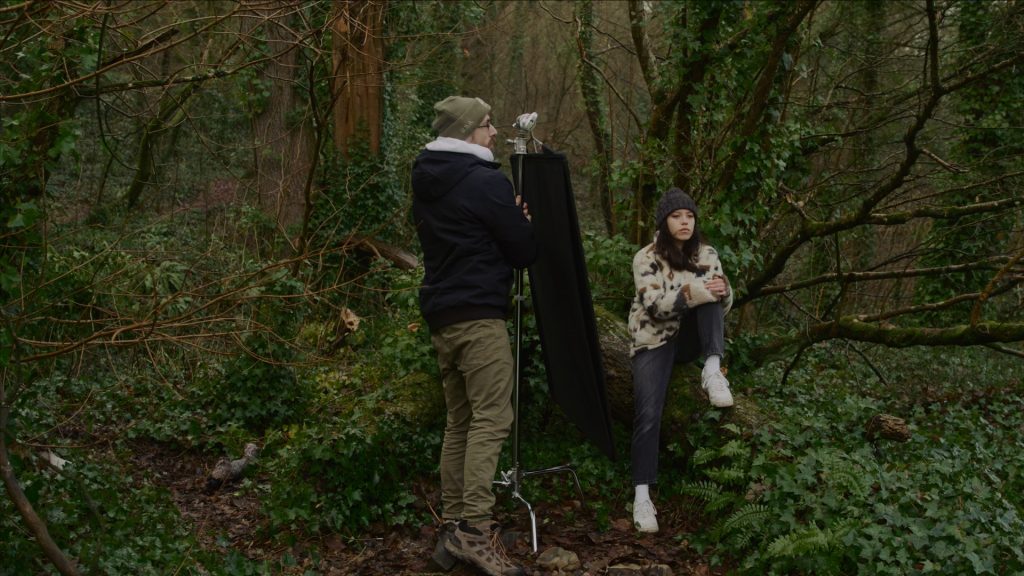
One core practice in compositing, especially when the composite shot features actors, is acquiring a clean plate. This is a shot of a scene without the main actors or objects in frame. It provides a “clean” background without obstructions, enabling VFX artists to combine other elements seamlessly or to remove unwanted items from the scene.
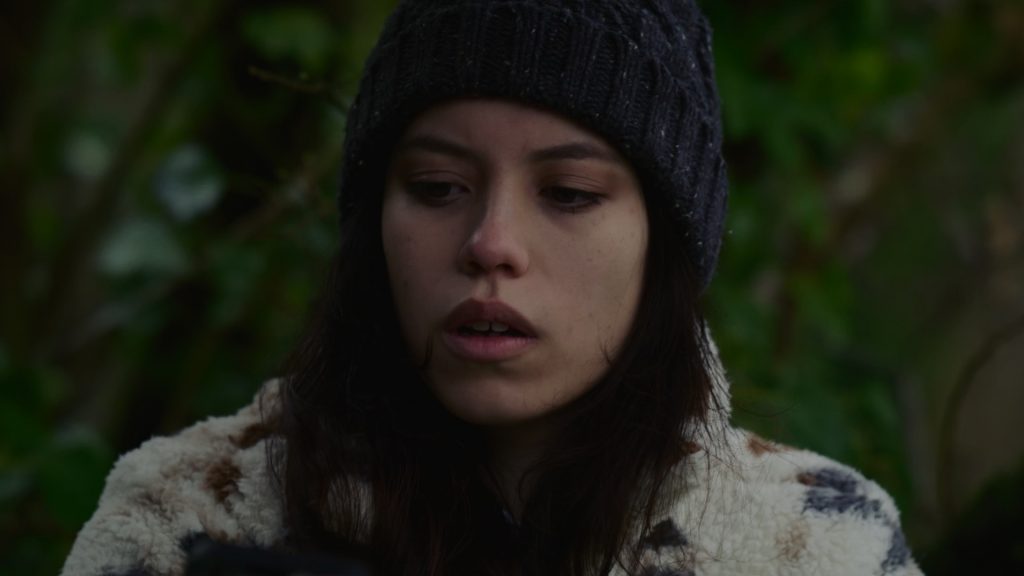
You might wonder, why am I explaining this? Even though compositing and clean plates are staples for VFX and grand scenes, they can also elevate your smaller-scale productions. When we are close to our subject, we can often use smaller-scale grip tools and lighting to great extent . For instance, consider the size of my flag here.
When close to the subject, I’m able to get great contrast on our talent.
However, If I wished to move to a wide or long shot while maintaining the same contrast ratio on my subject, I’d need a much larger setup.
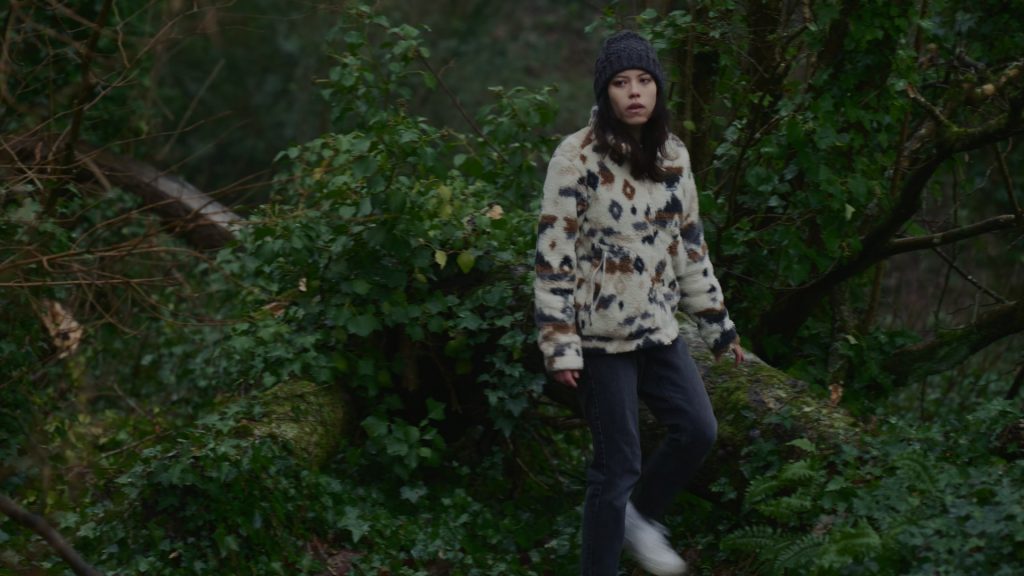
Often, this can be the main gripe for low-budget filmmakers. Sure, we can get nice close-ups. But for wide and long shots, our tools are either too small or we don’t have enough of them. So, let’s look at how we can use the notion of compositing to aid us in this situation.
Compositing Equipment Out of Shot
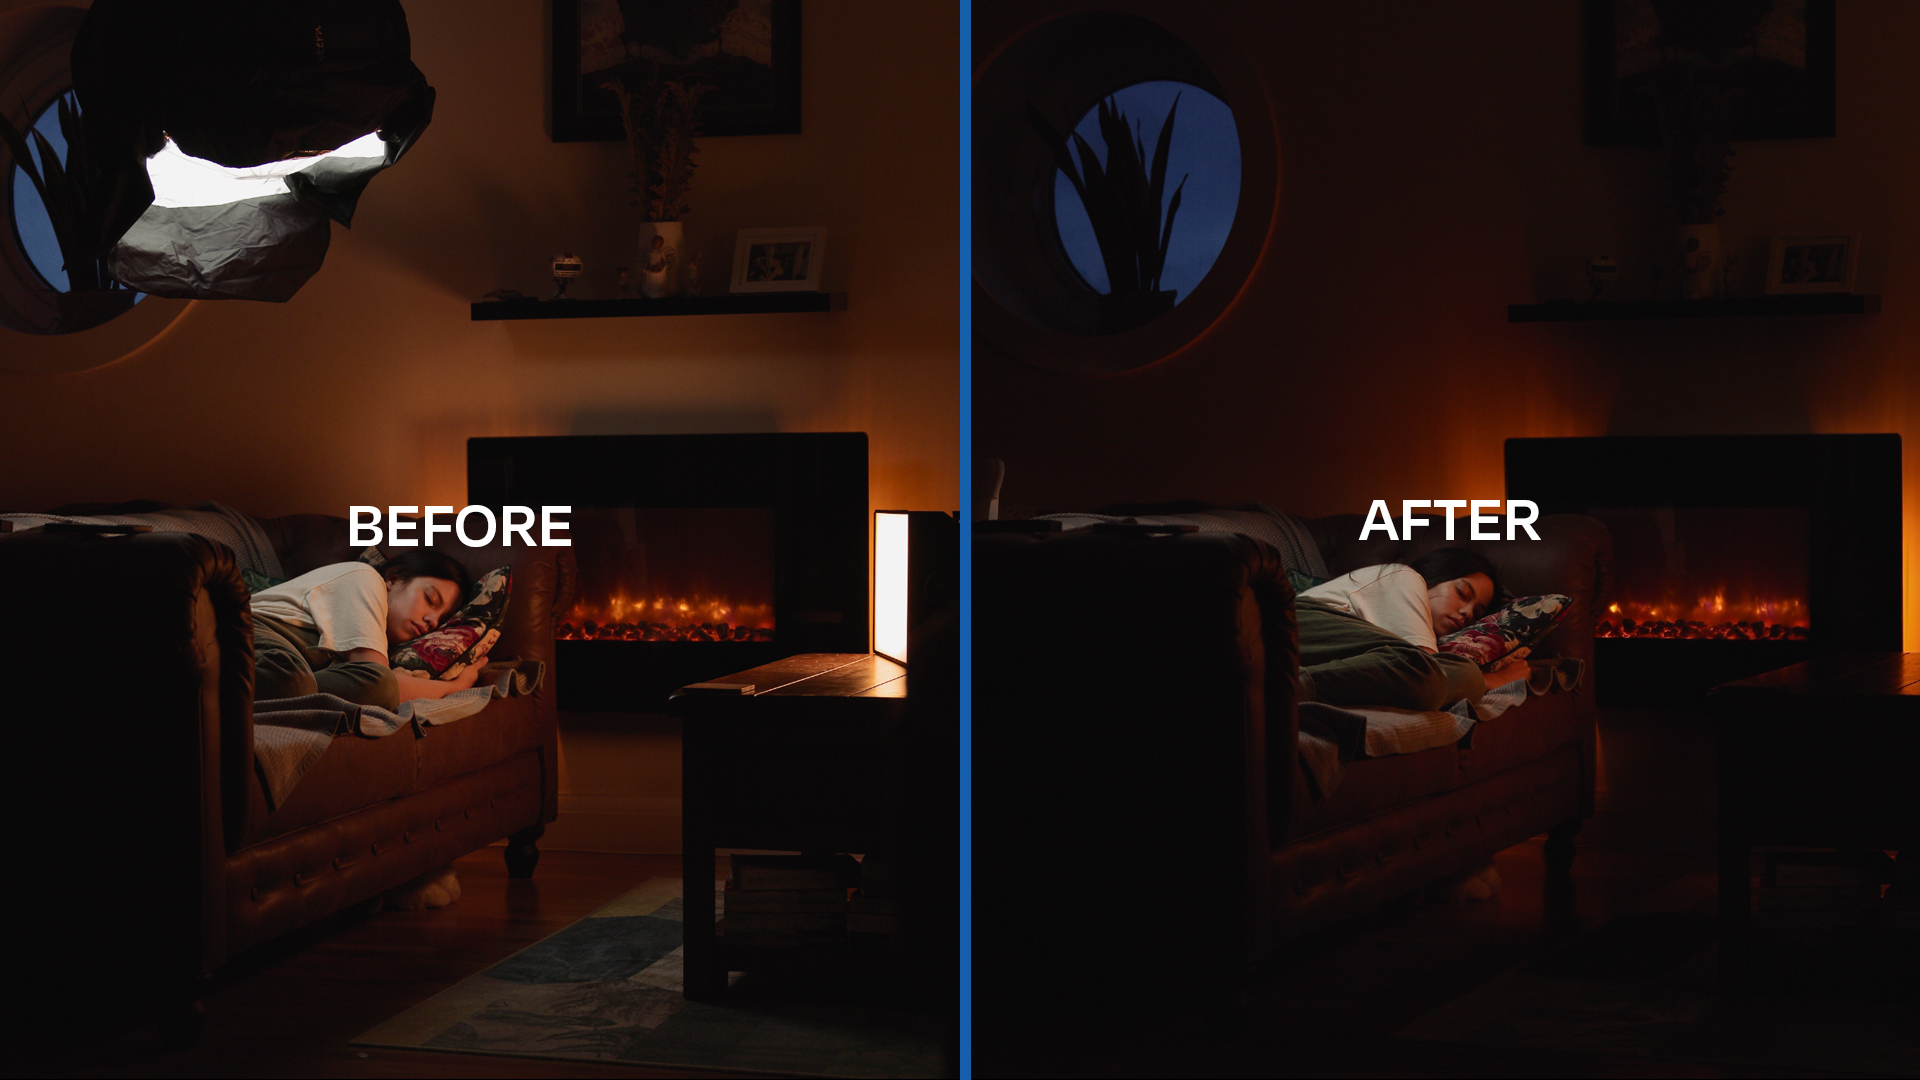
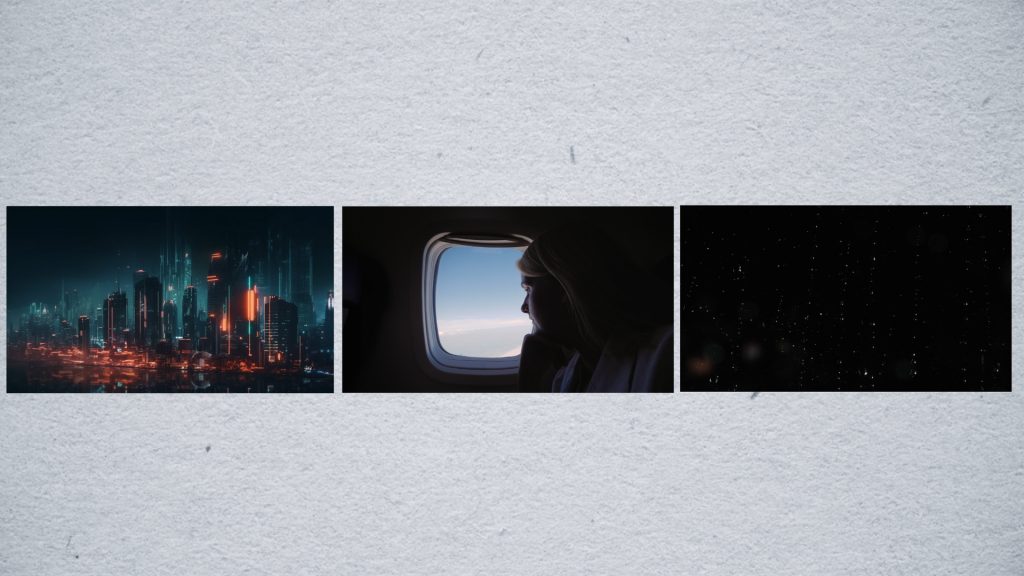
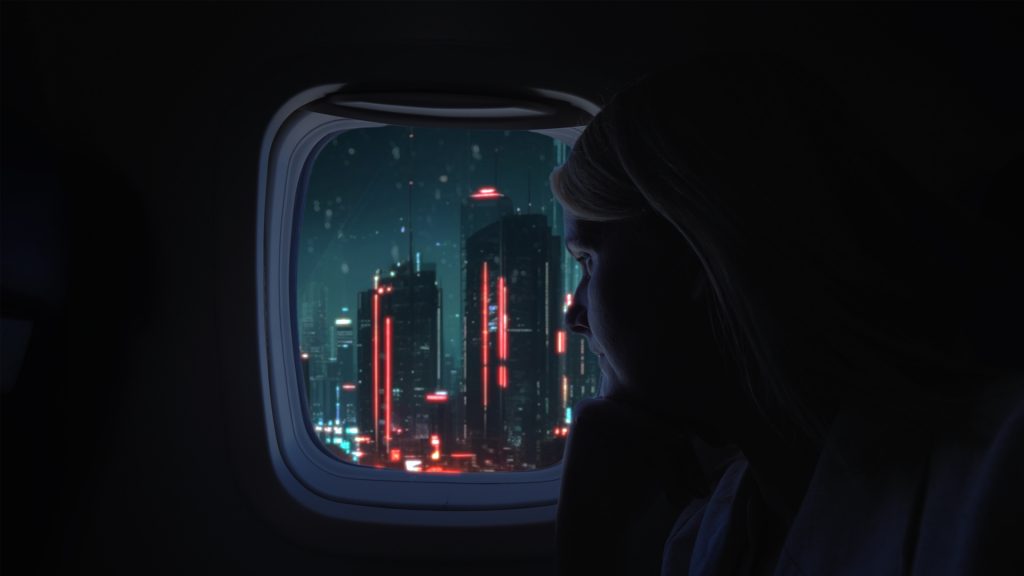
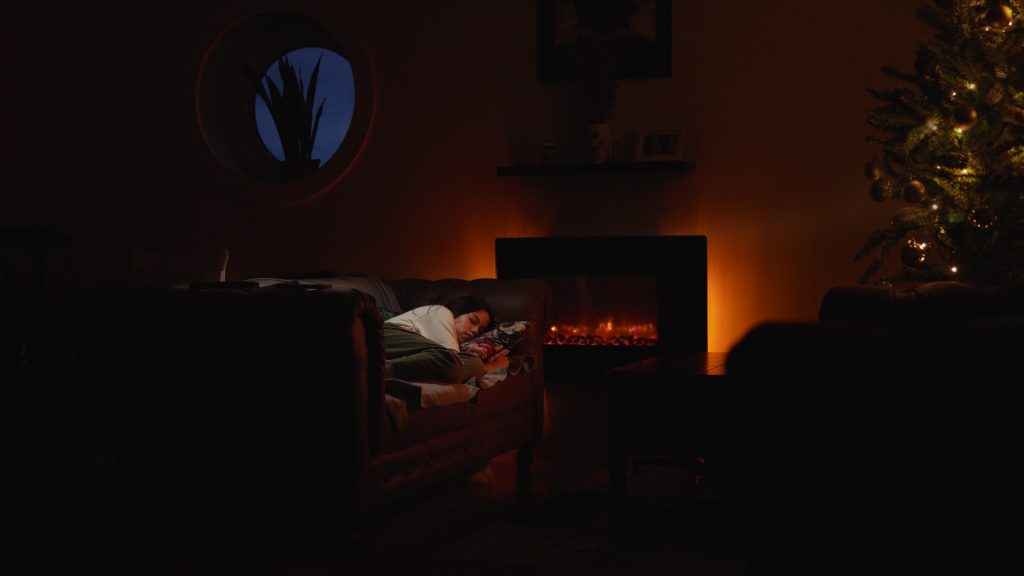
Let’s consider this scene: We have a woman, home alone, when she hears a disturbing noise off-screen.
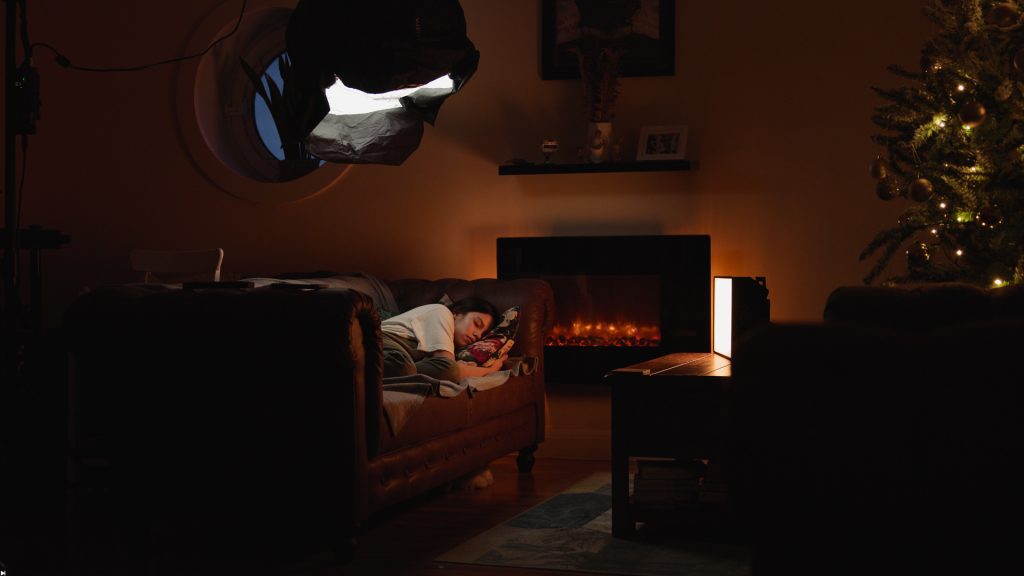
In this scene, we have an electrical fire, christmas lights, and a blue moonlit sky in the background serving as motivation. I have an Aputure Nova PC300 on the coffee table serving as our key light. It has the fire flicker effect present, and it may be an overly exaggerated use, but I think with the Christmas tree lights further behind and to the left, we get away with it. Then, I also have an Aputure Lantern with a 120d positioned above the talent on the lowest power setting, somewhat feeding in the ambient blue light from outside.

Unfortunately, I can’t get the lantern any higher due to my overhead boom stand height. Likewise, if we move the Nova back, I would need a low-boy stand, which I do not have. Moving the Nova back would increase the spread, requiring more modifiers that I would also need to use to keep the light isolated.
It’s these kinds of challenges that can often hinder a low-budget filmmaker, even when they have decent equipment. But, with the idea of compositing, we can fix this. So, first, it’s important to ensure that this is a static shot with no movement so we can blend the two shots together. This is something to prep in pre-production.
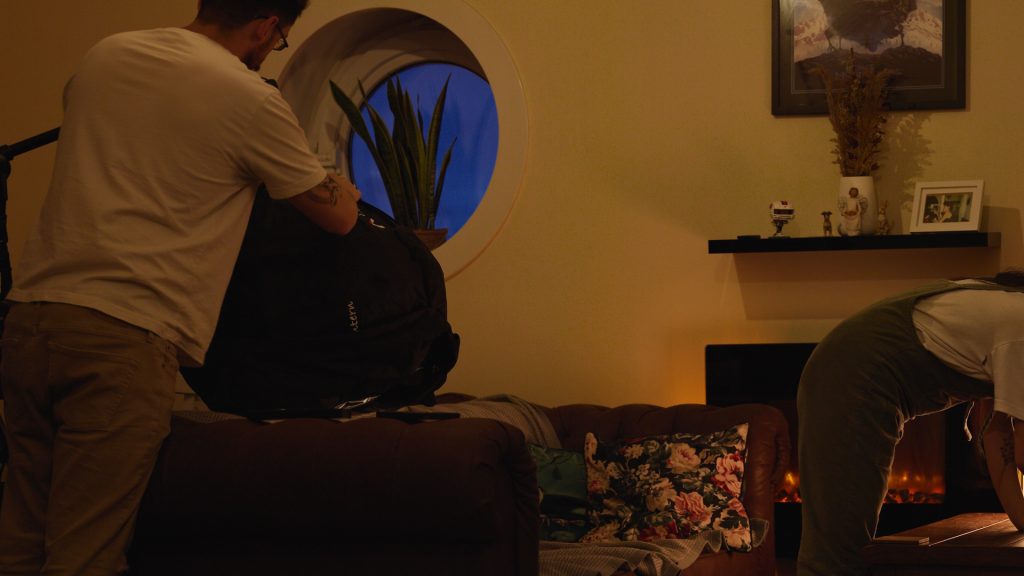
Then, you would want to film the scene on set with the intended setup. Leave the camera in the same position, and if you are using autofocus, make sure it’s switched to manual before the actor gets up. Then, remove the elements that should not be within the scene.
In your NLE (Non-Linear Editing system) or compositor, you now need to bring in both clips. Place your clean plate beneath the busy clip. Then, carefully create a mask to omit unwanted elements within the scene. In my case, the lights also create additional light spill, which I will also clean up. But given the nature of the light spill, in this instance, I will also need to feather the masks.
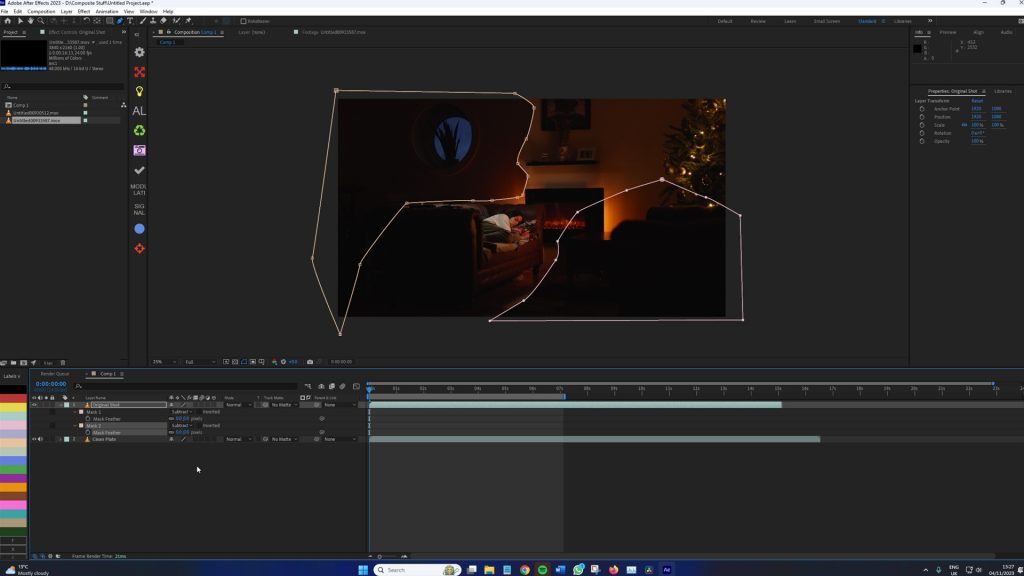
This is the final shot. We now have a great wide shot that adheres to the lighting seen within the close-up and mid-shot.
But we’ve done it without the additional equipment that larger productions would have. This technique can be used across short films, YouTube videos, and even interviews. Just be careful not to have your talent walking about within the scene, and if doing this outdoors, look to avoid dynamic backgrounds such as a moving forest, as they will be harder to mask.
Looking for filmmaking tips and tricks? Check out our YouTube channel for tutorials like this . . .


