Whether you sell your stock footage or give it away for free, it’s important to know your audience and what they want.
It may come as no surprise to you that many of the stock footage clips you’ll find here on Videvo are from our own stock library of clips we’ve either shot ourself, or produced using motion graphics software – and of course not forgetting the many clips that our wonderful contributors have donated!
But what is the key to shooting good stock? What is it that makes people want to download your stuff? This is especially important if you’re selling your footage, which is what we’ll mainly be focussing on in this post. So today, for you lovely people we’ve compiled a short list of the top 5 considerations you should be taking on board to help improve your stock footage efforts. Here we go.
1) Find Out What People Want
There are a number of ways to do this, but perhaps the best way is to check out what people like most on the other stock footage websites. There are plenty out there to choose from (many with a much larger library than ours!) – Shutterstock, Pond5, iStock, Clipcanvas, just to name a few. If you go to the footage homepage for these sites and sort by most popular or most downloaded, you’ll get a great overview of what it is people are after.
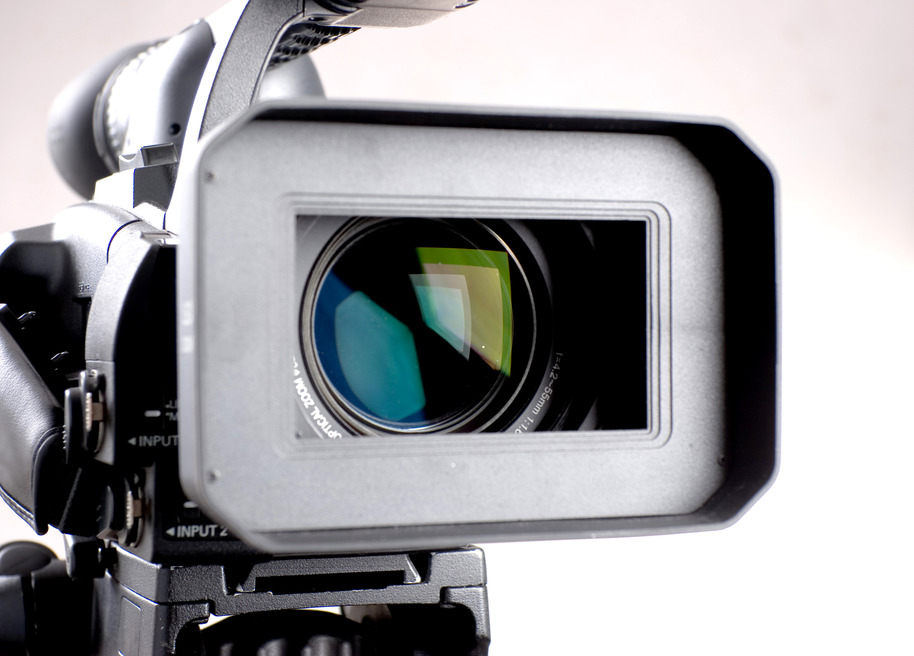
2) Choose the Right Equipment
This may seem obvious but there is real value in investing in decent equipment that will get the results you are looking for – you don’t need to go too expensive either. If you’re on a tight budget, try to go for high quality, high value gear that is versatile – you want to be able to get the most out of it as you can. Without endorsing any specific brands too much, something like a Canon 100mm 2.8 USM Macro lens is incredibly versatile – not only can you get super close macro shots (and there are literally thousands of things you could shoot that are “stock-worthy” just lying around the house), but you can also achieve wonderful portrait shots with this lens – even landscape shots if you don’t mind not going too wide. The nice thing about lenses is that they hold their value relatively well in comparison to cameras, so if you’re going to put your money anywhere put it in glass!
3) Have an Action Plan for Your Shoot
Again, pretty obvious stuff but this is something that people overlook – it also follows on nicely from tip #1 on finding out what people want! Once you know this, you can go about planning your shoot. This is especially important when shooting on location. What do you want to achieve? Where are you shooting? What are you shooting? What time would be best? What’s the weather looking like? What extra kit will you need? How long are you shooting for? Is it in one place? If not how are you going to get around with all that kit? etc. etc. It’s often best to make a checklist of these points to ensure you are fully prepared and you waste no time on the day. Why will this help in shooting better stock? Because it ensures you are maximising the chance of capturing your best shots. If you know there’s an awesome sunset at x position, at y time and in z conditions, make sure you go and shoot it at that time!
4) Take Your Time Whilst Shooting
This sounds like a strange one to add in but bear with us for a second. There are many videographers I have worked with who rush out, try and get as many shots as possible and end up missing the best stuff entirely. This again links in with planning, but when you’re out on location don’t rush what you’re doing! If you’ve put in all the effort to get to that spot, you want to make sure you have achieved what you wanted and you have exhausted all possibilities before moving onto the next spot. Taking your time will ensure every shot you take is the best it can be.
5) Get to Grips With Grading
If you’re relatively new to grading, it is essentially taking the clips you have shot and colour correcting in post production to give it a certain “look”. There are some that may argue with us on this point, in that prospective buyers of stock footage may want their footage shot “flat” with no grading so they can add their own grade. However, take a look at the top sellers on any of the top stock footage websites and you will see that almost all of them have been enhanced through grading. This can be anything from adjusting the contrast and saturation, to adding masking effects and gradients. There are a number of tools that can help you do this, one of which that is becoming very popular is DaVinci Resolve (the Lite version is available for free on the Black Magic website). If however you want something a little more user friendly, then check out Red Giant’s Magic Bullet Looks Suite. Or if you’re not looking to spend any money at all, then play around with the effect tools in your video editing suite. These however can be fairly limited, depending on your preferred software package. Overall, grading adds a punch to your shots, and when done correctly can make the difference between selling and not selling.
So there you have it, our top 5 ways to improve your chances of success with shooting and selling stock footage. There is however one last tip we’d like to share with you – and that is keep at it! Whether you’re doing it to help people out by giving away your footage, or selling it, it can be hugely rewarding, but also very hard work.
I’ll shut up now – speak soon.
Tom
Videvo.net