In this introduction, we’ll share everything you need to know about chroma key and green screens.
A green screen and chroma keying are elements of a technique used in filmmaking and post-production to create special effects and composite images or video footage together! Here’s a quick explanation of each.
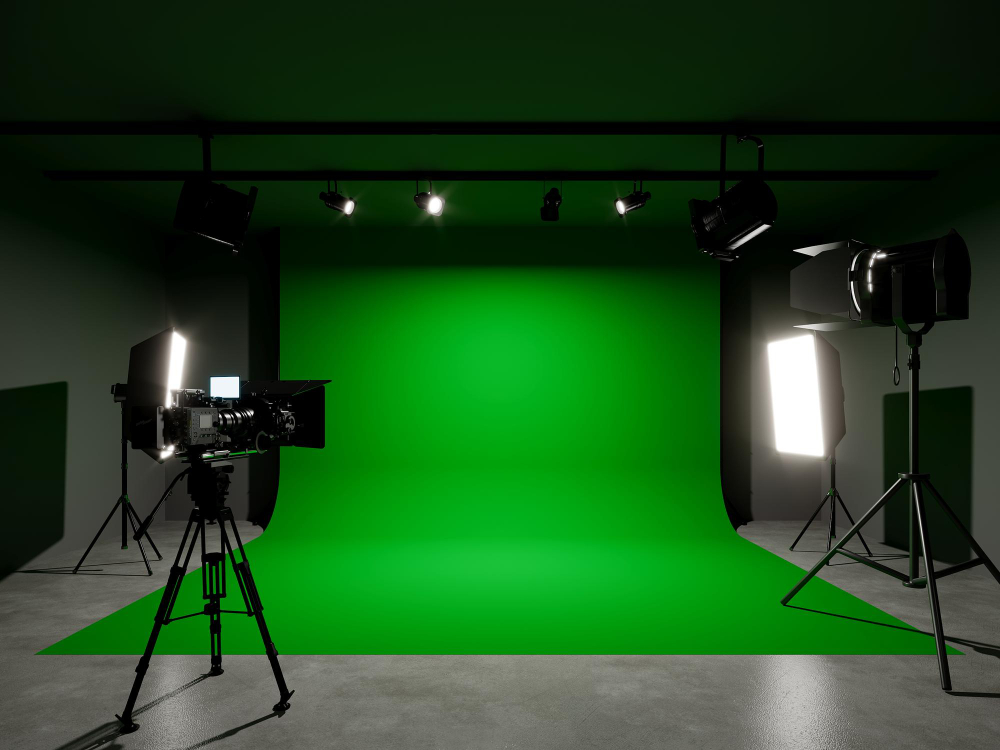
To put it plainly, a green screen is a physically or digitally created background that is entirely, or primarily, green in color. You can also use a blue screen! These green/blue screens serve as the background during filming, but it’s intended to be replaced in post-production. Actors are filmed in front of the green screen, and this allows them to be placed into a different background or environment during the post-production process.
What is Chroma-keying?
Chroma keying is the process of removing a specific color (in most cases, green or blue) from a video or image to make it transparent, allowing another image or video to show through. You can do this with any major NLE (non-linear editing) program and it involves selecting the color (usually green) and then making all pixels of that color transparent. The color used for a good chroma key is typically one that is not found on the actor or subject while being filmed. So, when filming a person in front of a green screen, the software can easily distinguish the green background from the person, making it easier to remove. Sometimes if an actor has something green on (by accident) it’s hard to not include that color with your background when removing it.
Chroma keying is commonly used in filmmaking, television production, and even in live broadcasting (most commonly with weather forecasts) to create various visual effects, replace backgrounds, and integrate actors or subjects into different environments. This is how major studio movies are commonly made that require some type of visual effect work.
How to Shoot Subjects in front of a Green Screen
First things first, good lighting is the single most important step in this process that you need to get right. The key to having a good green screen replacement in post-production, is to give yourself the best possible plate/shot you can get. This starts with good lighting. There are a few steps to follow to ensure you light the actors/subjects as well as the actual green screen properly. Let’s discuss!
First, make sure that the subject is positioned far enough from the green screen to minimize shadows or green color spill onto the subject. Then, think about lighting your character to match the lighting of the environment that you plan on adding behind them. This will help the overall quality of your final shot. So by following this logic, you’d need to know what you’ll be using for the green screen footage so you can have a better idea of how to light the actors.
So how do you light the green screen? Use additional lights or lighting fixtures to illuminate the green screen evenly. It’s essential to avoid any shadows, hotspots, or inconsistencies in the background. So light the green screen from both sides to minimize shadows and color variation. Soft lighting sources, such as softboxes or diffusion screens, can help create more even and flattering light on the subject. Adding a subtle complementary color light to the subject to help them blend more naturally with the background will help with the post-production process.
Which, speaking of, let’s talk about how to actually do the thing!
Adobe Premiere Pro
Jordy from Cinecom walks us through the keying process and how to navigate tricky keys with hair and unwanted objects. Let’s go over the steps for keying in Premiere Pro. Go to the Effects panel. If you don’t see it, you can open it by going to the “Window” menu and selecting “Effect Controls.” In the Effects panel, search for the “Ultra Key” effect in the Video Effects > Keying category. Drag the Ultra Key effect and drop it onto the green screen clip on your timeline. In the Effect Controls panel, select the “Ultra Key” effect you applied to your green screen clip. Click the eyedropper tool in the Effect Controls panel next to the “Key Color” option. Use the eyedropper to click on the green color in your green screen background. This will automatically key out the green color.
You can fine-tune the key by adjusting the “Matte Generation” settings in the Effect Controls panel. Parameters like “Pedestal,” “Highlight,” and “Shadow” can help you remove any remaining green spill on your subject. To replace the green screen background with your desired image or video, place the background clip on a track below the green screen clip in the timeline. Use the timeline to ensure the background lines up correctly with your subject. You can also use the motion controls to tweak the scale, position, and rotation of your subject. Voila!
DaVinci Resolve
Go to the Color tab at the bottom of the screen. In the Color tab, right-click on the green screen clip node in the Node Editor panel on the left. Add a “Qualifier” node. In the Qualifier panel on the right, use the color picker to select the green color in your green screen. Tweak the settings in the Qualifier panel to refine the keying effect. These settings include “Hue,” “Saturation,” and “Luminance” range adjustments. You may also need to use the “Add” and “Subtract” tools in the Qualifier panel to fine-tune the selection. Right-click on the Qualifier node, and add a “Matte Control” node if necessary.
Change the matte control settings to refine the edges and transparency of your keyed subject. Right-click on the Matte Control node (or the Qualifier node if you didn’t add a Matte Control node), and add a “Merge” node. Connect the “Foreground” output of the Matte Control or Qualifier node to the “Green Screen” input of the Merge node. Connect the “Background” output of your original green screen clip to the Background input of the Merge node. In the Merge node, you can tweak the “Mix” parameter to control the transparency of your keyed subject. Drag your background image or video onto the timeline, and place it underneath the green screen clip.
Final Cut Pro
In the Viewer window, click the “Video” button (it looks like a small inspector icon) to open the video inspector. Click the “Keyer” button, which looks like a dropper icon. It’s located in the “Video Inspector” tab. With the Keyer effect applied, you’ll see a color picker tool in the Viewer window. Click on the color picker, then click on the green screen background in the Viewer to select the color to key out. In the Video Inspector, you’ll find various controls for adjusting the key, like “Softness,” “Clean White,” “Clean Black,” and “Sample Color” under the Keyer controls. You can adjust these settings to refine your key. Play the timeline to preview the chroma key effect. If needed, fine-tune the settings to get the best possible key.
Pay attention to any areas where the green screen color may have spilled onto your subject. To replace the green screen background with your desired image or video, place the background clip on the timeline below the green screen clip. You may need to tweak the composite mode of the green screen clip to “Screen” or “Add” in the Video Inspector for certain cases.
Cover Image via Freepik.
Looking for filmmaking tips and tricks? Check out our YouTube channel for tutorials like this . . .