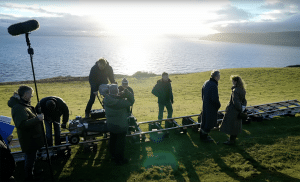
In this introduction, we’ll discuss one of the single best tools available to image makers — the light meter.
Exposure light meters measure the amount of light in a scene to help photographers and cinematographers determine the proper exposure settings for the scene they are attempting to film or photograph. There are different types of light meters, but the most common ones are built into cameras or handheld devices. So let’s talk about the different types you might find on set and how they can help you capture the most beautiful shots possible.
In-Camera vs. Handheld
Most modern cameras have built-in reflective light meters. These meters measure the light reflecting off the scene from the camera position. You can often check exposure using this sensor represented in your histogram, false color, or the EV meter. These are just different tools that your camera has to allow you to manipulate and assess how the image is being exposed. You can also just use the monitor on your camera, or an external monitor, to check the exposure by eye and go with what looks best to you.
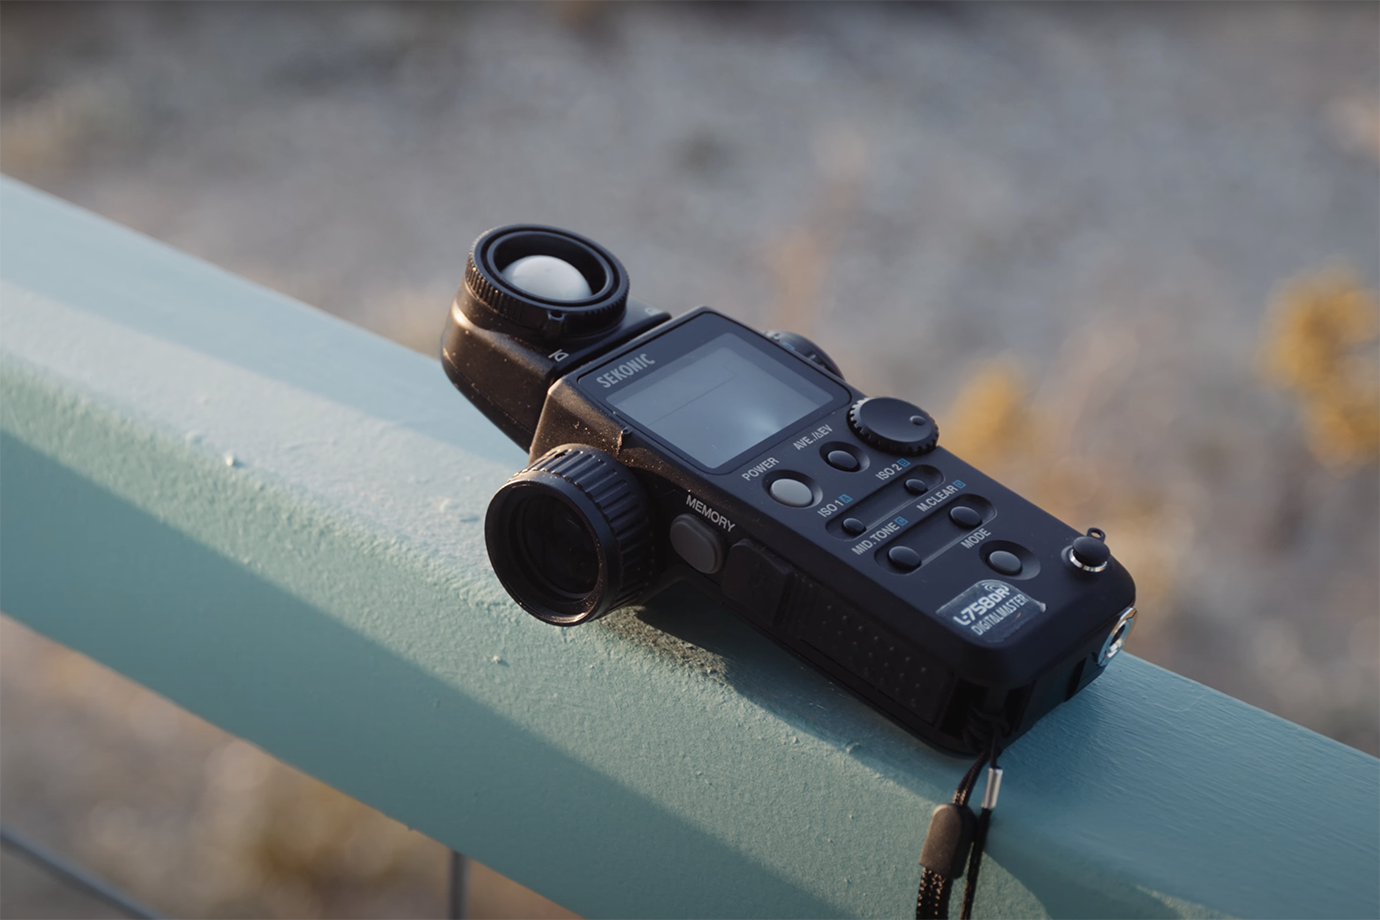
If you decide to go the handheld light-meter route, these are separate devices that photographers and cinematographers can use independently of the camera. They typically have a sensor on the front that measures the light reflected from the scene. Its pretty simple in terms of how the user experience differs, but let’s talk a little bit about what types of handheld light meters there are and what they do. There are a variety of brands to choose from, but mostly you’ll find Sekonic to be the main distributor of dependable, accurate light meters. I use a Sekonic L-758DR, and it’s lasted me a few years with no problems whatsoever.
Handheld Incident Meters — unlike reflective meters, incident meters measure the light falling on the subject rather than the light being reflected. These meters are placed at the subject’s position, facing the light source. This is typically what you’d want to use a light meter for — Judging specific areas of your actor or subject’s face to determine what needs more or less light.
Dome Attachment — incident meters often have a white, translucent dome that can be placed over the light sensor. This dome helps average the light falling on the subject, providing a more accurate reading.
Spot Meters — these meters measure the light intensity at a specific spot in the scene. Photographers and cinematographers can point the meter at different areas to measure the light and make exposure decisions based on specific details. I’ll use this for scenes that are far away — typically landscape shots.
One of the most valuable resources for cinematographers and generalist filmmakers on YouTube is Meet the Gaffer. They published a tutorial a few years back that acts as an excellent guide to understanding how to use an incident light meter.
How Do Light Meters Work?
So how do these light meters actually work? What are they reading? Well, light meters often provide readings in exposure values, which represent combinations of aperture and shutter speed settings that will result in exposing the image correctly. The photographer or cinematographer needs to set the ISO value on the light meter to match the film or digital sensor sensitivity.
In other words, the camera’s native ISO is a good place to start. I often shoot with the RED Komodo, and the native ISO reading is 800. You’ll then set the desired aperture you wish to use or are able to expose with based on the lighting conditions. Once you’ve done this, the meter will tell you whether you need to add light or take it away. In the case of taking photographs, I’ll set the desired aperture based on the type of photo I want to take, then the meter will tell me what shutter speed I should set the lens to.
After obtaining a meter reading, we can adjust our camera settings based on the recommended exposure values. Exposure compensation may be used if the photographer wants to deliberately overexpose or underexpose the image.
Using Phone Apps
Let’s say you don’t have the budget to grab one of these light meters, what do you do? Never fear! There are a ton of phone app light meters that honestly work just as good as the Sekonic-branded meters. I’ve used the “Pocket Light Meter” app for years and have almost gotten 100% accurate exposure readings while out photographing and shooting video. They work similarly to the handheld meters I listed above, just with a modern interface that is straightforward — they use your phone’s camera to measure the light readings.
In the tutorial above, Teo Crawford uses the Lghtmtr app, and the results of his work obviously prove the app to be worth it.
Cover Image via Logan Baker.
Looking for filmmaking tips and tricks? Check out our YouTube channel for tutorials like this . . .