Highlight rolloff refers to the transition from highlights to shadows in an image, and it can help images look more cinematic. Here’s how.
Dear reader, I want to ask you, what do you perceive as one of the core values that makes an image look cinematic? Is it dynamic range? Resolution? Color science? Frames per second? Ever since the days of the 5D Mk II, when aspiring filmmakers were looking to make their images cinematic and less like digital video, this has been a highly debated aspect within the online community because, as many pros would point out, much more goes into crafting a cinematic-looking image than just the camera. The location, the set design, the lighting, and the costume, will all go very far in crafting a cinematic look. However, there is no debate that an ARRI will produce a more beautiful image than a GoPro. Why?
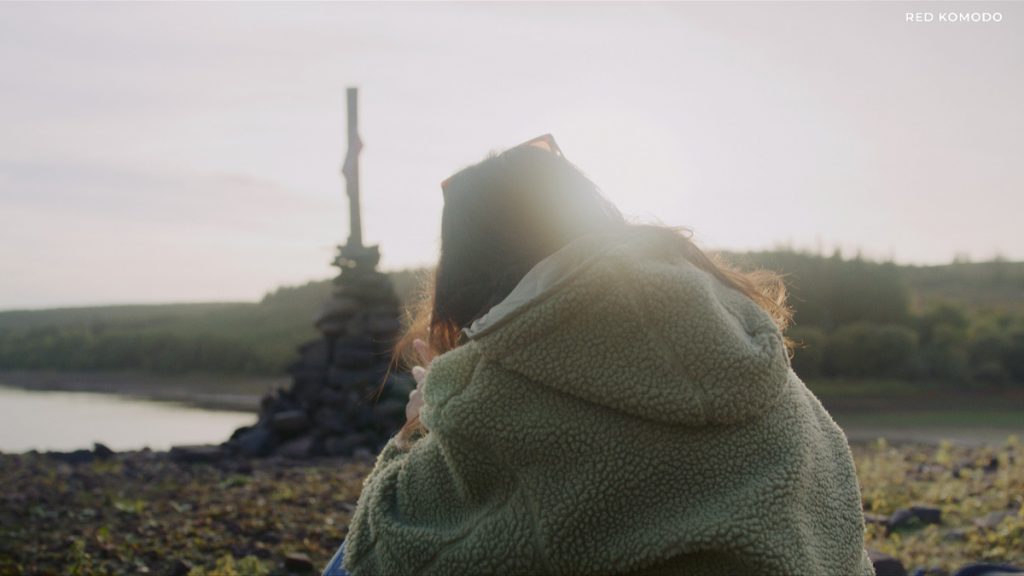
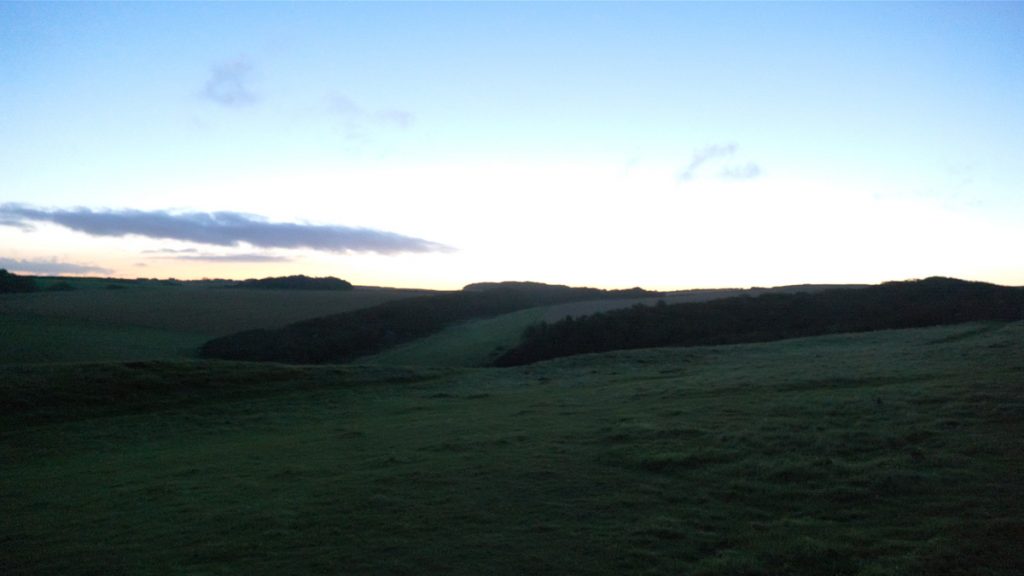
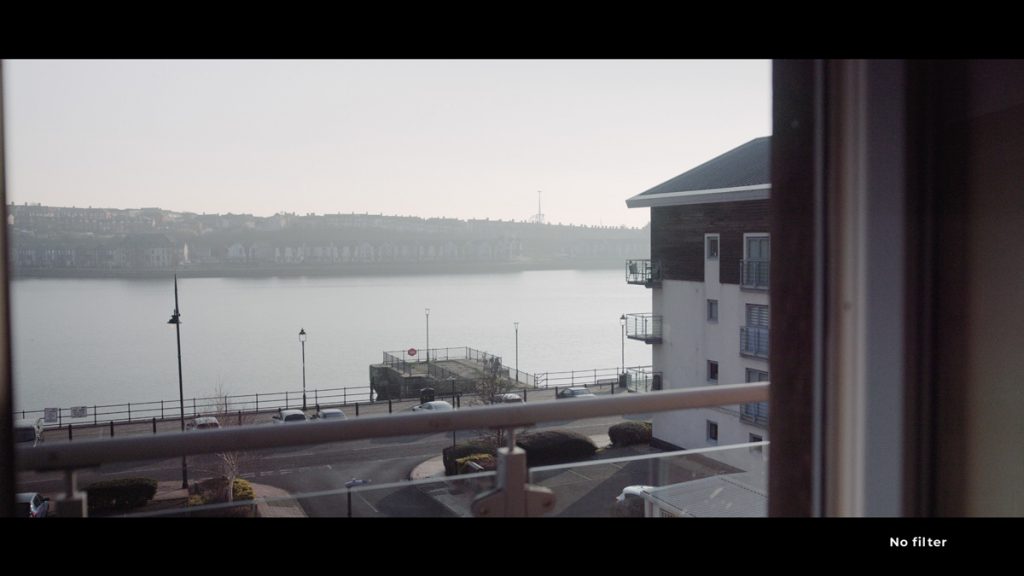
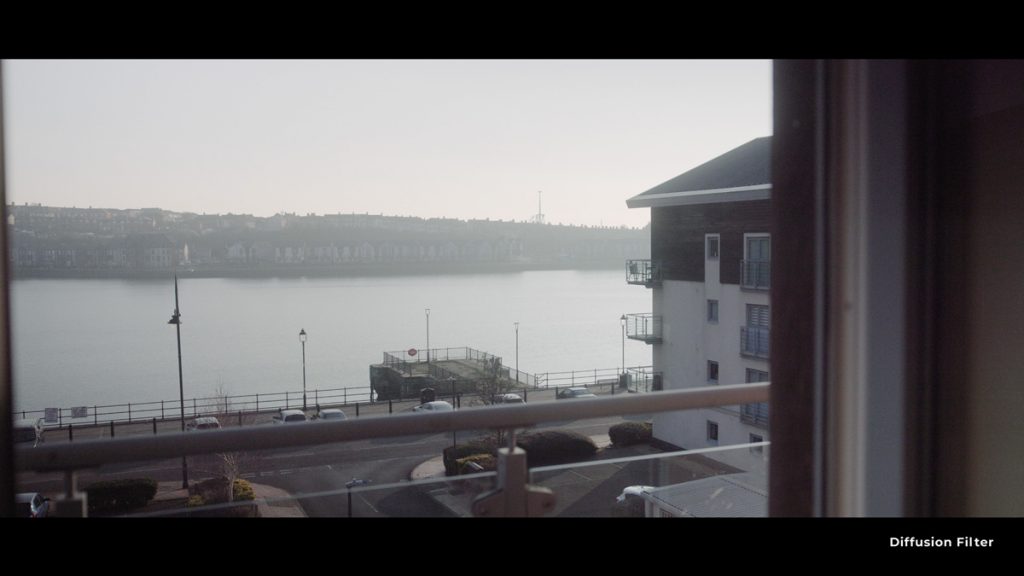
Let’s look at the difference between these two images.
What do you notice between the two?
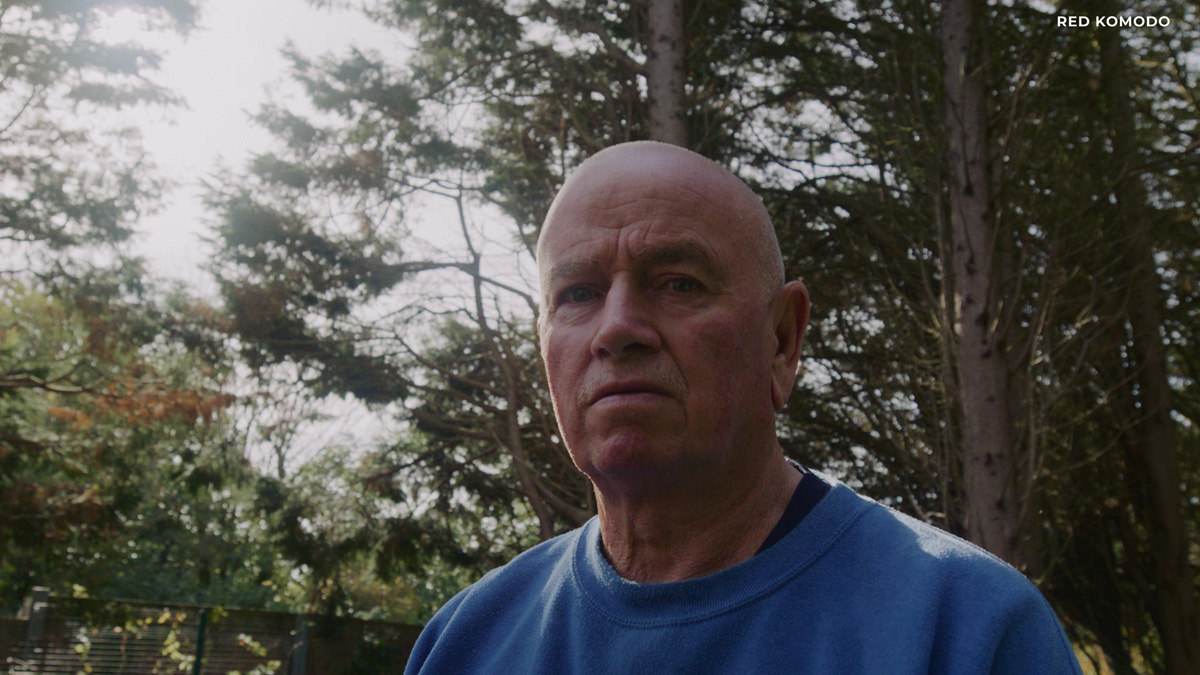
The A-Cam is the RED KOMODO, and the B-Cam is the Canon R5. And I want you to pay attention to how the cameras respond to the brightness of the spotlight. You will notice that on the Canon R5, the ascension into the highlights is rapid. It gets bright, and then all of a sudden, we have clipped image values.
The RED KOMODO is a different story. You’ll notice highlights do something a little different; they tend to blossom and roll-off into the overexposed area.
Highlight Rolloff — Getting The Film look
One common misconception in the aspiring filmmaker community is that all highlights need to be saved. But, if you watch enough movies and tv shows, you’ll often see highlights that hold no data value, whether from the sun, a window, or even just the sky.
But the reason why they are often visually acceptable is due to the nature of the highlight roll-off.
The highlight roll-off is a characteristic of celluloid film where the highlights gradually round off and fade into white rather than having a sharp transition. It’s organically pleasing, not digitally compromising. Of course, when we hear the term “film look,” it refers to the visual aesthetic of images captured on celluloid. You will find that the dynamic range of celluloid film is far greater than digital images due to how the film dyes and silver react to extreme exposures; highlight roll-off is a byproduct of this.
The softening of the transition from the brightest highlights to the mid-tones is what digital camera companies have been trying to replicate for over a decade now, with RED and ARRI sweeping the floor. While color science, dynamic range, and sensor technology will set the barrier for how well a camera will produce a “cinematic image,” I genuinely believe that the highlight roll-off can be one of the most prominent attributes in making your image look “filmic,” as opposed to video.
In contrast, digital images can have a limited dynamic range and tend to clip at either end of the tonal scale. The highlights can quickly become overexposed and turn into flat white areas with no detail, whereas the shadows can drop off abruptly into black.
This happens because the photosites that make up the digital sensor have a linear response and quickly reach the full well capacity, lacking the relaxed increase in overexposed areas seen in film.
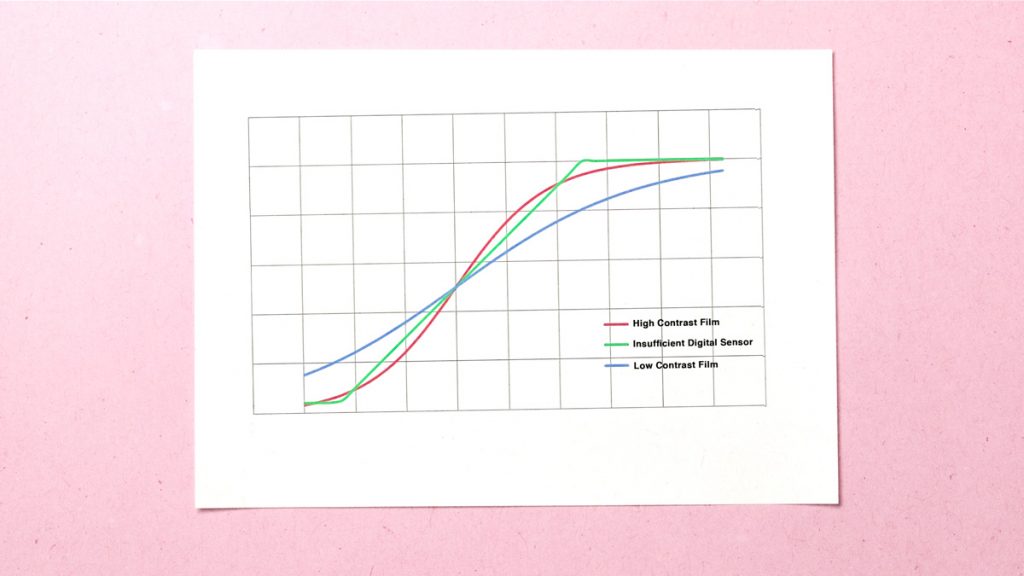
Many digital filmmaking images will contain clipping, for example, in bright lights, overexposed windows, or the sky. But how these highlights are handled can significantly impact the overall perception of the image, even if they aren’t the focal point. With advancements in camera technology, even prosumer-level cameras can now capture 14 stops of dynamic range, and camera brands will likely focus on improving their highlight roll-off in the future.
You may now think that if your camera doesn’t have great dynamic range or an excellent highlight roll-off, you are doomed only to capture HD-looking video, but that’s not the case with a diffusion filter.
Diffusion Filters
This is a diffusion filter, specifically the Tiffen black pro mist filter.
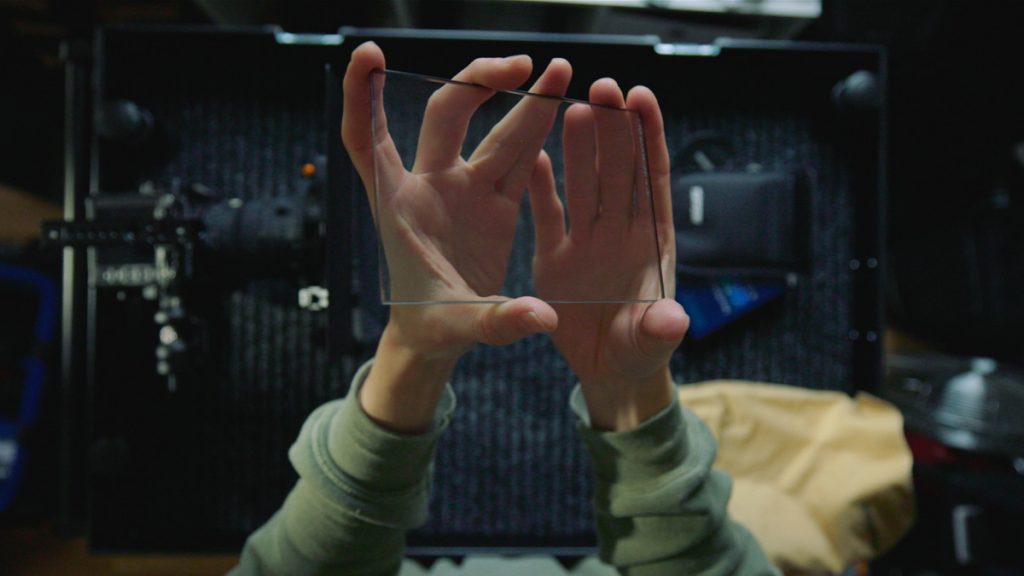
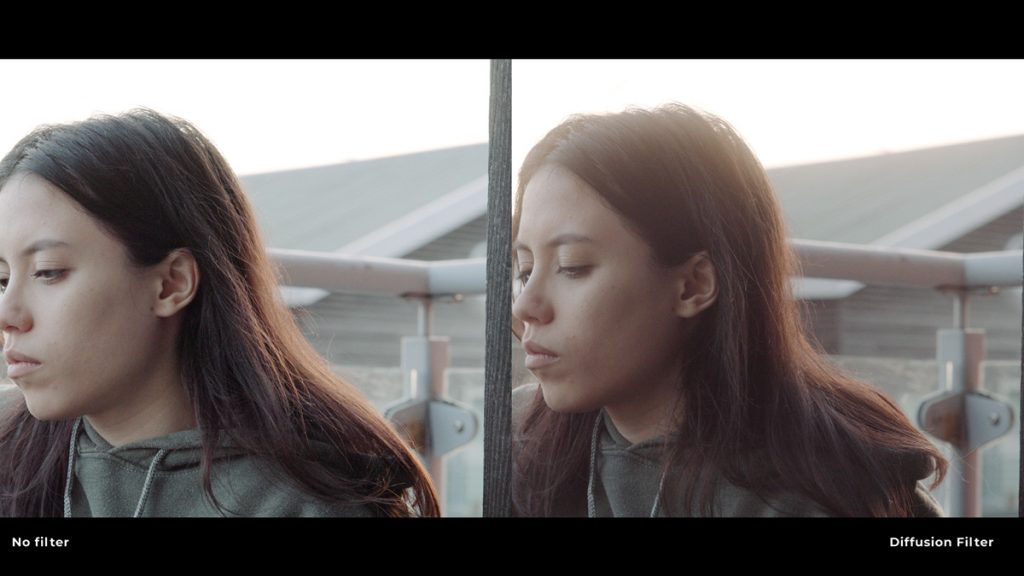
Diffusion filters provide a soft, romantic, or dreamy appearance to your photos, all while preserving contrast and sharpness. Unlike a blurry or unfocused image, a diffusion filter will produce a gentle haze around bright objects and gently brighten shadows, giving your scene a unique look.
They can do this because a diffusion filter’s surface has etched imperfections. When light rays hit the filter, some are redirected from their original path due to these etched imperfections and become defocused as they scatter across the uneven surface. This results in the characteristic hazy appearance around brighter objects within the image.
So, we know that film has the gradual rounding off of values of the highlights, where they fade or progressively bloom into white. And we now know that diffusion filters spread light and soften the transition between highlights and white areas.

Ok, you get where I’m going with this now? Yes, we can use a diffusion filter to prevent the highlights from appearing too harsh or blown out. Using a diffusion filter, filmmakers (and photographers) can add a subtle layer of texture and tonal variation to their images, which can help enhance the image’s overall perception and create a more cinematic look.
While a blossom around highlights and highlight roll-off are inherently two different things and display different visual characteristics, the hazy glow created by a diffusion filter can undoubtedly push you closer to producing a more naturally pleasing image.
Using a Diffusion Filter
When using a diffusion filter, it’s essential to ensure that your scene and subjects are well-lit. The filter enhances the light in the scene, so the effect will be limited if there’s not enough light. Opt for soft light rather than strong or harsh light to avoid a washed-out appearance.
The impact of the diffusion filter on your scene also depends on your focal length. Longer focal lengths result in a more significant effect from the filter, whereas a wide-angle lens can lead to too much diffusion and loss of detail. Use the lowest diffusion level available to avoid this, or tighten up your shots.
Quite like most filters, you will find that diffusion filters come in various strengths and are typically graded using the manufacturer’s system. The Tiffen Pro-Mist filter is one of the most widely used diffusion filters, and it has a range of densities from 1/8 to 5, with five being the strongest.
As I noted in the introduction, although a diffusion filter can give your work a cinematic look, relying on something other than this effect is crucial. The cinematic look is created from a combination of factors, not just diffused light and a hazy glow. Make sure to use the filter to contribute to the story you are trying to tell.
But in general, if you find that you’re working with a camera that has limited dynamic range, and the highlights are being clipped too quickly, while a diffusion filter won’t help the dynamic range, it will help the accession into the highlights appear more organic and less visually displeasing.
Looking for filmmaking tips and tricks? Check out our YouTube channel for tutorials like this . . .
Looking for more tips and tricks? Check out these articles . . .