How do we take this location and make it look like something along these lines?
Some locations are seemingly difficult to make look great. But that is in their nature. The standard bathroom or restroom quickly falls into that category. However, as noted by The Atlantic, we are currently in the golden age of bathroom scenes.
Writer Megan Garber has this to say:
“You’re not — we’re not, generally — supposed to talk about bathrooms. They’re dirty. They’re awkward. They’re places for doing things we are meant, in the name of propriety, to pretend we do not do. It’s those universal intimacies, though, that make bathrooms so fitting as settings for scenes like Insecure’s — which may be why more and more TV shows are featuring them so prominently in their action.”
The issue is that in TV or film, the filmmakers can create a set to facilitate proper lighting for such small spaces. However, the bathroom you have available may not be ideal for filming. For example, mine doesn’t even have a window!
Nevertheless, where there’s a will, there’s a way. Therefore, today let’s explore three lighting examples using just one light to create completely different scenes.
Overhead Lighting
Not every scene needs to be moody, dramatic, or mystical. Sometimes, a bathroom scene is simply a moment of solitude for the character. However, relying solely on the standard lights fitted in a bathroom is often impractical. Moreover, depending on the size of your bathroom, it may be equally impractical to consider bringing in a light stand with a light and softbox attached. But don’t worry; you don’t need to go that far.
Using examples from films:
- Black Swan directed by Darren Aronofsky
- Breaking Bad created by Vince Gilligan
- Fight Club directed by David Fincher

These scenes don’t have grandeur; they depict characters doing business. Notice the light is overhead but soft enough to avoid casting strong shadows or creating directional lighting.
So, how do we achieve this effect? It’s actually very straightforward.

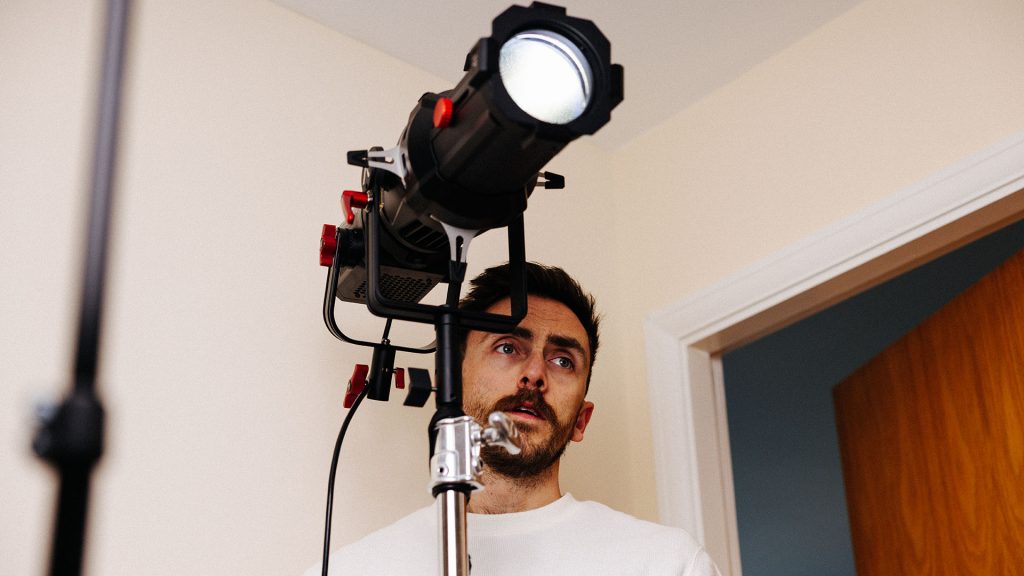
Position your light extremely low and aim it directly toward the ceiling. You will need to narrow the beam using a Fresnel lamp or a spotlight mount to avoid light spills, and by doing this, the bounce light will illuminate the bathroom with a soft ambient spread inspired by the scenes mentioned above.
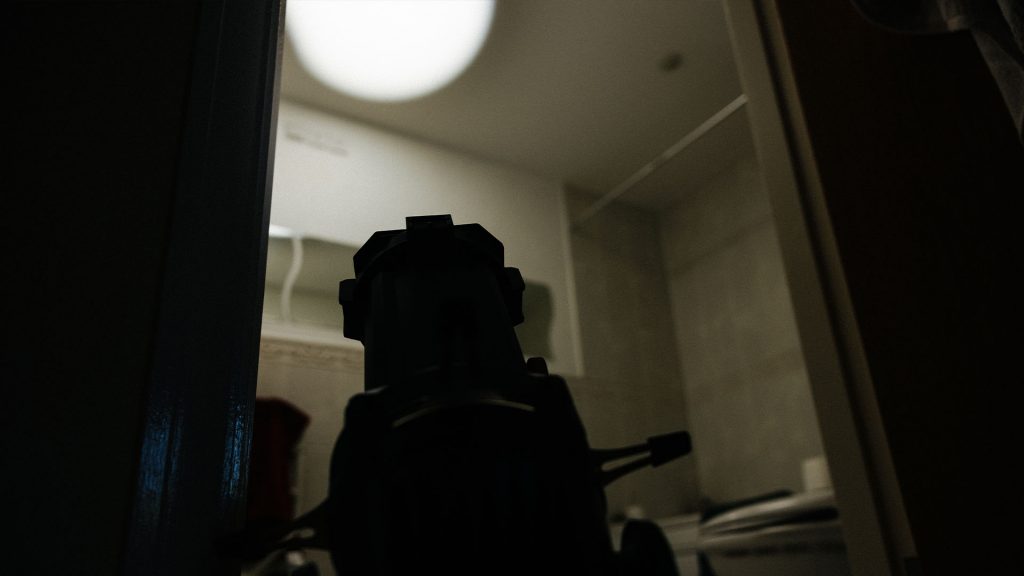
It may not be majestic, but this simple technique provides sufficient realistic illumination for a typical scene in a bathroom.
Patches of Daylight
As mentioned in the introduction, my bathroom has no windows, so unfortunately, I can’t rely on the trick of natural daylight to illuminate the room. However, that doesn’t mean we can’t simulate the effect because the audience doesn’t have to know how far away the nearest window is.
Take a look at these examples from films:
- Drive directed by Nicholas Winding Refn
- White God directed by Kornél Mundruczó
- Boogeyman directed by Stephen Kay
These examples all share similar characteristics. There are minimal or no practical lights on the set, and instead, they use emulated daylight directed into the scene. I say emulated because I cannot confirm whether daylight was used.
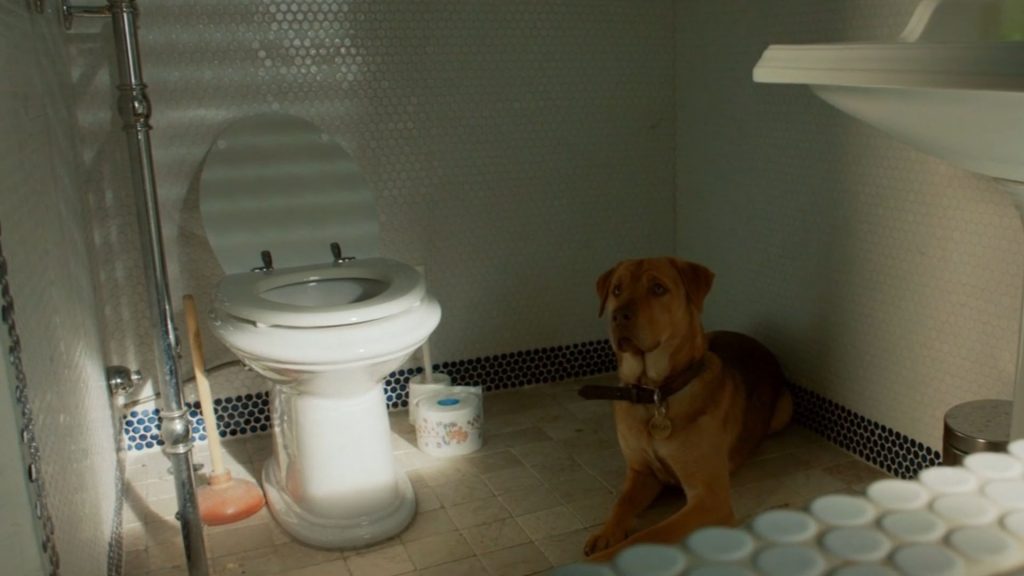
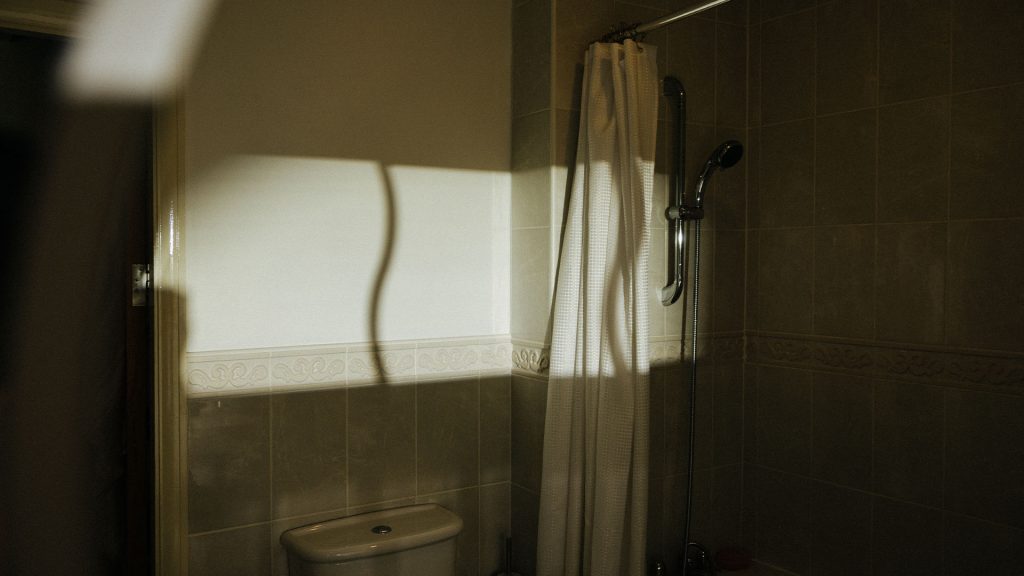
You’ll notice that, in these examples, the simulated daylight entering the scene isn’t perfect. What do I mean by that? Well, it doesn’t directly hit the subject, and it’s often obstructed. Shadows from the window are present, and parts of the subject remain in shadow. However, this is the perfect way to emulate daylight in a darkened environment.
This type of lighting works well for scenes where your character either leaves in the morning or enters at the end of the day.
To achieve this effect, you need to use hard light. Again, I would suggest using a spotlight or Fresnel lamp to keep the light beam narrow. Direct the light into the bathroom at an angle as if it were coming from a window somewhere in the house.
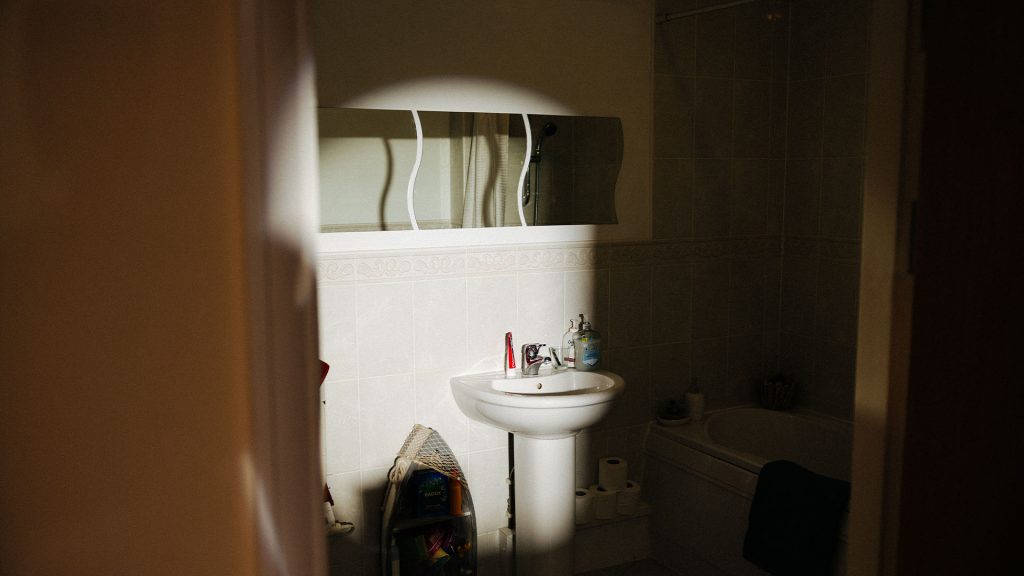
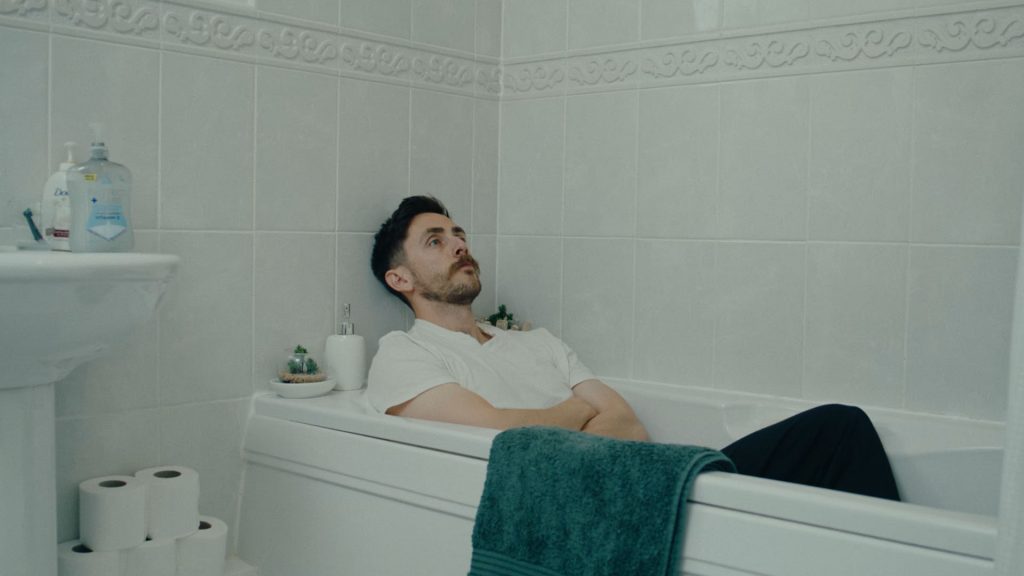
In my example, I’ve positioned the subject in front of a mirror, and I have the light hitting the mirror. This adds a bounce light effect to the scene, lifting the shadows somewhat. It also creates pockets of light in the out-of-focus background, reminiscent of daylight naturally coming through a window.
Again, you don’t want your subject to be directly illuminated by the light. Keep it slightly obscured and have parts of them in the shadows.
Top-Down Sinister Lighting
The previous two setups we discussed are geared towards producing more dramatic, narrative-focused pieces. However, let’s pivot to a slightly more stylized approach by examining the creation of sinister lighting.
Consider the following examples:
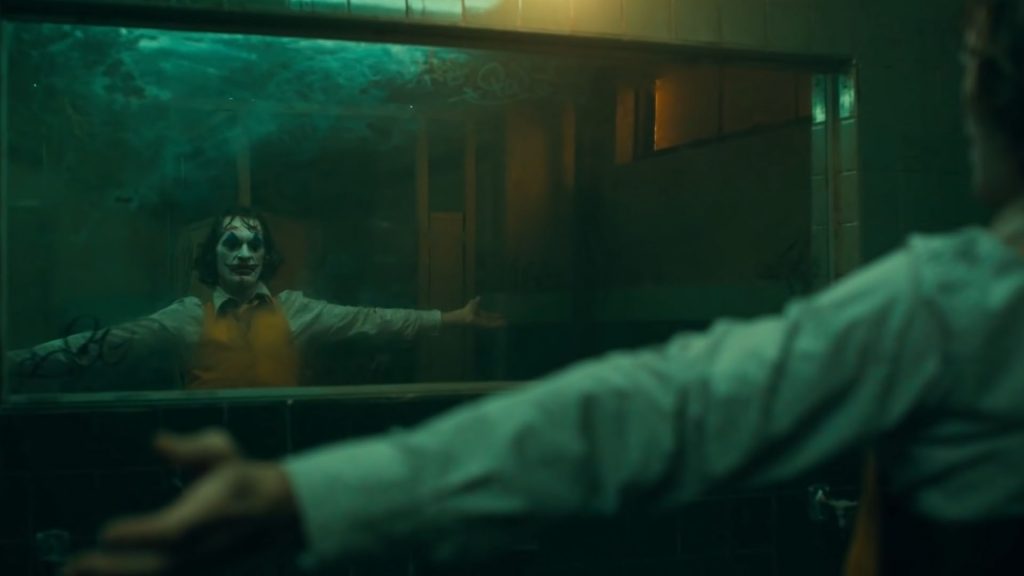
You’ll notice that while the characters are observing themselves in mirrors, the lighting is predominantly top-down. Top-down lighting is often associated with a sinister or eerie atmosphere as it creates unnatural shadows, dramatically emphasizing certain facial features.
As evidenced by these examples, this type of lighting is frequently used in horror or suspense genres to augment feelings of unease or to depict sinister characters. The shadows crafted by top-down lighting can add depth, making the subject appear more ominous or unsettling.
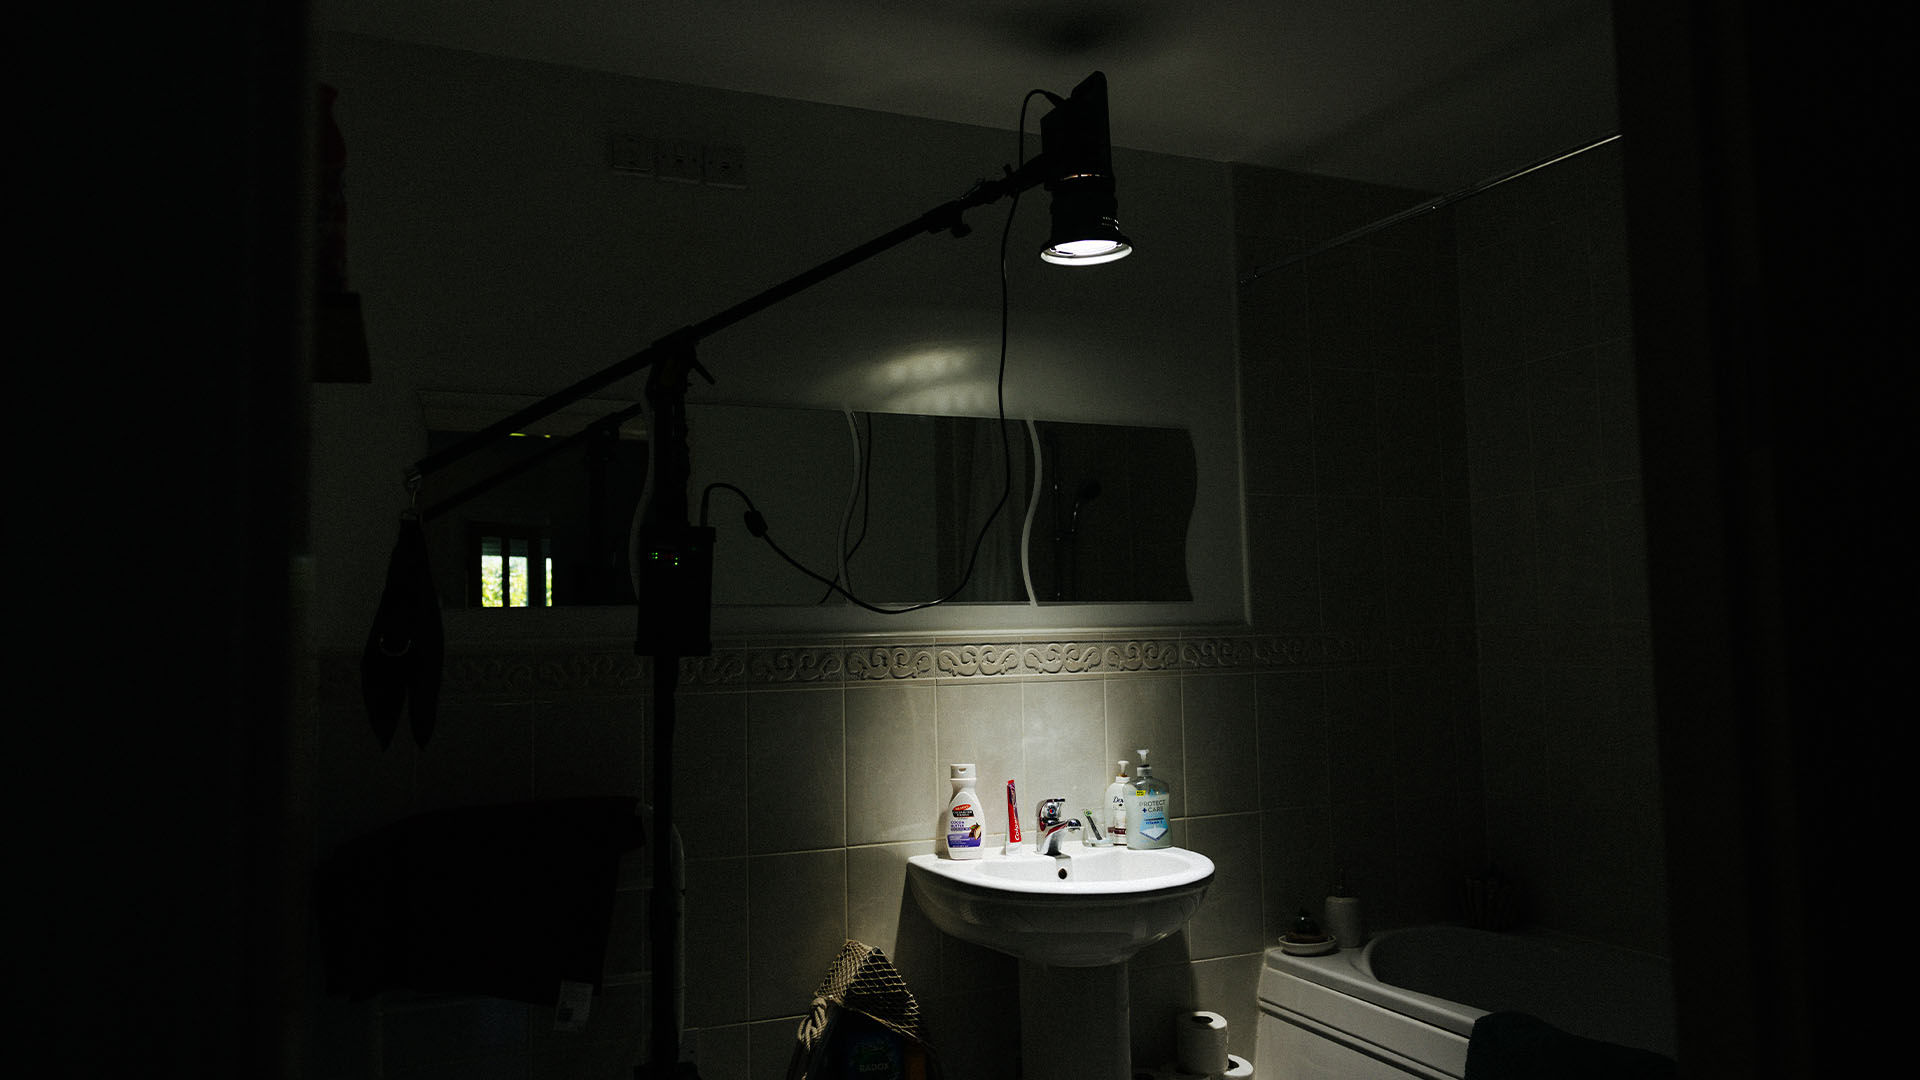
Achieving this lighting style requires a bit more equipment than the other two examples. First, you’ll need a stand with a boom arm. This unique stand, instead of extending upward, juts out to allow you to position a light (or even a camera) above your subject.
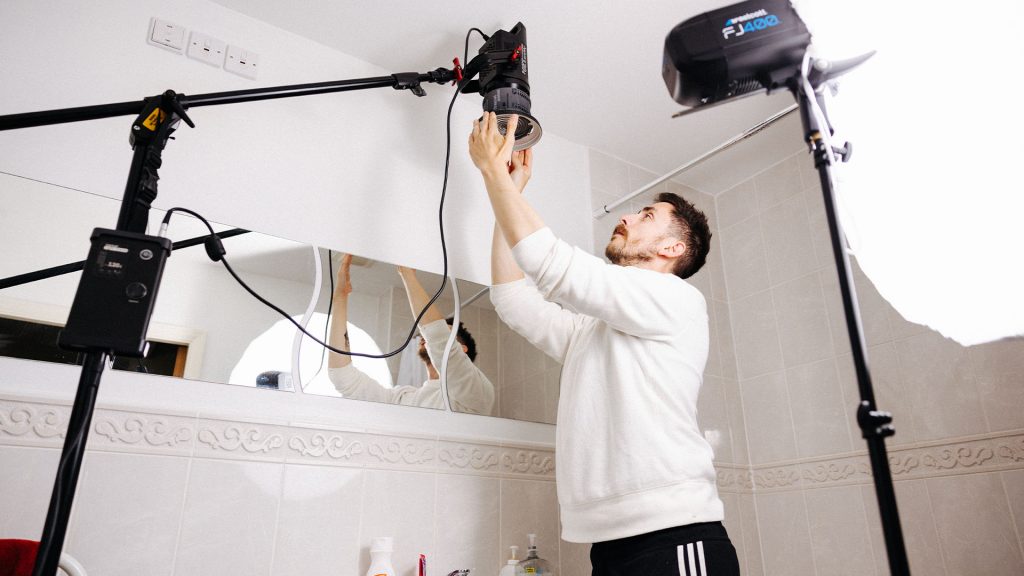
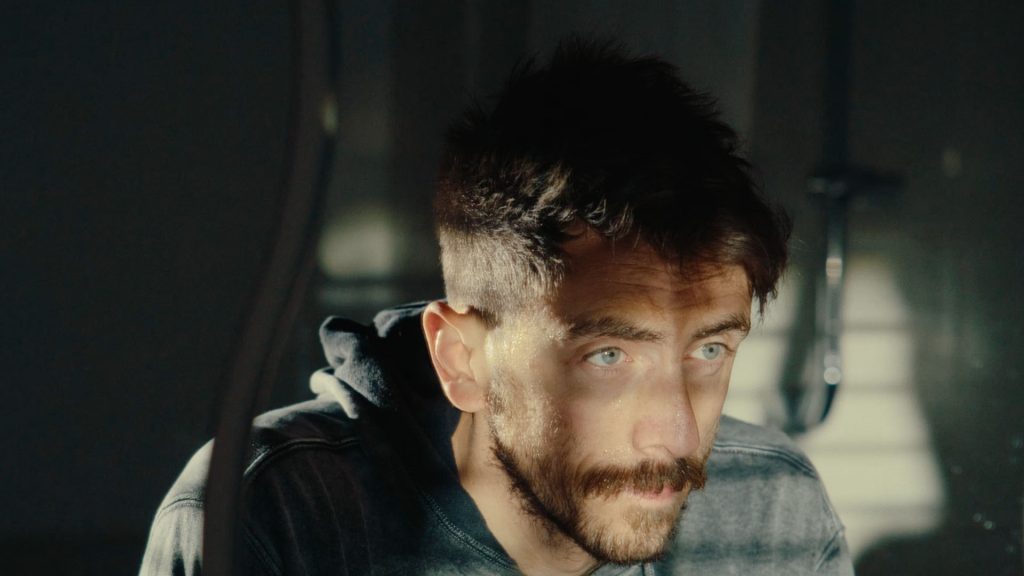
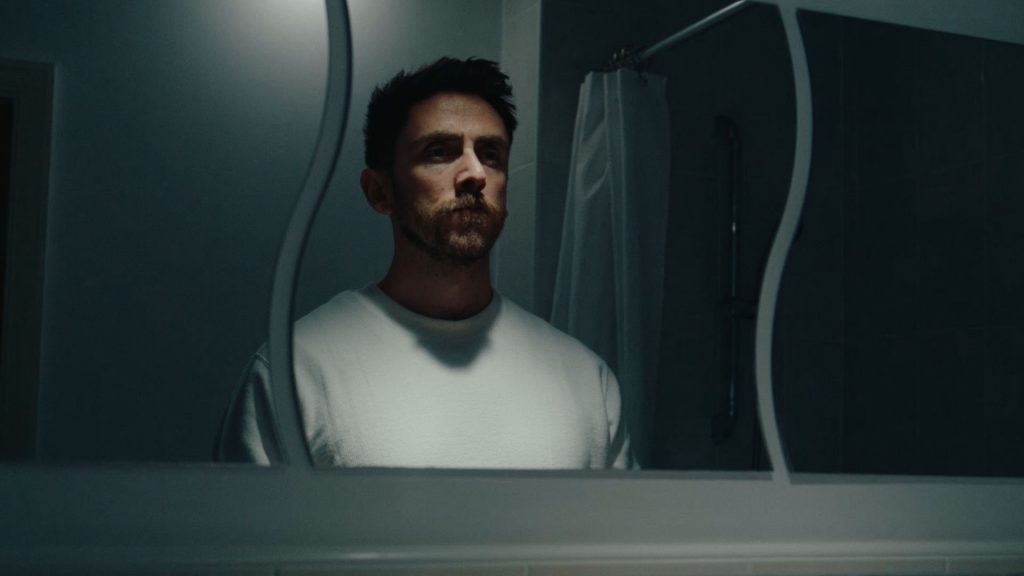
In this instance, I’m using the Aputure 120d with a Fresnel lamp to maintain a small light spread. From here, you need to extend the light above your subject and have them stand directly underneath. Depending on their proximity to the light and where precisely they’re positioned, you can further accentuate the shadows on their face. If they step further forward, less light will fall onto their face, creating darker, more sinister shadows. If they step backward, more of their features will be visible.

In my example, I also positioned a mini Aputure ML-9 in the background to add a touch of clarity to the character’s head.
Some locations aren’t that photogenic, but by following the principles laid out in this video tutorial, I would wager you may now be in a better position if your project calls for a bathroom or toilet scene. And if it doesn’t have one, why not? We are in the golden age of bathroom scenes, after all!
Looking for filmmaking tips and tricks? Check out our YouTube channel for tutorials like this . . .