Stardust is an advanced particle system plugin for After Effects that offers a wide range of animations and graphics. However, with many settings to explore, it can be overwhelming for beginners. This is where Particle Pro comes in handy. As an extension of Stardust, it provides a VIP card that allows users to create fantastic particle-based animations without needing to understand the complexities of Stardust.
I highly recommend following along with the video to learn the intricacies of the application, but you can find the written text below.
Stardust, a $250 After Effects particle-based plugin, is one of the stand-out tools from my vast list of After Effects plugins; however, as an advanced particle system, with many settings to explore, from the emitter to the render settings, physics, turbulence, and materials, it can be overwhelming for beginners, even though the plugin offers an extensive range of animations and graphics.
This is where Particle Pro comes in handy. It is an extension of Stardust that a different company created. Think of it as a VIP card that can help you to make some fantastic particle-based animations without needing to understand the ins and outs of Stardust. Creating the same level of animations as you can with Stardust may be challenging, but Particle Pro provides booster cards to get you started.
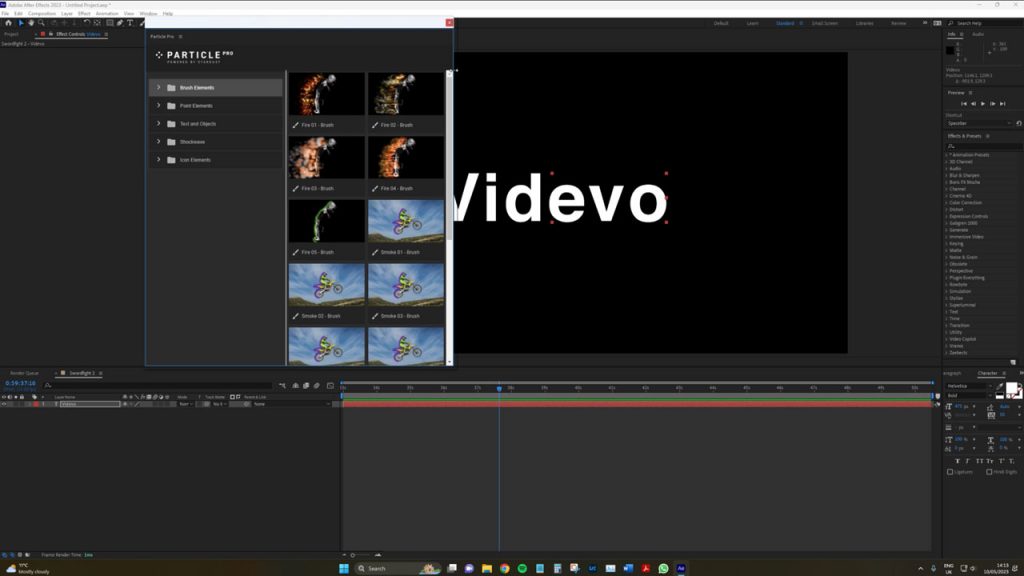
Once purchased and installed, you will find Particle Pro as an extension under the Window > Extensions > Particle Pro menu. The extension comes with a pop-up box that features a preview of brush elements, point elements, text and objects, shockwaves, and icon elements. The shockwaves and icon elements can be applied to your composition with a single click, which can be useful for fast montages and presentations. However, focusing on these elements in this tutorial is unnecessary.
When using Particle Pro, it is essential to note that it tends to create compositions when applying the effects. Therefore, you may need to clean up your project periodically.
First, let’s look at the text and object-based particle animations.
Text and Object Particle Animations
Start by adding a text layer to your composition and navigating to the text and object panel within the Particle Pro menu. You’ll find various animation libraries with presets for different simulations, such as fire, smoke, water, music, and even fruit. Yes, you can animate your titles with fruit-based animations! Let’s choose the smoke animation. With the preset selected, hit the text button, and Particle Pro will generate several compositions until it presents you with the final comp ready for adjusting.
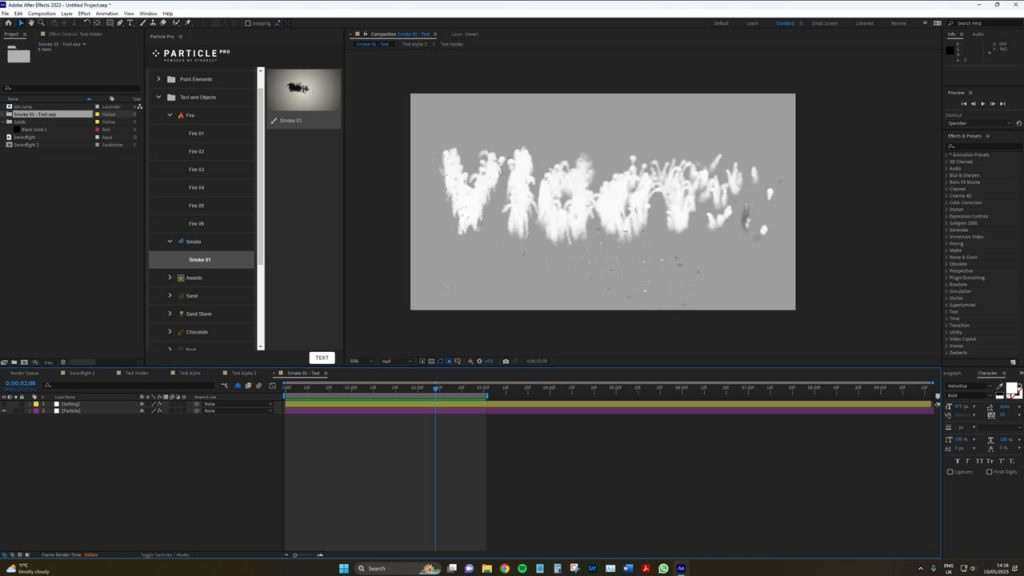
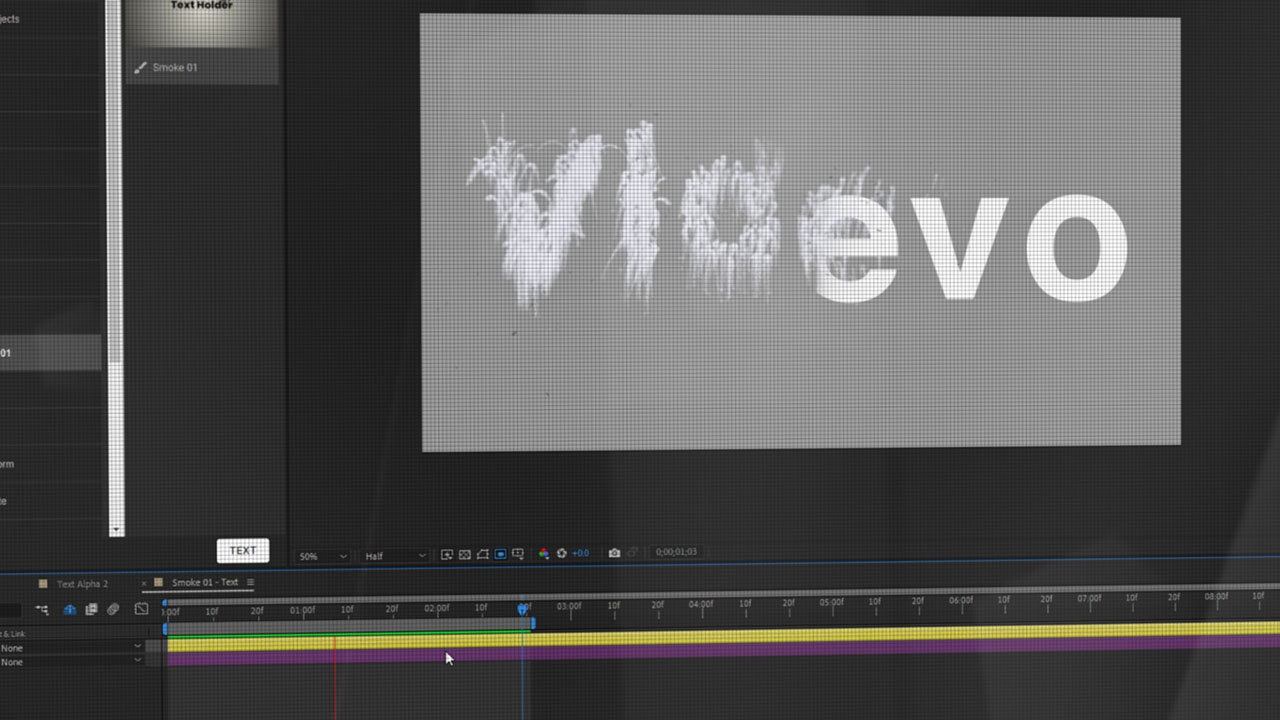
When we hit play, we can see the Videvo text evaporating into mist or smoke with just a single click. We’ve created an excellent effect without even opening the Stardust panels.
If you’re not satisfied with how the smoke looks, you can easily adjust the parameters. Simply find the “settings,” layer and go to the effects controls.
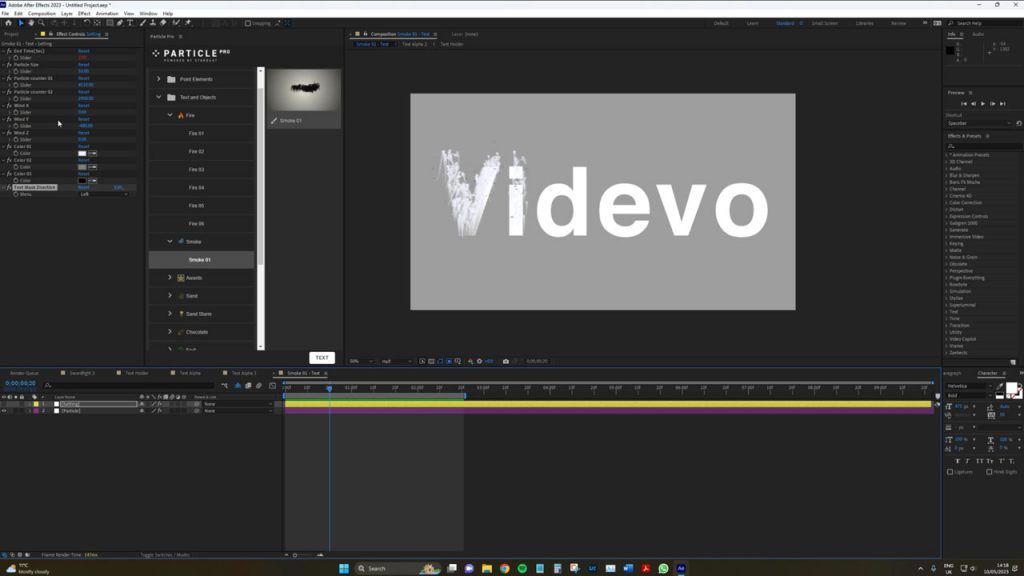
Unlike the complicated Stardust menu, there are no overwhelming parameters to navigate here. Adjusting the particle size to 50 can give you a streaky smoke effect that looks much better. You can even change the color to a faint blue or something lighter for a more realistic effect.
To further enhance the animation, you can change the text direction to evaporate from left to right, creating a smoother effect. You can achieve a much better animation than the stock version by making these basic parameter changes.
By adjusting the wind parameters, you can create unique and custom animations that differ from the built-in presets in Particle Pro.
If you don’t like how the text fades or don’t want to see the text at all, simply click on the hide layers icon within the timeline and turn them off to leave the effect working without the text visible.
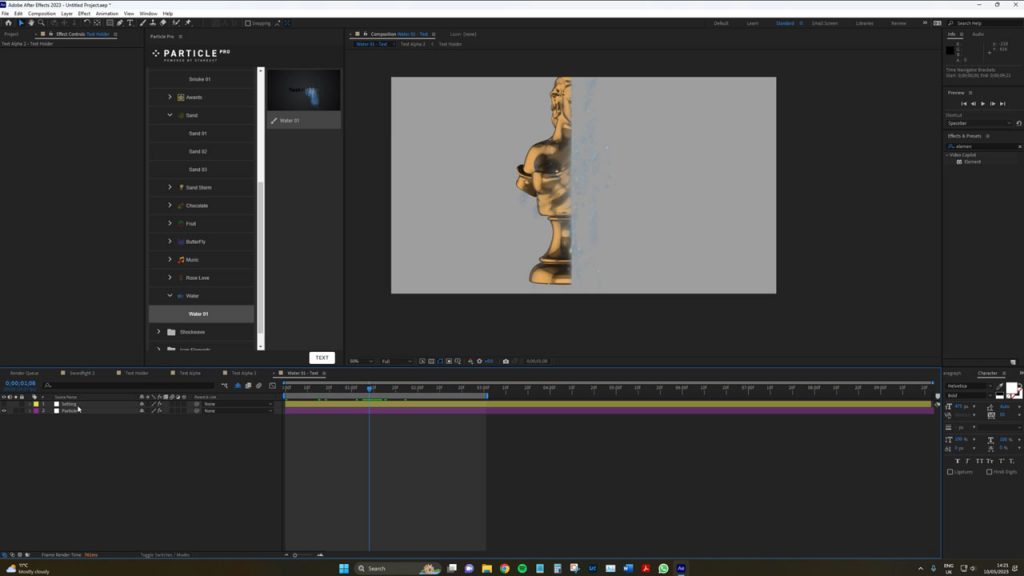
If you have 3D objects to use, as seen in the video, you can perform the same adjustments with that object.
Point Elements
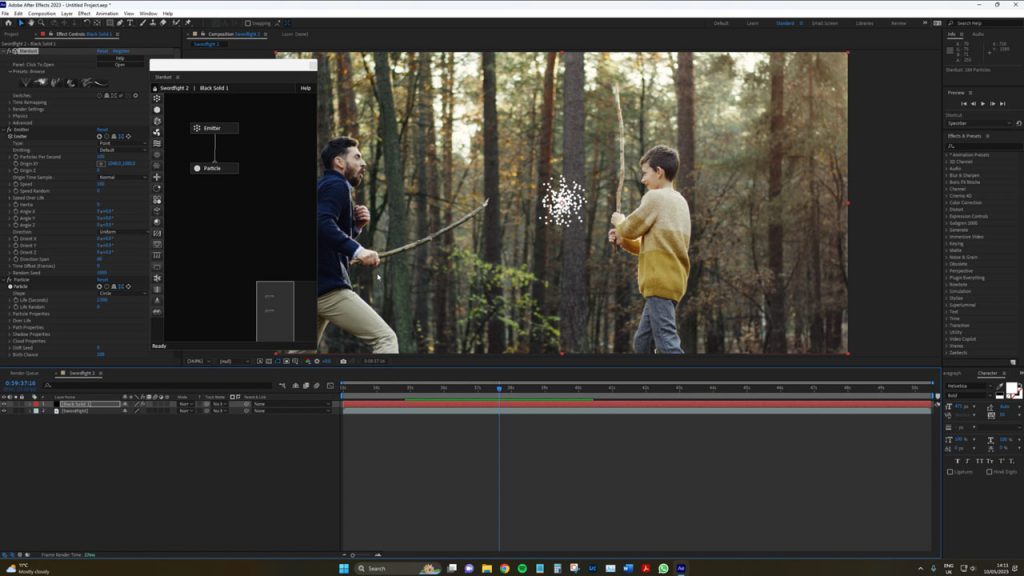
Moving on to the point element, it’s one of the best features of Particle Pro. You can create stunning visual effects by selecting a particle-based animation, from fire to smoke. Simply hit point, and it will create a new pre-comp. However, you’ll need to adjust the settings layer to determine the animation’s starting and ending positions.
To move the particle animation from the composition, open the position controller on the Point Control layer, set a keyframe, and then move through the timeline while adjusting the position.
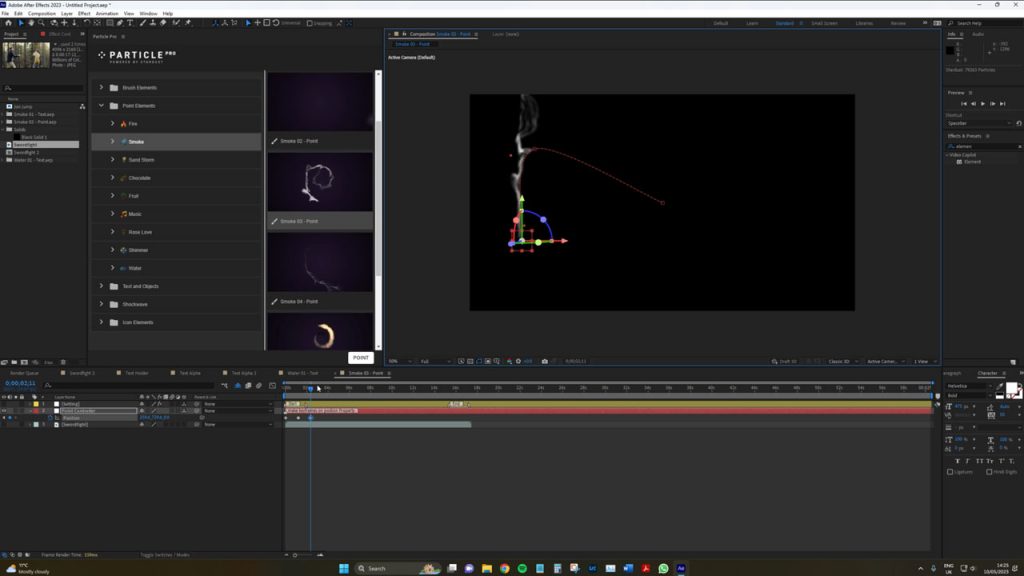
After a few adjustments, the wisp of smoke flies throughout the composition, creating a cool and magical effect. The point is that you don’t need to know how to use Stardust to use Particle Pro. By using Particle Pro’s engine, you can create stunning animations that look much better than the standard particle animations found in After Effects.
It’s worth noting that if you’d like to use this tool with live footage, you will need to click the hide layers button once again, and move the footage to the bottom of the pile.
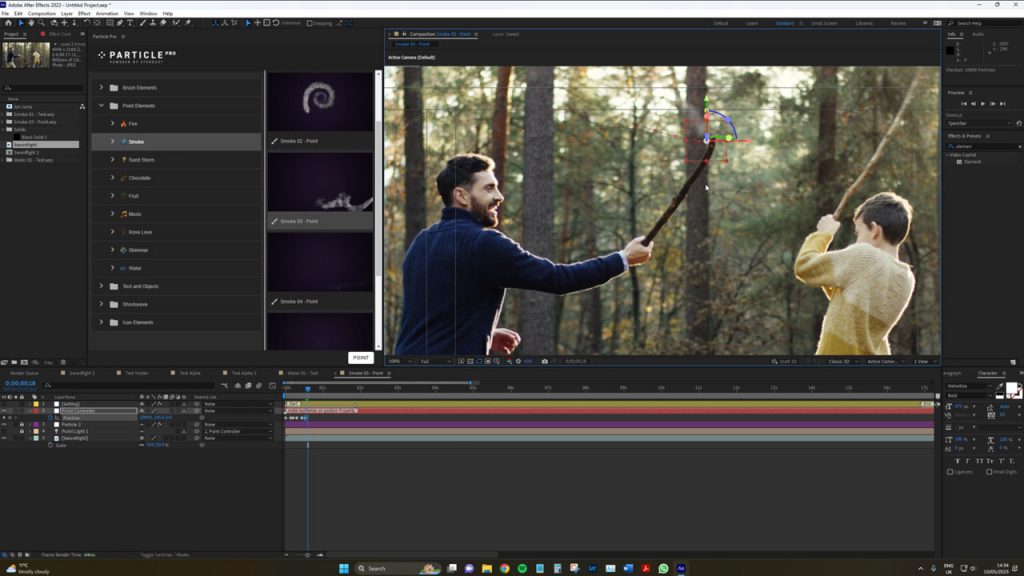
It’s pretty neat how you can experiment with different effects and create cool animations without needing an in-depth understanding of Stardust. If you had more time, you could explore what kind of effects you could achieve. By hiding the layers and accessing the settings, you can tweak parameters such as wind, particle size, and color to achieve the desired effect.
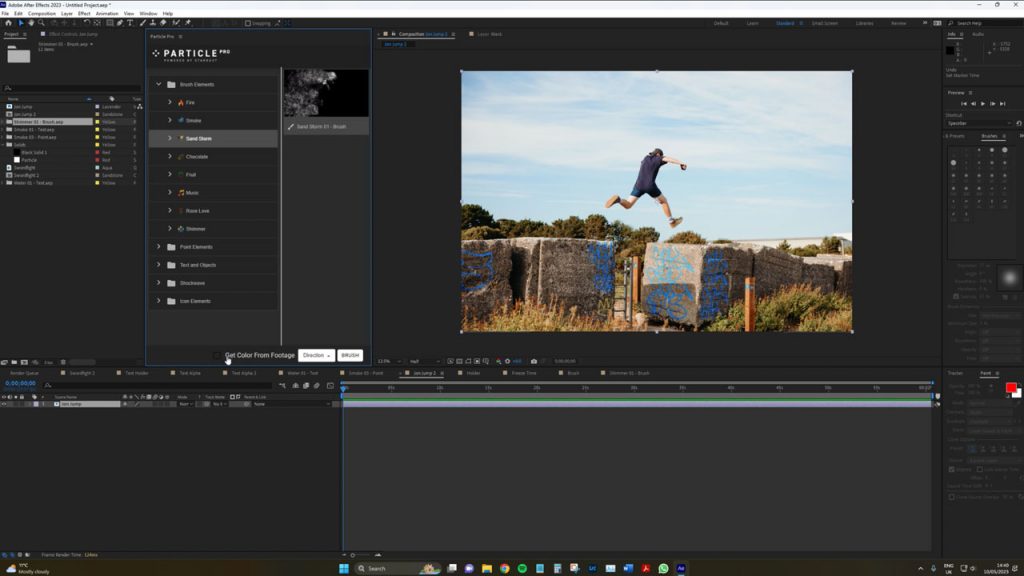
Brush Particle Effect
Moving on to the brush elements, this tool is designed to create animations based on brush strokes. However, it works best with images rather than videos, as the Particle Pro trailer demonstrates. For instance, we can create a sandstorm effect on an image of a friend jumping over concrete blocks. There are two parameters to adjust: “get color from footage” and “direction,” which determines if the particles will draw color from the pixel data and direction of the sand particles, respectively.
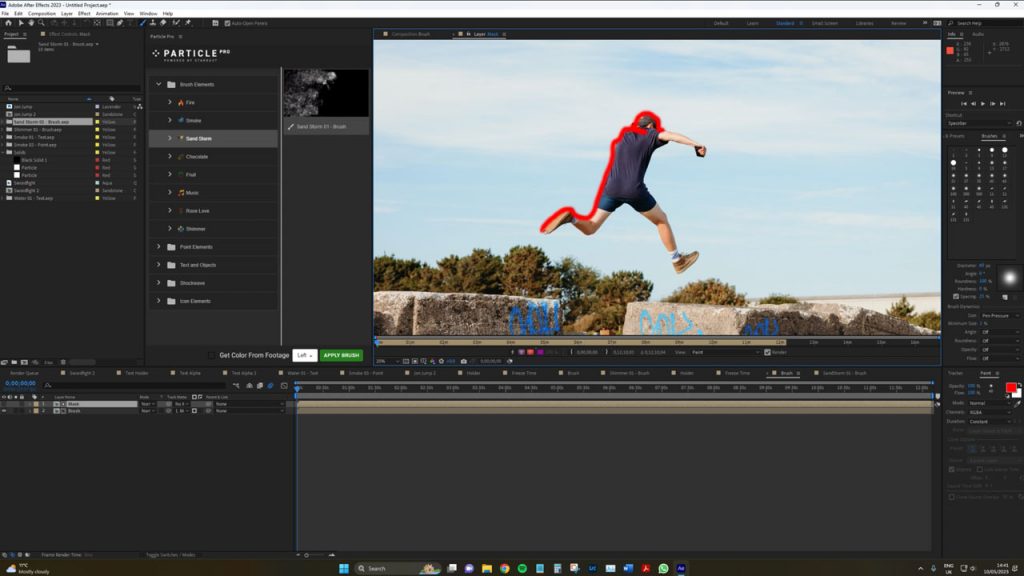
Then, select apply brush. You will be taken to a new comp again, and here you will want to add brush strokes to your image. Be quite liberal with your brush strokes.
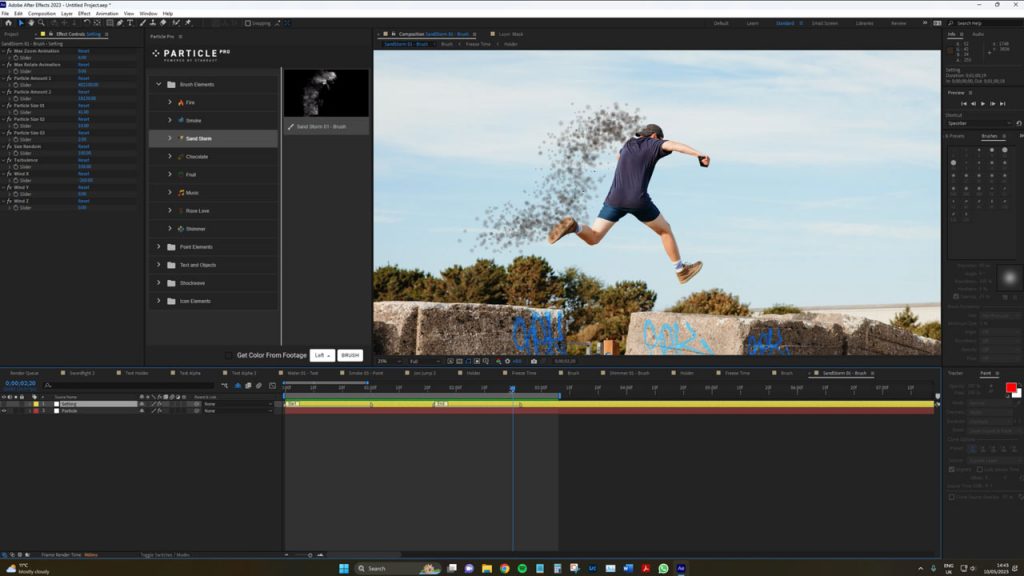
The brush stroke automatically adds an animation that zooms in and out, which can add some extra flair to your video projects, such as sports documentaries. If you have still images and want to add fire or smoke effects, Particle Pro can do the job. However, I find the brush aspect weaker compared to the point elements, text, and objects. It tends to work better on images since the tracking aspect of the brush animation is not as effective on videos.
Although some elements within Particle Pro miss the mark, the ones that do work provide a wide range of tools and presets that are ideal for those new to Stardust and seeking a quick solution. Using Particle Pro is a great way to enhance your particle animations, whether by experimenting with more effects or adjusting settings. Additionally, examining the particle menu and reverse-engineering the particles can provide a better understanding of how Stardust functions.
Looking for filmmaking tips and tricks? Check out our YouTube channel for tutorials like this . . .