
In this article, we’ll going over the difference between rendering and exporting in After Effects.
Let’s set the scene, shall we? You’ve just spent a full work day animating and creating a sequence in After Effects. Just as you’re about to render your project out, your client messages you on Slack and says, “Can you shoot me over the export?” Now you might start thinking “Wait . . . is there a difference between exporting and rendering? Am I actually sending the deliverables they’re wanting? Have I made a mistake choosing this career?” NO! You haven’t, and rendering vs. exporting is extremely simple to remember. Let’s dive in!
Exporting vs. Rendering: What’s the Difference?
In After Effects, “exporting” and “rendering” both refer to the process of creating a final output file from your project, but there is a subtle difference between the two terms. Exporting typically refers to the process of converting a specific element of your project into a standalone file format. For example, if you have a composition in your project that you want to use in a different application, you would then export it as a video file, image sequence, or even audio file.
Rendering refers to the process of generating a final output file that contains all the layers, effects, and compositions in your project. It’s combining everything. Rendering is often described as a general description of the process for exporting and encoding (we’ll talk about encoding in a bit) a video. In other words, rendering is the process of creating the final video that your audience will end up seeing. Encoding in After Effects just means that you’re converting your video or audio files into a specific format that is suitable for distribution or playback for computers, mobile, TVs, etc.
So, while these two “finish line” actions, exporting and rendering, are similar processes, they differ in terms of what they produce. Exporting creates standalone elements of your project, while rendering creates a final output file that contains your entire project.
While that sounds pretty simple, it can get a little complicated when you’re actually “exporting” or “rendering.” Let’s discuss rendering and how to methodically approach it.
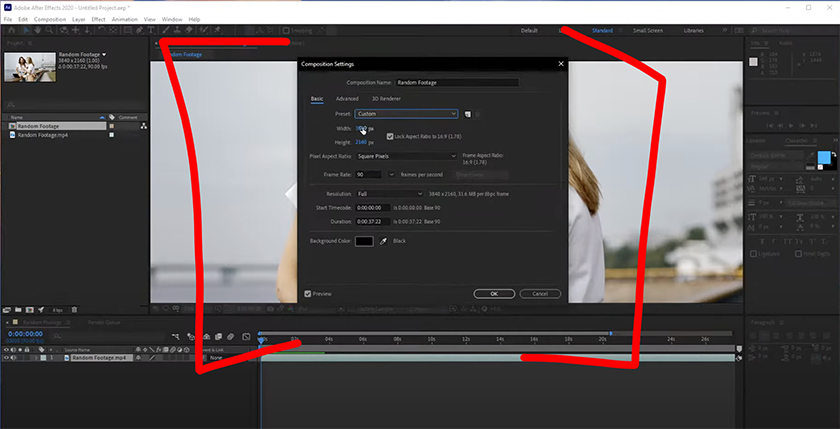
How to Render and Export in After Effects
First, make sure your project is saved and all necessary adjustments and edits have been made. Then, click on “Composition” in the top menu bar, and select “Add to Render Queue” (or press Ctrl+M on Windows, or Command+M on Mac). Once the “Render Queue” panel appears, select the output module format you want to use. You can choose from a variety of options such as QuickTime, H.264, H.265 or others. Make sure to adjust the settings to fit whatever file format you need the final video or animation to be. Once you select the output format, choose the location where you want to save the file by clicking on the “Output To” option and choosing a destination. Finally, click on the “Render” button in the “Render Queue” panel to start the export process
Once this process is complete, your rendered file will be saved in the location you specified. Voila, again!
What Are the Best Render Settings?
Often, I’ve been asked, or even wondered to myself, what are the best render settings when finishing up a project in After Effects? There are a ton of different ways to render out your project, so let’s talk about best practices and what to keep in mind when moving through this process.
First off, you’ll want to choose the right output format and codec. What is this you ask? The format and codec you choose will depend on the intended use of your video. So, if you’re creating a video for YouTube or Vimeo, you might want to use the H.264 codec, which offers a high quality and a small file size (H.264 is pretty much the standard for online distribution). If you’re creating a video for television/broadcast, you might want to use a high-quality codec such as ProRes or DNxHD. You can also choose the resolution and frame rate.
Next up, adjust the bitrate and quality settings. Higher bitrates and quality settings will result in better quality, but also larger file sizes, so be mindful of storage! Also, consider using multi-pass rendering. This is like After Effects double-checking everything to make sure your project is clean. Multi-pass rendering can improve the quality of your final video by analyzing the composition in multiple passes and adjusting the rendering settings based on what it finds. This is a good thing.
In the past, I’ve found the key to finding a great rendering workflow for you is to just try out all the different settings. It sounds a little kooky, but this is how you hone in on achieving flow state — by trial and error!
In Conclusion
To wrap it all up, the TLDR version of this breakdown is as follows:
- Composition > Add to Render Queue or File > Export > Add to Render Queue
- Double-check that the Render Settings are on Best
- Go through the output module, and change the settings you need to for your specific project.
- Navigate to Output To, and choose the folder or hard drive where you want to save your video.
- Send it to your client, or post it wherever! You did it!
Looking for filmmaking tips and tricks? Check out our YouTube channel for tutorials like this . . .
Cover Image via Videvo.