Sometimes, you might just need to edit a clip in Adobe After Effects. Here’s how it’s done.
After Effects is a great tool for many things. It’s one of the best tools for compositing and merging visuals, it’s still the main option for 2D motion graphic design, and you can even use it for web and UX design with the right tools. However, one thing that After Effects isn’t really as suited for is video editing.
Sure, it’s possible to do some light editing in After Effects, but it’s far from intuitive, and it’s far from the best tool for the job.
In the above video at around the 6:50 mark, I go over some of my favorite ways to edit in After Effects, and also describe some of the limitations in terms of editing in the software.
The long and short of it is that a layer-based ecosystem is not the most user-friendly setup for video editing. If every single clip on your editing timeline needed it’s own video track, you could see how quickly that would get out of hand. The other major limitation is that working with audio is definitely less than ideal in After Effects, if not nearly impossible.
Regardless of its limitations, sometimes it’s just absolutely necessary to do some light video editing in of your After Effects project.
Here are the ways that you can cut and edit your clips in After Effects.
The Bracket Keys
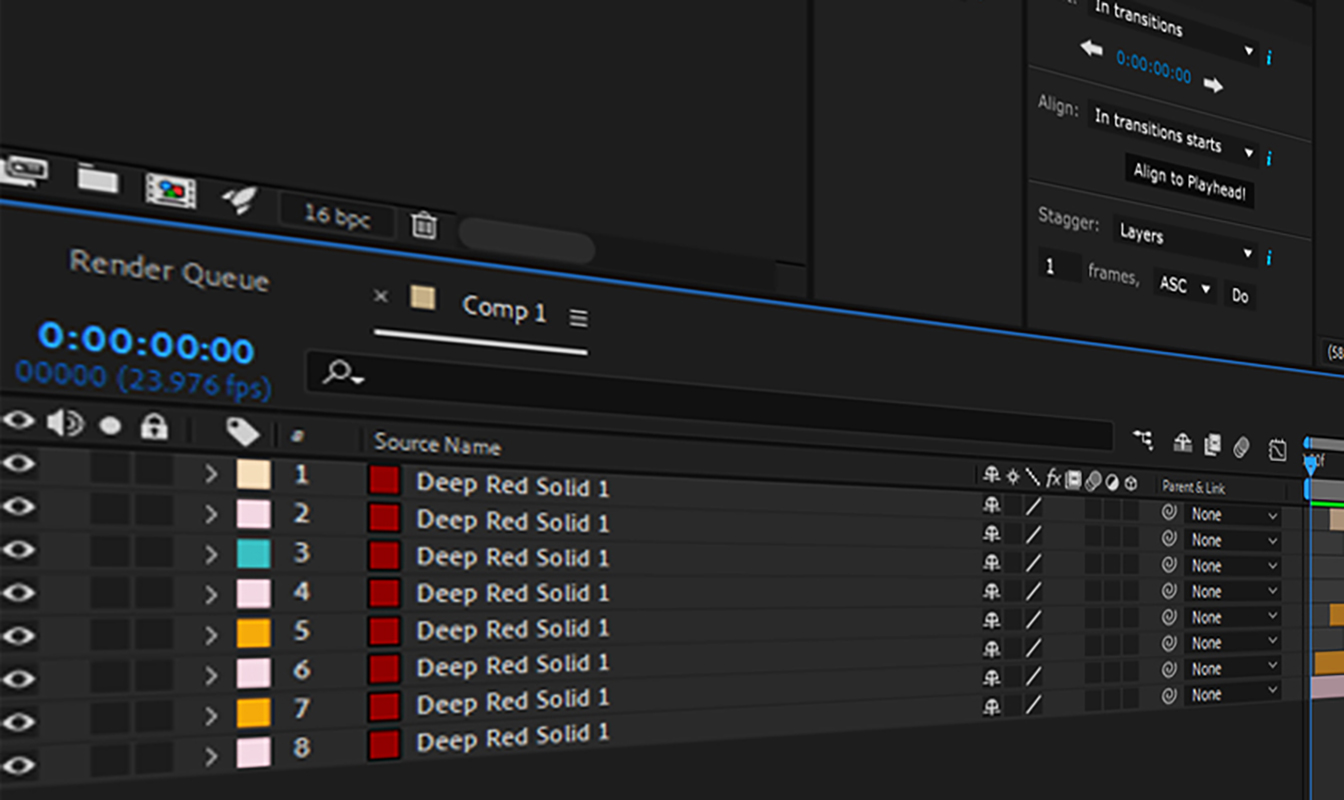
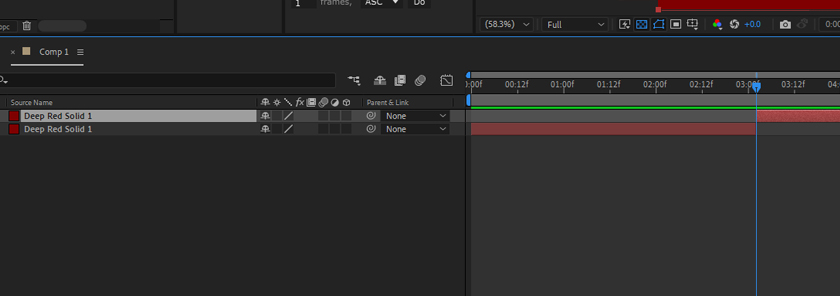
Using the bracket keys in After Effects is an essential technique that allows you to manipulate the in and out points of a layer or clip. Using the left bracket key ([) will shift the beginning of whatever content is on the layer selected to the current position of the playhead. Alternatively, pressing the right bracket key (]) will do the same, but instead bring the end of the clip to the playhead.
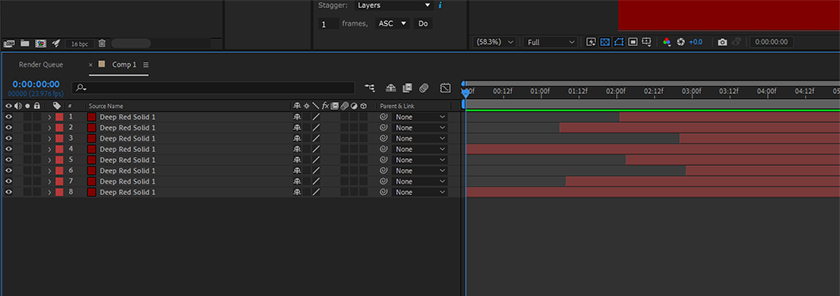
This is obviously extremely useful because you can quickly arrange clips by their beginning or end simply by tapping one key. It works the same if you have one layer selected or multiple. I often use that approach to organize multiple layers and edit their animations before spreading them around the composition in the manner that I need. This makes it much easier to manipulate the timing for your animations on a larger scale.
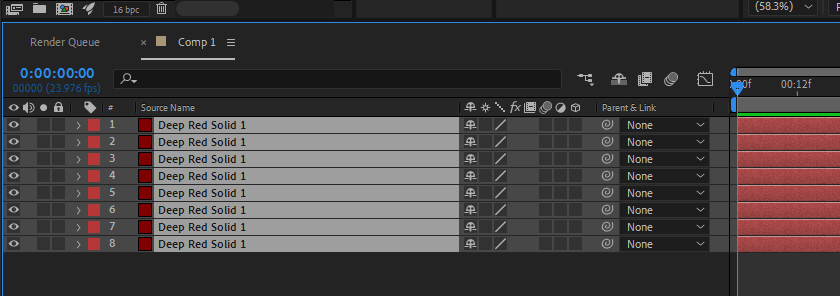
Another great use of the bracket keys is using them in conjunction with the alt key. If you hold down the alt or option key with a layer selected, and then tap the right or left bracket key, it will trim that clip to the position of the playhead.
Depending on whether you use the left bracket key, or the right bracket key, it will trim the front of the clip forward, or the end of the clip backward, respectively.
Using CTRL+Shift+D
Another one of the best keyboard shortcuts in After Effects is ctrl+shift+D.
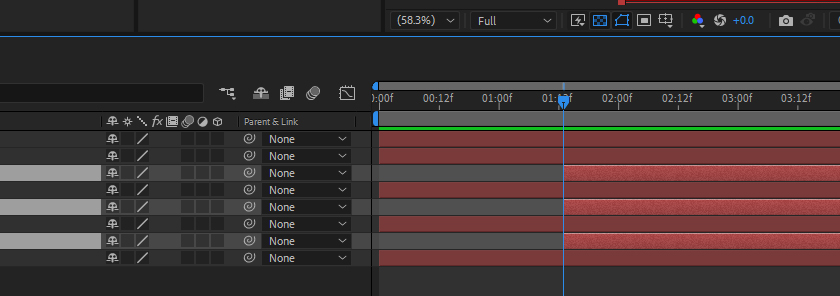
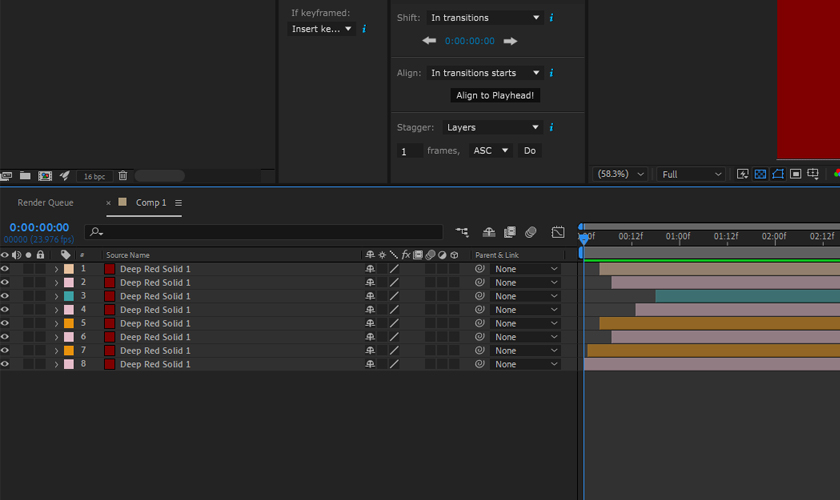
With a layer selected, this will split the clip in that layer in half at the playhead. This will create a new layer, but it will leave the previous layer in tact.
This shortcut allows you to create a new layer that is identical to the original layer, including all of its attributes, effects, and animations. This technique can save you a lot of time compared to manually duplicating the layer and copying all of its attributes. This shortcut is particularly useful when you need to create variations of a layer or when you want to reuse a layer in a different part of your project.
The Old Fashioned Way
The other way to trim clips is just to hover your mouse over the start or end of a clip and you can just click and drag and it will trim the clip.
This is definitely the slowest and least-precise way to trim your clips, but sometimes it takes out all the guesswork, and you don’t need to remember any of the shortcuts to do it.
This can definitely start to get a bit disorganized, and the thing I dislike about it the most is the fact that you can’t be precise about what point in the timeline you trim a clip to as far as a specific time and frame on the timeline.
The Best Way to Edit in After Effects
No, I’m being serious. The better way to do it is to use Premiere Pro, with the dynamic link function. As you edit in Premiere Pro, whenever you want to do something in After Effects, you can right-click your clip in Premiere and select “Replace with After Effects Composition,” and it will open everything you’ve selected in After Effects. There, you can do all the stuff you need to do, and every change you will make will appear on your Premiere timeline.
As you go, you might find that the more dynamically linked clips you have, the slower your edit goes. If that’s the case, you can always right-click the clip in Premiere and select “render and replace.” This will export a flattened version of your clip, and then you can play everything back in real time. If you need to revert back, you can always right-click and select “Restore Unrendered.”
Working this way is my favorite because you can easily move between the two applications, and you can get full use of the tools in either one, for the purposes that they were intended for. After Effects isn’t meant for editing, so I don’t recommend trying to use it that way.
Looking for filmmaking tips and tricks? Check out our YouTube channel for tutorials like this . . .
Looking for more tips and tricks? Check out these articles . . .