Need to add some text to your Adobe Premiere Pro project? Here’s how you do it.
Using text in video creation is an essential part of the editing process, and the tools to do it in Adobe Premiere Pro are robust. Let’s walk through the steps to create, edit, and add effects to text within Adobe Premiere Pro. We will use Premiere Pro 2023, but the guide applies to previous generations.
Unlike video clips, audio files, and other assets, the text is not found in your project’s file bins when they’re created. They will live within the timeline you started and can be selected directly from the timeline. You’ll also be able to find your text layers from a specific timeline within the “Text” panel if needed.
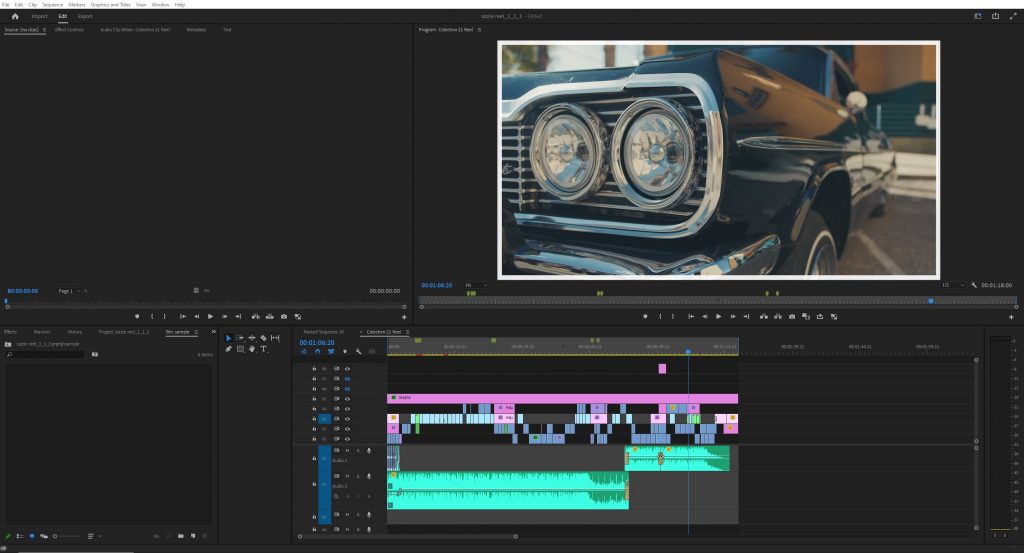
Start by placing your playhead where you want your text to be created within your editing timeline. Once the text layer is created, a new text clip will be placed above your top-most layer. If you don’t have an additional layer empty, it will simply create one for you to avoid overriding any clip you’ve already placed. Additionally, the clip will also automatically be five seconds in length and start where your playhead is.
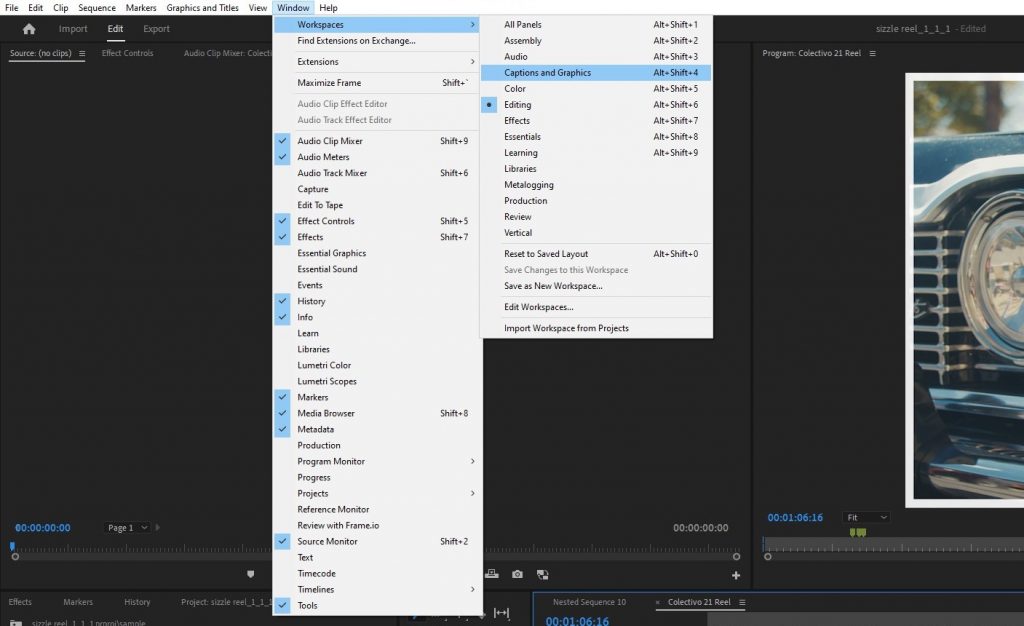
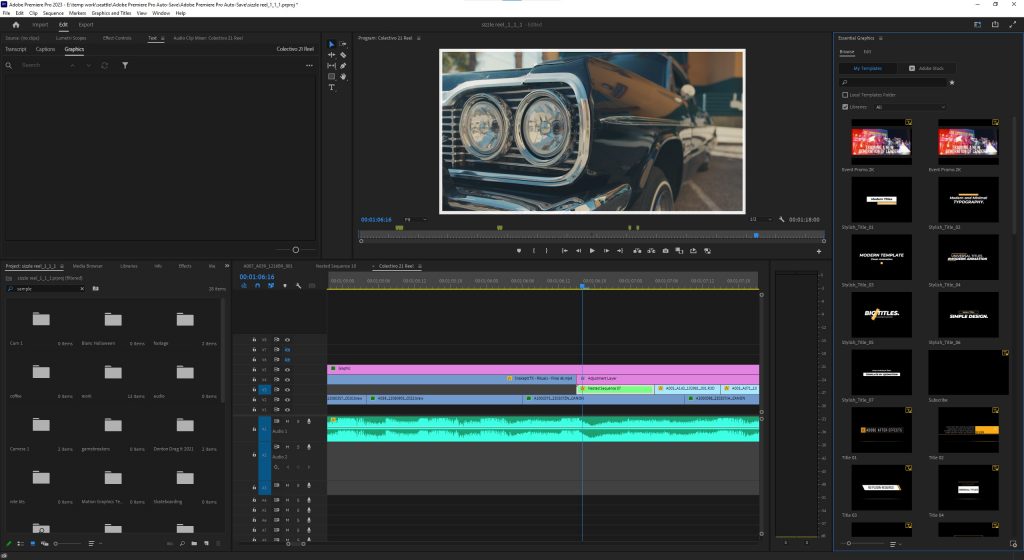
To create a text clip, we’ll want to head to Essential Graphics. To access the “Essential Graphics” module, we’ll need to change our workspace from the standard “Editing” workspace to “Captions and Graphics.” This can be done by clicking Window > Workspaces > Captions and Graphics. The layout of Adobe Premiere’s windows should change slightly, but now we have direct access to Essential Graphics.
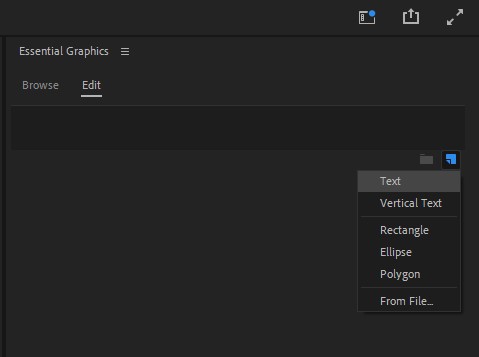
In the “Browse” section, you may see some stock graphics elements Adobe Premiere Pro has already pre-built, but we will create some text from scratch. Click the “Edit” column and then the little icon that looks like a piece of paper with a folded corner, then select “Text.” This will create a new text asset. Premiere may automatically place “New Text Layer” as a starting layer in your timeline, and many options will pop up in the Essential Graphics panel. We’ll focus on the basics for now.
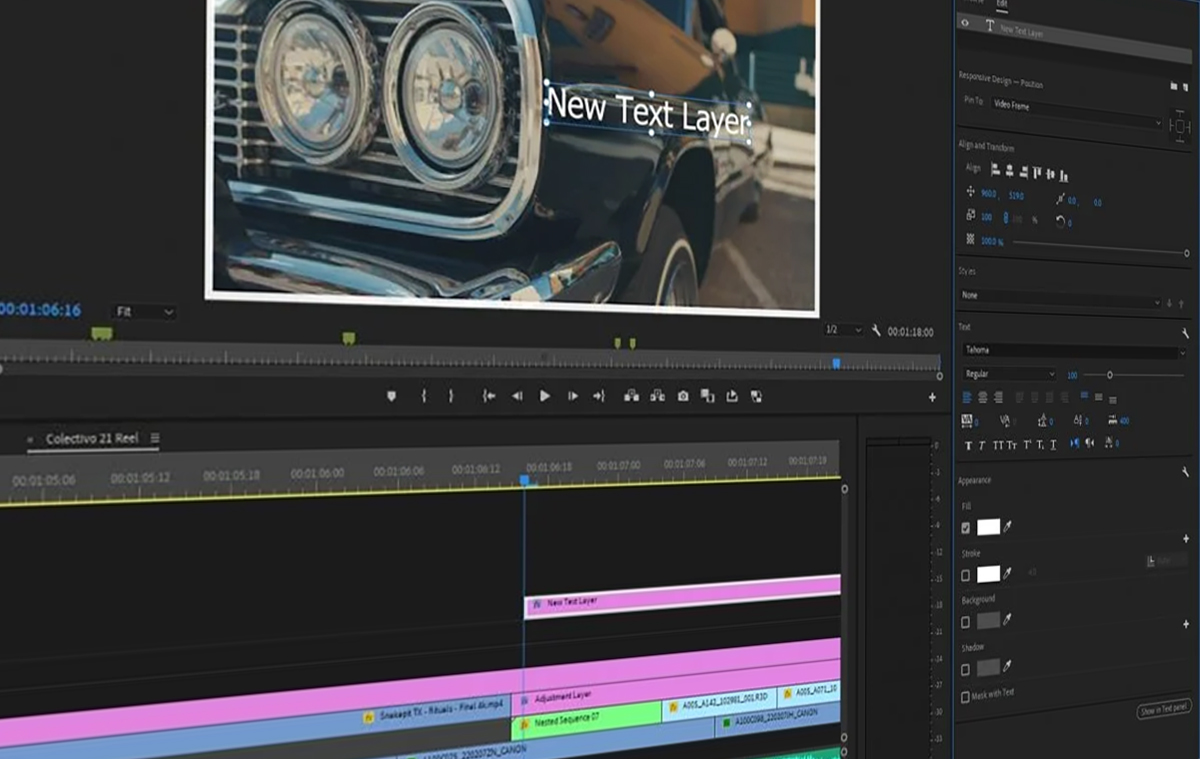
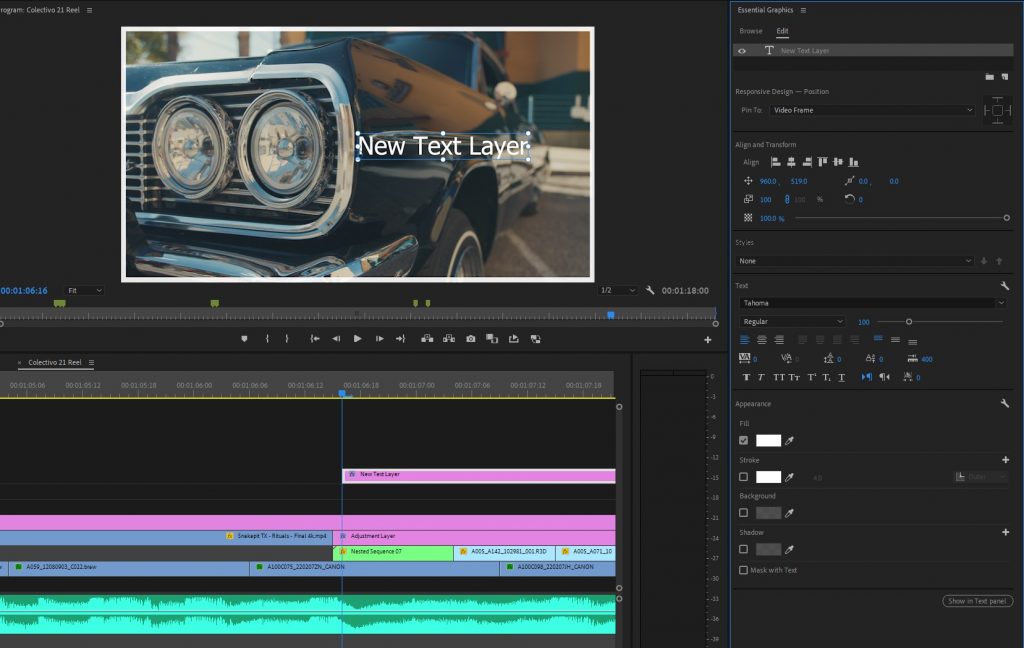
I’m sure you won’t want to keep “New Text Layer” in your final video. To change the text on screen, you can hover over the text in the program window and click it. This should select that text box, and you can add or remove the text as you wish. You can also double-click the text to highlight the entire box and override it all at once. This is intuitive and may be what you’re used to with other text editors.
At the top of the panel is the layers function. You can add multiple layers of text or graphics to this single clip, where you’ll select which layer to manipulate directly. You should already have “New Text Layer” selected since this clip has no other layers. Next, we’ll move down to the Align and Transform section. This is where you’ll adjust how the text aligns in the current video frame you’re working on top of and make adjustments like alignment, transparency, and rotation.
The following section we’ll focus on is Text. This may look very familiar if you’ve ever used a word document program. Here you’ll make adjustments directly to the text, including font, text size, independent alignment, effects like bold or italics, and spacing. Edit the styling of your text to your liking and desired result. Be sure to highlight the text you’d like to edit as well, or the adjustments won’t affect the text layer as a whole.
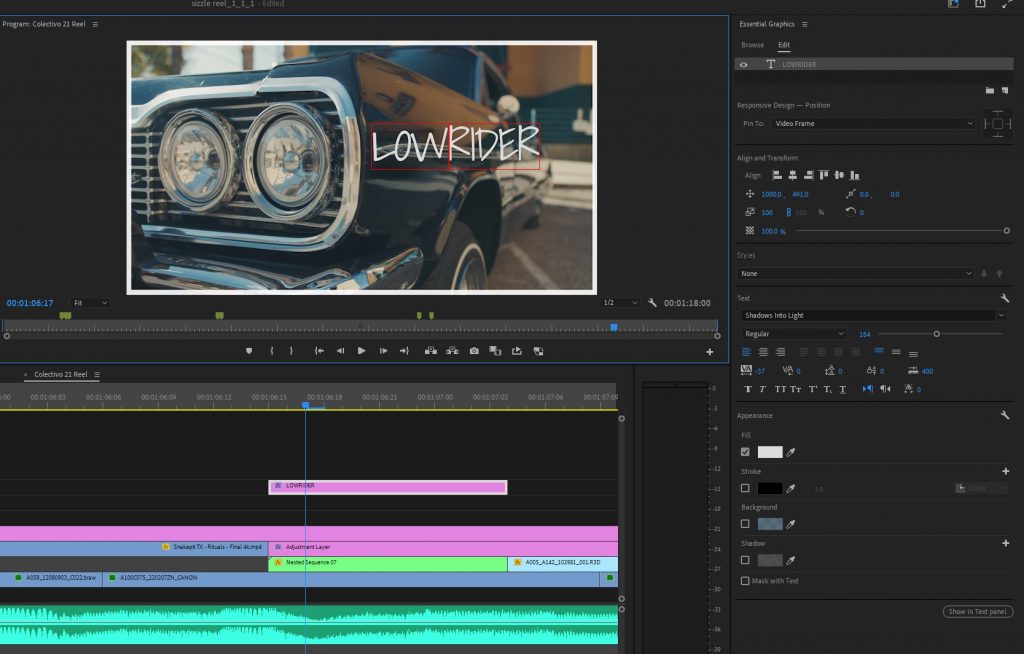
Lastly, the Appearance section has options to adjust color and color-related effects. Fill will affect the direct color of the text. Stroke creates an outline around the text you’re editing. Similarly, the background will create a shape of color behind the text in the color, transparency, and shape of your choosing. Shadow shares some similarities to Stroke and Background but with a few added options to create a subtle pop behind your text. Shadow is often used when the text color is similar to the colors in the video, but you want to create separation, so the text is still legible.
Feel free to play around with these options to find an effect that best suits where the text will be in your specific video. If you’d like to add more text, or even shapes, simply select the text clip, and click the folded piece of paper once more. You’ll see more text, shapes, and even the ability to pull assets from the file browser.

If you’d like to get really creative, effects can also be added to the text clip in the Essential Graphics panel. Any layer below the effect layer will be affected by the changes. You can tweak the effects as you see fit in the Effect Controls panel like any other clip.
Once you have created the text and adjusted the style, you can trim the text layer as you see fit in your timeline and match your desired length of run time. I doubt the default five seconds will match exactly where you’d like the clip to end, so this is important.
Adding text to your video within Adobe Premiere is as simple as that. While it can be relatively straightforward, what you are able to create within Premiere can be very creative, and the possibilities are endless. Feel free to play around with various effects, options, and styles to see what you like best. After a while, you’ll understand what looks best on screen and how to create great-looking text in your videos.
Looking for filmmaking tips and tricks? Check out our YouTube channel for tutorials like this . . .
Looking for more tips and tricks? Check out these articles . . .