A three-point lighting setup can make the difference between an amateur home-recording and one that looks professional. This video tutorial shows you how.
Let’s face it, professional video lights can be expensive. The average lighting setup can run hundreds (if not thousands) of dollars. Fortunately, with some ingenuity and a bit of savvy, we can replicate a three-point lighting setup for cheap, or even free, with items you may have access to in your own home.
Here’s how you do it.
How to Create Affordable 3-Point Lighting at Home
Here’s the writeup from the tutorial . . .
Before we get started, it would be helpful to review the three-point lighting setup. This is the standard way filmmakers light subjects on set or on location. “Three-point” refers to the three sources of light hitting the subject. First up: the key light.
The key light is the main light source on our subject. All of other other lights are simply supporting the function of the key light.

Next up is the fill light. This source fills in the shadows on the subject created by the key light. Without the fill, we’d see deeper and darker shadows on the opposite side of the subject’s face.

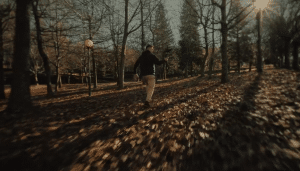
Lastly, we have a back light. The back light’s purpose is to separate the subject from the background. Pro-tip: we often like to contrast the color temperature of our key-light with our back-light. This gives the setup a bit more texture and contrast.

The first light we need to solve for in our home setup is the key light. Luckily we have access to the biggest, freest light of them all, the sun. The main advantages of the sun are that it’s free and super bright. The downsides are that it may not always be available (weather, time-of-day, location), and you don’t have much control over it. If you have a window in your filming location, this is a great start. Open up those blinds and see what you’ve got.

Next, we want to modify our key light, the sun, just a little. The sunlight may be a bit too harsh, but with the help of some diffusion, we can reduce it a little. Diffusion will soften the lighting hitting our subject and make shadows more gradual and pleasing.
On a professional set, we’d do this with a soft box or silk flag, but staying with the goal here of cheap or free, we need to explore some other options. A common solution is using a plain white bedsheet or shower curtain.

Below, you can see examples of diffused and un-diffused sunlight on a subject.

Today, we’re using painting drop cloths that were only a few dollars at my local hardware store. By taping these cloths up over our window, we’ve softened up the sunlight quite a bit — and made the lighting more pleasing.
Fill Light
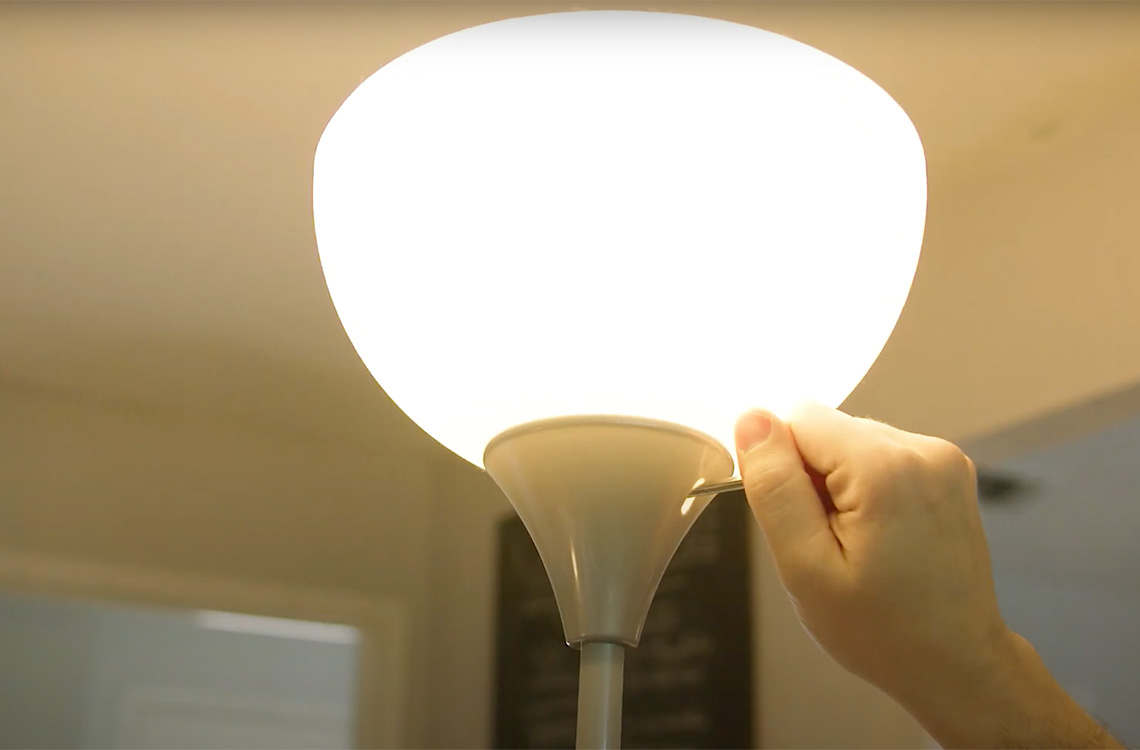
The easiest way to bring in your fill light would be to use a lamp you already have that you can move around your home. For us, this was a simple and cheap standing lamp. While we aren’t able to control the lamp’s output, we can move the light closer if we want a stronger source.

One problem you may face is that the color temperature of the fill may not match your source, the sun. You can easily remedy this with a trip to your local hardware store for a new “daylight”-rated bulb. You may also consider smart light bulbs that can change color temperatures on the fly and adjust brightness — and be fully controllable with an app.
Alternatively, there’s a way to also use your key light as a fill light. With a simple 18″x24” white poster board, we’re able to take the light from our key and bounce it back into our subject on the opposite side. The tricky part is simply finding the right angle that bounces the light just right back onto your subject.

Below, you can see examples of bounced and unbounced light. A bounce board creates a softer lighting setup.

Back Light
If you’re using the bounce board as your fill light, hopefully you can now use a spare lamp as your back light. We really just want a good swash of light that hits behind the subject. Typically, we position this light above and behind the subject. If you have a standing lamp, this is easy enough to do.
Alternatively, we can use what’s called a “practical light” within our shot that can double as a back light. A “practical light” is a light source that you would naturally find within your picture’s frame, like a lamp, candle, etc. Since we’re already using lamps as light sources, we can lean into it a little and place it right in our picture frame.

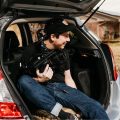
Placing your lamp on a shelf, desk, or table behind your subject is a great start. You’ll just want to make sure that the light from this lamp hits your subject and serves an adequate back-light. Here, we’ve placed a great-looking back light and created some depth and detail.

The main takeaway is that you can still achieve great-looking lighting on a budget — or for free. You don’t need big, expensive lights to create a standard three-point lighting setup. While these options may not work on a professional production, they’ll be a major improvement over not using any intentional lighting at all, and they can improve any recording, be it for remote work, conferencing, or even some marketing.
Looking for some video assets to complement your DIY lighting setup? We’ve got you covered.