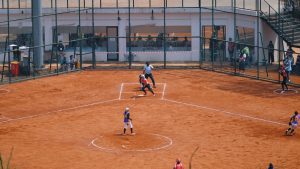
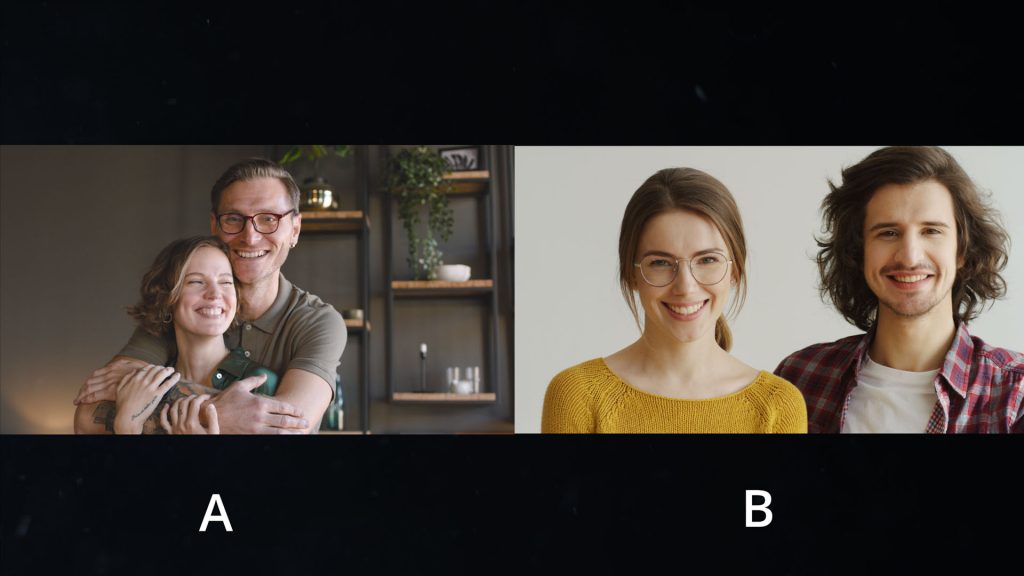
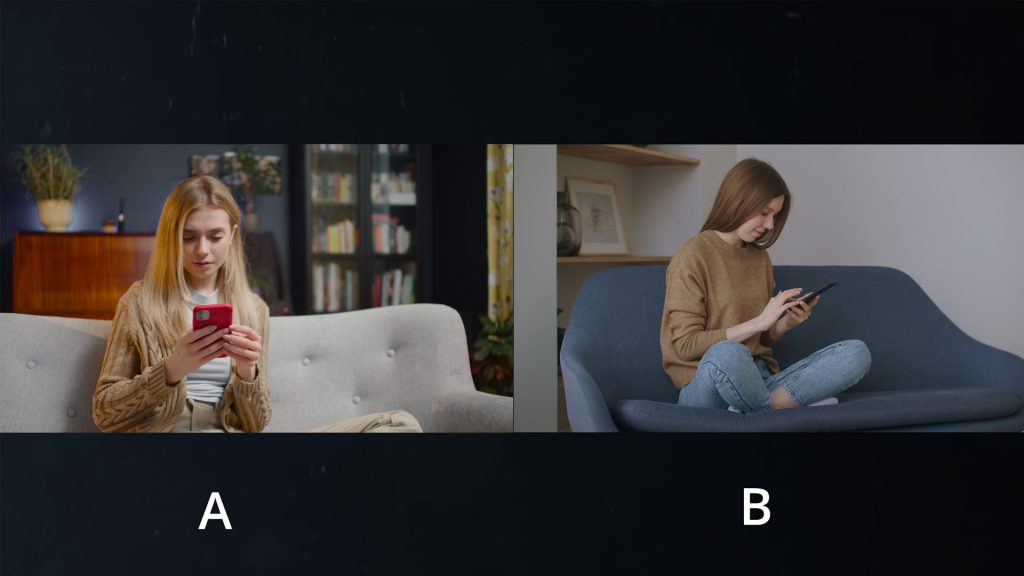
This shot is from one of my more popular tutorials from 2016. It’s actually from an unfinished web series captured on a Panasonic GH4 — a camera you can now get for less than £250 on eBay, excluding the lens.
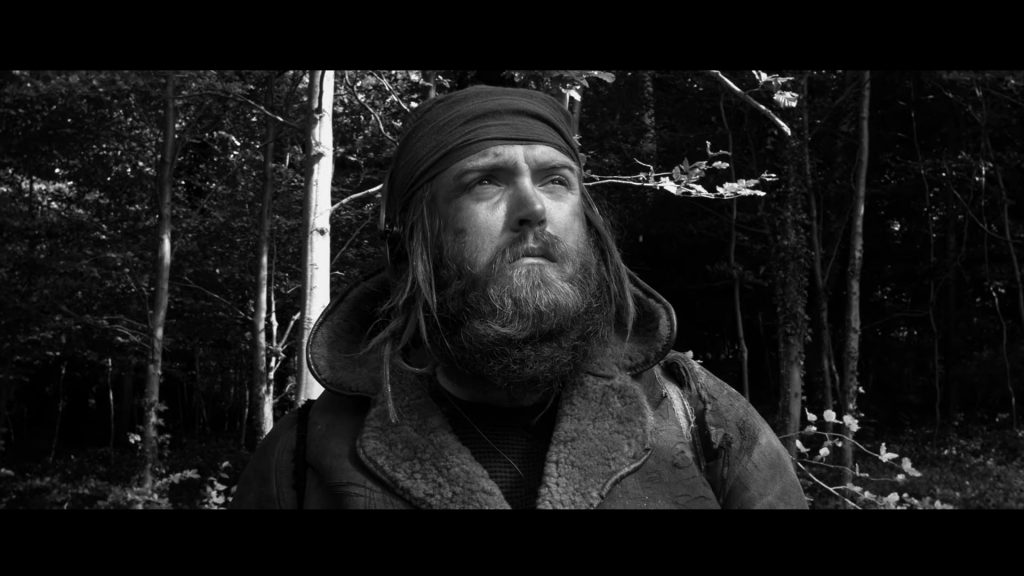
The other shot was filmed with the RED Komodo, a camera that costs around £6,000 used and requires an additional £2,000-£3,000 to become fully operational.
Surprisingly, the image shot on the cheaper GH4 appears more visually appealing. The quality difference between the two shots is clear, despite the nearly £10,000 price difference. Why? Because capturing a great image extends beyond the camera’s quality, and the location plays a vital role.
However, it’s rarely ideal to be restricted to the inherent characteristics of a location. If you’re in a rented apartment, you’re likely dealing with bland magnolia walls that you can’t paint, wallpaper, or hang pictures on. The soulless atmosphere, white background, or glass panels might be a challenge if it’s a corporate office. You can often really see the difference when filming in a location with plain white walls.
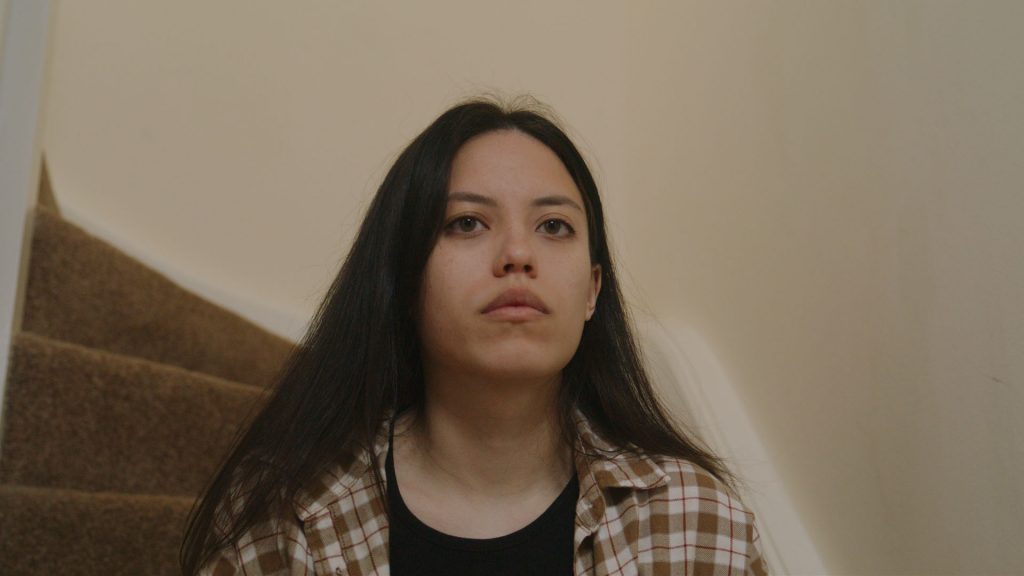
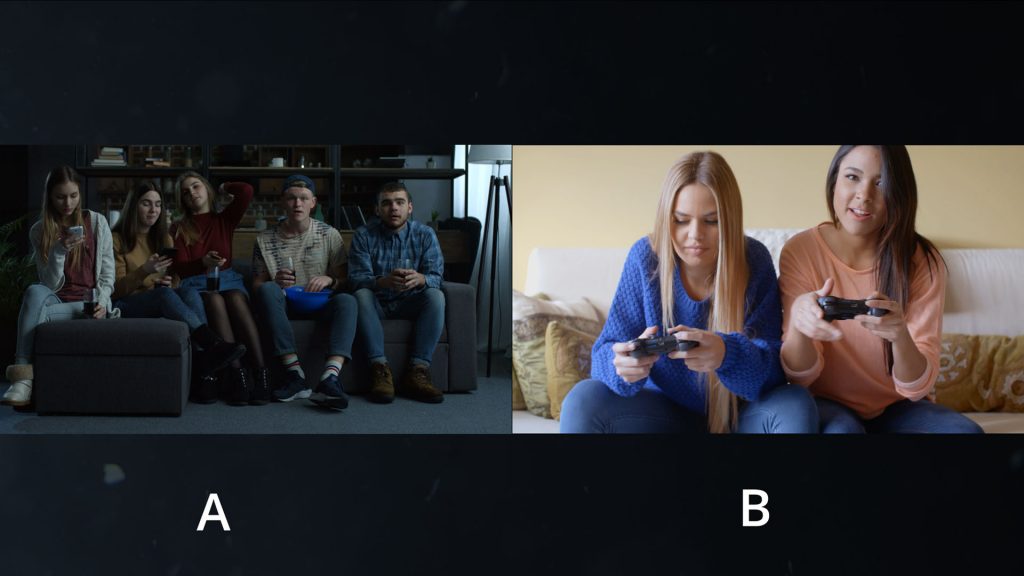
While we can’t expect to produce Roger Deakins-like images in such locations, there are things we can do to enhance our images. Today, we’ll explore your options when filming in a bland location. In the example demonstated in the video. We go from a shot like this:
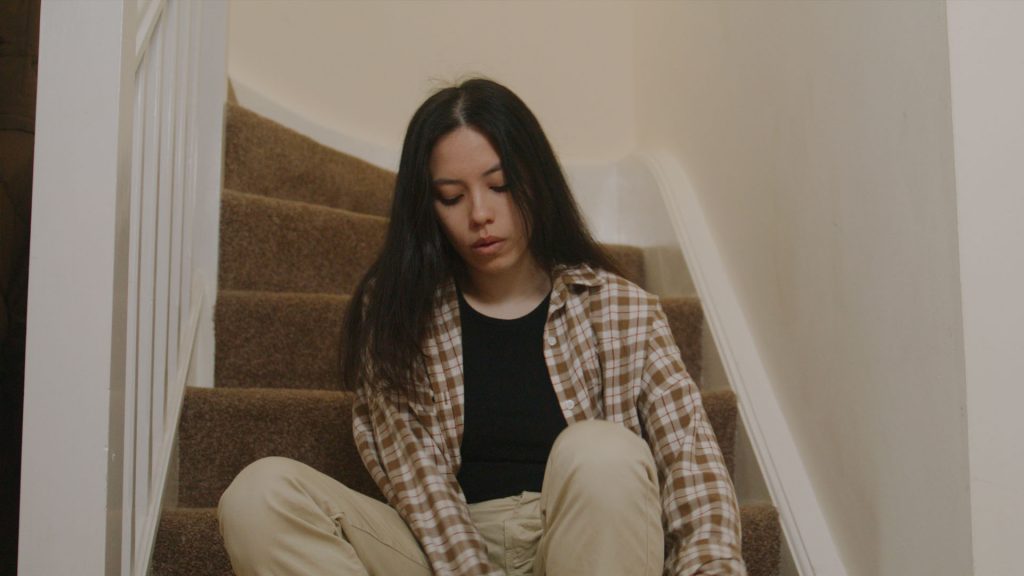
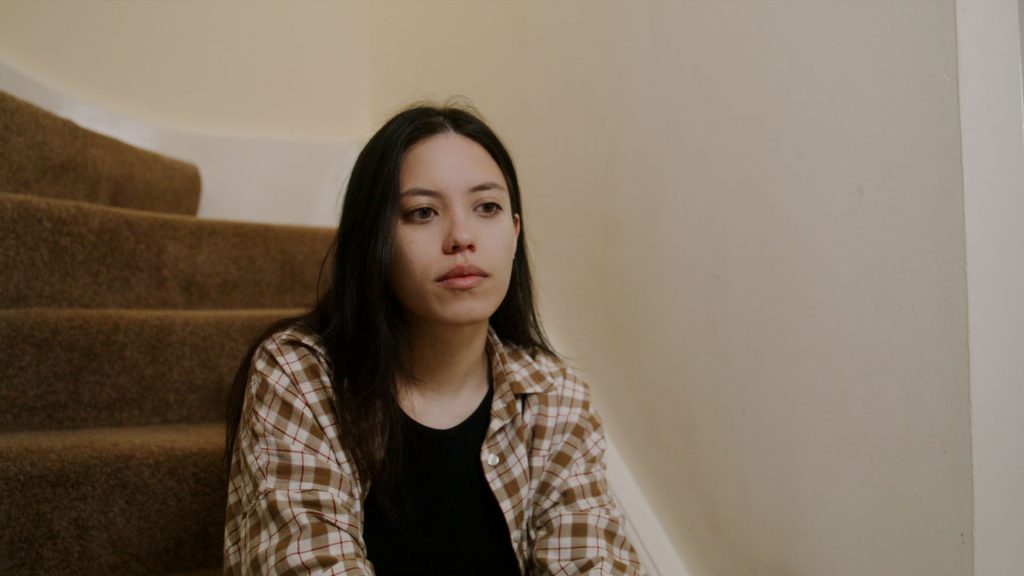
To this:

Depth and Focal Length
Firstly, move your subject as far away from the magnolia or white wall as possible. A flat composition in a bland location isn’t what we want — it lacks depth. Hence, distancing your subject from the wall until moving them further is impractical. Then, aim to shoot with a focal length of 24mm and the lowest aperture available on your lens, creating a nice depth of field that separates the background from the subject.
You want to film with a wide angle in order to bring in elements of the room to help give shape and character to the composition. In filming with a lens that is 50mm onward, you run the risk of compressing your subject against the boring background.
We take this step first to avoid inserting objects between the subject and the background (although we plan to do that) but to also combat the lack of visual interest in flat compositions. Such compositions often need more visual depth, resulting in a dull image. Without depth, the shot may appear static, missing the dynamic qualities that engage viewers.
Camera Angles
While on the topic of talking about lenses, let’s talk about angles. The gist of filming in a bland location like an office or an apartment with bland walls is to create compositional depth through the means of filmmaking conventions. When I’m placed up against the wall, the composition is flat. Now if we move the camera where we have a camera pointing into the connection of the two walls, we can start to create shapes with the organic lines of the wall and floor.
Lighting
Now, let’s talk about lighting. We’ll have a lot of bounce light in a location with light-colored magnolia walls. And with a lot of bounce light, we run the risk of again making our location feel flat with too much light. Therefore, we don’t want to flood this location with light; rather, we aim to reduce light as much as possible and introduce pockets of light throughout. Using a standard key light, like a 120d with a softbox, requires additional tools to stop the spill, which can be overly complex.
As a result, we want to employ low-key and side-key lighting.
If you’re unfamiliar with these terms, low-key lighting is predominantly dark, with more shadows than light, using shadows as an essential character. Sidelight refers to a light source positioned parallel to the subject, coming from the side, ideal for establishing a dramatic atmosphere and achieving chiaroscuro lighting effects.
The reason for employing this type of light is so we can add contrast to our subject while reducing the light on in the location. As a result, we have a myriad of different shades of contrast, which makes the location more visually pleasing despite being boring.
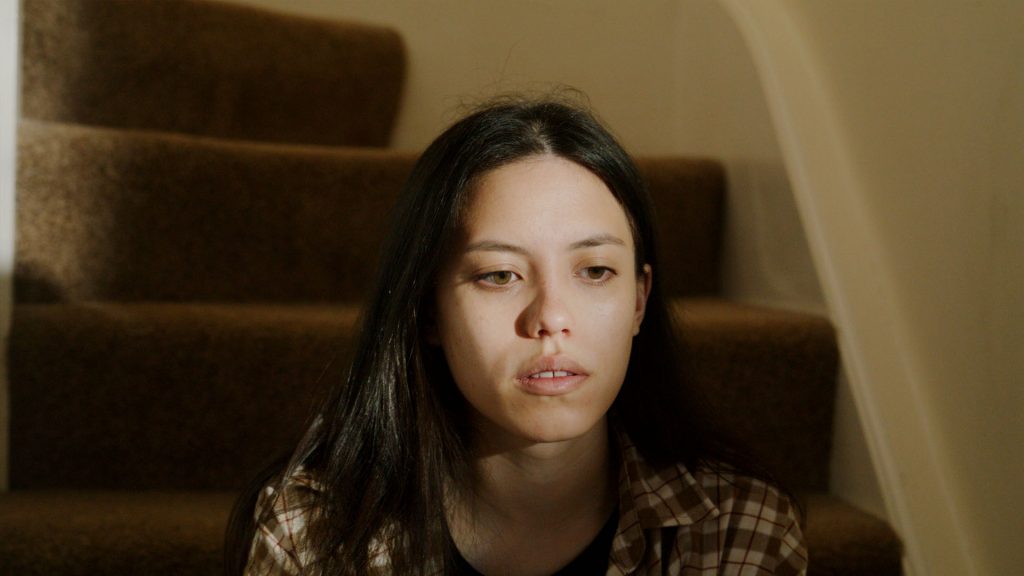
With a hard sidelight, we’ve added contrast to the subject.
To help with this, we can introduce a spectrum of tonal variety across the wall. We can achieve this by sculpting the illumination using diverse lighting modifiers such as flags or cleverly placed elements within the scene.
Background Objects
Set dressing is a crucial aspect of filming that can transform a bland space into an intriguing scene. Adding props or adjusting the furniture arrangement can introduce layers of interest, breaking the monotony of the setting. Whether a simple vase or a complex array of items, each prop can add depth to your footage and engage your audience more effectively.
Now, while plants are an excellent addition to any location as they can add texture to the background, you don’t want to stop there; I would suggest using the plants to project shadows onto the wall. Again, we can’t paint on these walls with actual paint, but we can paint with light — also a great book by John Alton.
Artwork and other colorful items can also significantly enhance a bland space. However, as noted, this is a rented place, so we can’t just add nails to the wall. Therefore, we can use items like this, a colorful throw, and place it on a tall chair where the subject walks past, which introduces elements of color, shape, and style, providing a pleasing contrast to the magnolia walls. Incorporating such elements into your set can create a visually rich and engaging scene, despite the initial blandness of the location.
Switching the Scene to Nighttime
The final tip is circumstantial and likely only applicable for narrative pieces: switch the scene from day to night. This shift allows you to have more authoritative control over the lighting. By eliminating the eyesore of a bland background, you can create a unique blend of light.
Switching the scene to nighttime is a fantastic way to elevate a bland space into something more visually appealing. During the nighttime, you can play with shadows and light, giving you the power to manipulate your scene creatively. Moving from day to night allows you to decide how much of the location is visible and where the viewer’s eye is drawn.
Consider using practical lights to add depth and dimension to your scene when transitioning to nighttime. Practical lights are the ones that appear in the frame, such as a table lamp or an overhead light. They not only provide a source of light for your shot but also serve as props that enhance the visual aesthetic. A well-placed practical light can create interesting patterns of shadows and highlights, adding a sense of mood and atmosphere to the scene.
Remember that the color of these practical lights can impact the overall tone of the scene. Warm lights can create a cozy atmosphere, while cool lights give a clinical or eerie vibe.
To Conclude
Filming in a bland location with magnolia walls or a white background can often present some of the most challenging obstacles in filmmaking. While there aren’t many options available if you’re unable to modify the walls with paint, wallpaper, or pictures, the steps outlined in this article should be sufficient to maximize your production value. And remember, a compelling story with excellent acting will always triumph above all else!
Looking for filmmaking tips and tricks? Check out our YouTube channel for tutorials like this . . .