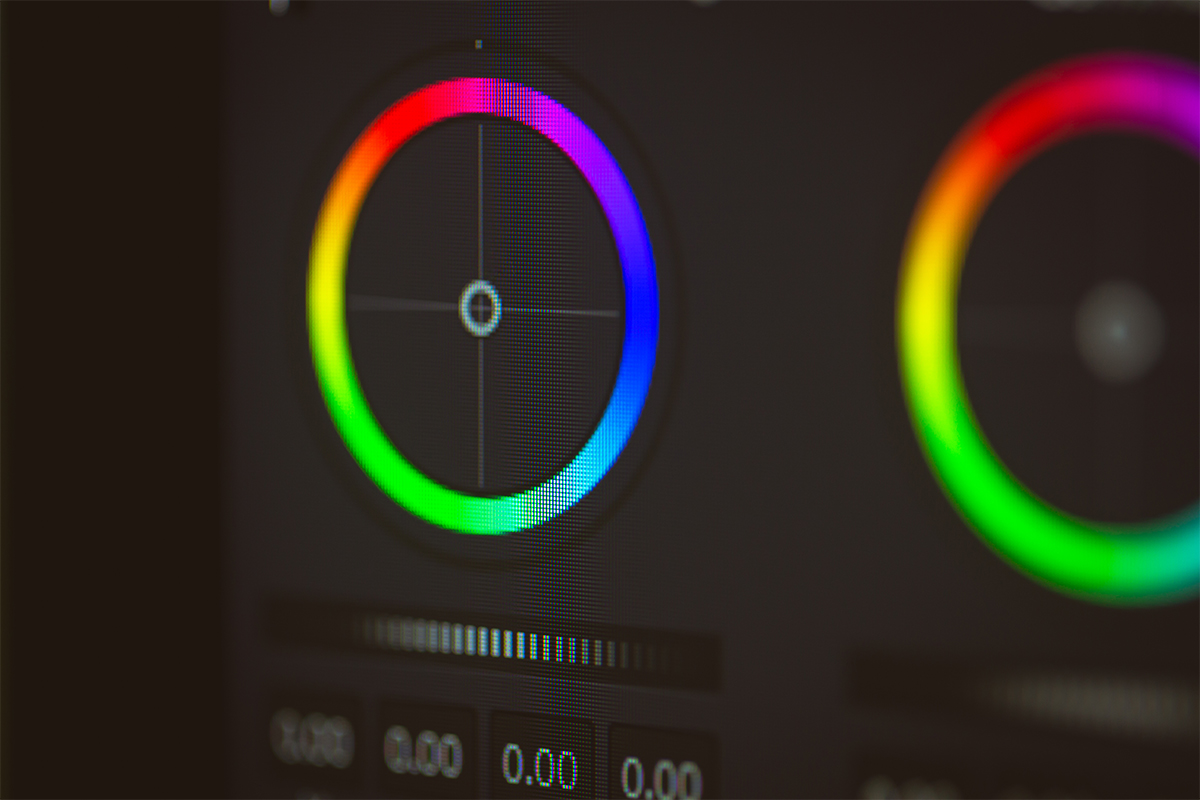
The Color page in DaVinci Resolve is a lot to take in, but you can get started with only a few basic tips.
The biggest advantage to using DaVinci Resolve is that it does everything. DaVinci Resolve contains the entire post-production pipeline, from file organization to special effects. It’s a lot to take in, especially if you’re coming from Premiere Pro, but many skills are transferable. The Media, Cut, and Edit pages are all fairly straightforward to grasp if you’re familiar with NLEs. The Color page, on the other hand, is not. Still, learning how to use the Color page is worth the hassle because Resolve is known for its color page. It’s what professionals across the industry use to color your favorite movies.
While it’s true that professional colorists use DaVinci Resolve to color grade, that doesn’t mean it’s inaccessible to the average user. Sure, mastering the Color page in Resolve takes years of practice, but learning the basics is enough to make a difference in your videos. Once you learn how to color-correct your footage and apply custom color grades, your videos will look alive. The color page is where I have the most fun, getting creative and experimenting with different techniques. But before you can run (or jog), you must learn to walk.
Node Basics and Useful Shortcuts
The Color page is node-based. You can think of nodes as layers, and you’ll want every big change you make on a separate node. Everyone approaches nodes differently. Some colorists will have a dozen layers, and others may only need half as many. Having more layers doesn’t make your work better, though. It just makes it more tedious, especially if you’re repeating the process for every clip across the timeline. As with the famous writing adage, less is more.

One thing that gives newcomers anxiety about the color page is the different node types. There are serial, parallel, layer, and outside nodes. All four have distinct uses. You can use parallel and layer nodes to make multiple edits on a single node, with the outputs combined into one via a mixer. You can use outside nodes to edit specific aspects of a preceding node that have been highlighted with a power window or HSL qualifier. For the most part, however, you only need to worry about serial nodes, which operate in a linear fashion. Each new serial node you place affects the output of the previous node, and so on. It’s pretty simple, really.
Since you’ll want to create a new serial node every time you apply a new edit, it’s best to learn the shortcut, which is ALT+S on Windows (Option+S on macOS). You can replace the S with a P or L for parallel and layer nodes, respectively. Another node-based shortcut I use a lot on the color page is CTRL+D, which turns off a highlighted node. This shortcut is super useful when trying to identify an issue because you can single out nodes one by one. You can use ALT+D to turn off all the nodes and see the clip in its original, raw form.
Easy Masking
There are times when you don’t want to apply an edit on a certain part of the frame. Or, sometimes you want to apply an edit only to a certain part of a frame. For example, if you’re applying a grade that changes the hue of the overall grade to pink, you may want to exclude people from the edit to prevent their skin color from changing to an unnatural color. Alternatively, maybe you want the sky or grass to pop more while everything else stays the same. Doing either of these techniques is possible within Resolve, but there are a few ways to go about it.

Power window tracking is pretty much a hands-off approach to creating a mask.
There are several ways to key out a subject, but one of my favorites involves using a tracking power window. To do this, click on the Window menu and select a shape — you can select the curve tool to get a more precise window. Once you select your subject, click on the Tracker menu beside it and hit the play button. The software will take your shape and track your subject within it for the span of the clip. Any edits you make on this node will only affect the area inside the power window. It’s a neat trick, but with DaVinci Resolve 18 Studio (the paid version), you get an even better tracker.
The Magic Mask menu is located next to the Tracker menu. To get started, select the eyedropper with a “+” sign and make a mark on your subject. It doesn’t have to be a big mark. A few pixels should do. To see the selected area, select the “toggle mask overlay” icon. This will turn the selected area red. Again, hit the play button to start tracking.

Magic Mask is an excellent feature, but it still has some kinks. If the tracker picks up something you don’t want, you can select the eyedropper with a “-” sign to remove the problem area. Afterward, any edit you make will apply to the tracked area. Alternatively, you can also select “invert mask” to apply your edit to everything but the area you chose. This is the ideal tool to exclude a subject from an edit.
Sharpening and Removing Noise
No matter how much gear you bring or how much you prepare, you still might get footage that looks grainy or slightly out of focus. It happens. Thankfully, there are tools within Resolve to fix this.

To fix a blurry video, go to the Blur menu. In the Radius section, click on one of the sliders and move it down to sharpen the image. A little goes a long way here — I tend not to go below the .40 mark because everything begins to look overly detailed, but it’s worth experimenting with. If you do a before-and-after, you’ll notice the difference.

This feature is particularly useful if you have a lens with a soft focus. I use this feature a lot when I shoot with my kit lens, but it’s also a great lifesaver if, for example, you have a lens with contrast-detection autofocus that goes a bit out of focus here and there. Even if you have a tack-sharp lens, it’s worth having this tool in your back pocket, just in case.

Scopes and Dropper
If you’re going to spend any time on the Color page, it’s best to learn about the different scopes and how to use them. There are four scopes in total: Waveform, Parade, Vectorscope, and Histogram. I won’t get into it here, but you can learn more from Casey Faris over on YouTube.
I use the Vectorscope the most because it helps me check if skin tones are displaying correctly. If you’re shooting a lot of videos with human subjects, or if you’re a creator who stands in front of the camera a lot, you’ll want to use this as well. It’ll help you realize if you’ve taken a color grade too far in the wrong direction.
To use the Vectorscope to check for skin tone, first select the Vectorscope. Then click on the settings menu for the scopes section, and toggle on the “show skin tone indicator” setting. This will bring up a diagonal line in the top left quadrant of the scope. If you see a lot of activity along the line, skin tone is displayed appropriately, but you can get even more granular.

On the bottom left of the timeline window, click on the eyedropper icon named “qualifier.” With this selected, any part of the frame you hover over will be reflected in the vectorscope. To check if skin tone looks right, hover over the subject in question, and if the circle appears on the skin tone indicator line in the vectorscope, it’s good. The qualifier also appears on any other scope you use. While not the flashiest tool, it can help you pinpoint specific parts of a frame that are causing trouble. On the waveform scope, for example, you can use this to find overexposed areas.
Stills and Image Wipe
How do you know if the color matches from shot to shot? One way to do that is by comparing with stills. Stills are screen grabs that are saved to your gallery. You can select a still of one clip to compare to another clip, or you can grab a still to see a clip before and after a color grade.
To grab a still, right-click on the timeline window and select “grab still.” Still are saved to the gallery and labeled with a numerical value like 1.1.1. When comparing clips, select the still you want and click the Image Wipe icon on the top left corner of the timeline. This will bring up several new icons on the opposite side of the timeline, pitting the two images in various formations. The vertical and horizontal options are the most useful, but you can also pick the Venetian blind or checkerboard patterns to get a more detailed comparison.

You can always export stills as JPG files, which is the easiest way to export images from a video. While you can always take a screenshot from your computer, the quality won’t be great. Exporting a still is the best way to get a high-quality image of your video. If you’re doing a lot of collaborative work, or you simply want to show off your latest color grade, you’ll want to use this.

Cover image via Freepik.
Looking for some music for your projects? At Videvo, our library has everything from free ambient music to music for streams — perfect for any indie project:
- Royalty-free Christmas music
- Royalty-free meditation music
- Royalty-free upbeat music
- Royalty-free jazz music
- Royalty-free Halloween music
Need a break? Check out our videvoscapes — the ultimate reels for relaxation or concentration. Each videvoscape collects hours of high-definition nature footage and background video with downtempo chill beats for the ultimate escape from the grind.


